
Split View or Twin View
- Split ViewOne panorama laid over the other, with a divider visitors drag left and right to reveal more of either. Best when the two photos were taken from exactly the same spot.
- Twin ViewTwo separate views next to each other, each showing its whole panorama. Visitors can drag the divider to give one side more room.
In both, the two panoramas turn and zoom together. Each starts from its own initial position, so set those to line the pair up. Hotspots and blocks aren’t shown, just the two panoramas and their titles.
Share a Split View or Twin View
- Open your tour in the editor and choose the Share tab at the top right.
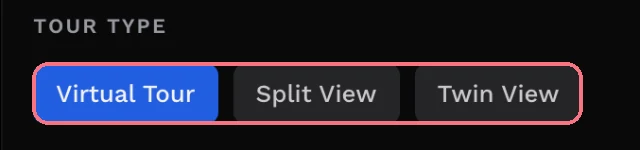
- Under Tour Type, choose Split View or Twin View.
- Copy the Embed code or the Link, as for any tour (see Share a tour).
These show the tour’s first and second panoramas. Your Custom Domain and Embed Size choices still apply; First Pano doesn’t.
Choose which two panoramas
- Open the Split View or Twin View link in your browser.
- Choose the compare icon at the top right.
- Pick a panorama under Left and one under Right, then choose Done.
- Choose the share icon to copy the link or embed code for that pair.
The pair is in the link as two panorama numbers, as in /split/1:3 for the first and third.
Tips
- Every plan can share them, including the free trial.
- Shoot both from the same spot, with the camera at the same height, so the two line up as visitors turn.
- If your pair are the tour’s first two panoramas, the link from the Share tab already shows them.
- The pair you pick from the compare icon always uses a teliportme.com link, even if you have a custom domain.
Common questions
Can I show a before and after in a virtual tour?
Yes. Share the tour as a Split View, and visitors drag a divider across the two panoramas to compare them, such as before and after a renovation.
Are Split View and Twin View on every plan?
Yes. Every plan can share Split View and Twin View, including the free trial.
Do hotspots work in Split View and Twin View?
No. Split View and Twin View show just the two panoramas and their titles, without hotspots or blocks. Share the normal tour for those.
Can I embed a Split View on my website?
Yes. On the Share tab, set Tour Type to Split View or Twin View and copy the Embed code. See Share a tour.