Stunning 360 Photos: Expert Advice to Elevate Your Shots
Let's dive right in! Enrich your photography skills with practical tips and techniques to unlock a new dimension of creativity.
%20YouTube%20Thumbnail%201280x720%20px%20(9).jpeg)
By Dahiana Gutierrez
Enter a world of immersive photography where the sky is never the limit! With 360-degree panoramas, you can captivate your audience with a unique and interactive VR experience that transports them to the very heart of your subject.
Be it landscapes, real estate, travel, or events, your 360 photos can take them there in style. But, here's the kicker - the resolution! As you already know, higher resolution means greater detail and clarity, which in turn equals breathtaking visuals that will leave your audience in awe.
So, gear up and get ready to explore tips and techniques to take your 360 photos to new heights of resolution and beyond!
Index:
- Understanding 360 Photo Resolution
- Tips for Increasing 360 Photo Resolution
- Use High-Quality Camera Gear
- Optimize Camera Settings
- Consider Shooting in RAW
- Stitching Techniques for Higher Resolution
- Post-Processing for Sharper Images
- Final thoughts
Understanding 360 Photos resolution
The resolution of a photograph is like a secret code that holds the key to its level of intricacy and lucidity. The higher the number of pixels, the more refined and detailed the picture will be.
When it comes to 360 photos, the resolution is often expressed in terms of pixels per inch (PPI) or pixels per degree (PPD), as these images are viewed across a wide spectrum of devices with varying screen sizes and resolutions. So, if you want to crack the code to stunningly clear and awe-inspiring 360 photos, adapting to the varied devices, screens and understanding resolution is the way to go!
Tips for Increasing 360 Photo Resolution
To capture 360 photos with higher resolution, consider the following tips:
Use Quality Camera Gear
If you want to take 360-degree photos, it is essential that you invest in basic 360 equipment. (Here you can read some recommendations from expert photographers: Camera recommendations). It's best to opt for cameras with higher-resolution sensors, as this will have a direct impact on the level of detail in the final image.
You don't need to start with the most expensive equipment as the current market offers options for all budgets. Consider cameras specifically designed for 360 photography, such as the Ricoh Theta Z1, GoPro MAX, Insta 360 and Trisio Lite 2 which offer higher sensor resolutions and advanced features for capturing stunning 360 panoramics.
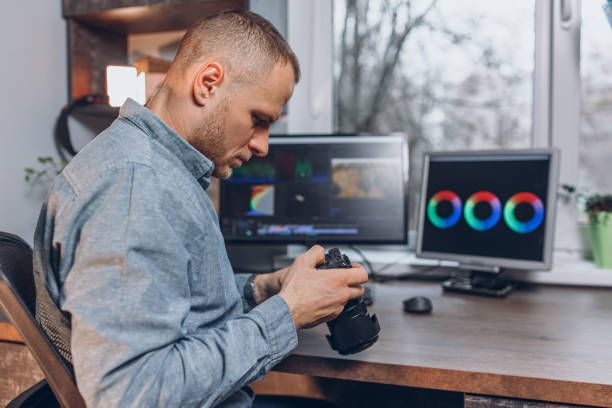
Optimize Camera Settings
Camera settings play a vital role in capturing high-resolution 360 photos. Experiment with different settings, such as aperture, shutter speed, and ISO, to find the optimal balance for your scene. Avoid using extremely high ISO settings, as this can introduce noise and reduce overall image quality.
Keep in mind that different lighting conditions may require different settings, so be prepared to adjust accordingly.
If you're equipped with a 360 camera and a trusty tripod, fret not about fiddling with screen settings - just ensure your lighting and camera positioning are on point for optimal output. Here's a snappy video to help you out!
Consider Shooting in RAW
By shooting in RAW format, you open the door to a world of limitless possibilities in post-processing. Your camera's sensor becomes a wellspring of data, providing an abundance of detail that compressed JPEG files simply can't match.
With RAW, the power to manipulate exposure, contrast, and white balance lies solely in your hands, affording you the luxury of crafting the perfect panoramic. In the end, your creativity knows no bounds when shooting in RAW - the ultimate tool for elevating your photographic vision.
Stitching Techniques for Higher Resolution
360 panoramics are typically created by stitching multiple 36o photos together to form a panoramic view. The stitching process can impact the final resolution of the image. Some stitching techniques, such as multi-row stitching or using fisheye lenses, can result in higher-resolution images compared to single-row stitching.
Don't forget to exercise patience at the outset and explore diverse stitching techniques and software to unearth the perfect fit for your requirements. To get a taste of the button's magic, we've captured a short video just for you:
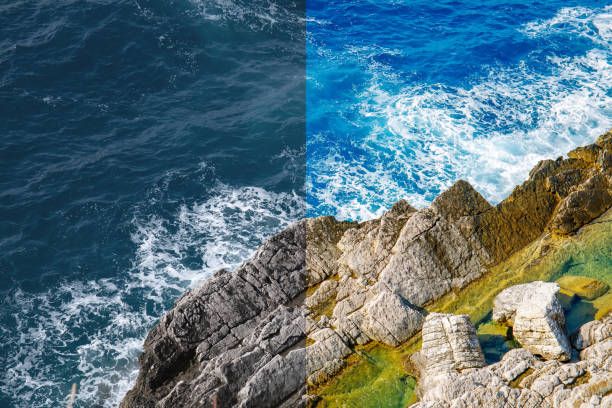
Post-Processing for Sharper Images
- Sharpening: Use the sharpening tools in your photo editing software to enhance the sharpness of the details in your 360 photos. Be careful not to over-sharpen, as it can introduce noise or artifacts.
- Noise reduction: Enhance the brilliance of your 360 images by implementing noise reduction methods. Proceed with caution, as an excessive amount of noise reduction may lead to the loss of intricate details.
- Clarity and contrast: Adjust the clarity and contrast settings in your photo editing software to enhance the details and make your 360 photo pop. Be mindful of the balance between clarity and natural-looking results.
- Chromatic aberration correction: You can use the chromatic aberration correction tools in your photo editing software to reduce or eliminate these colour fringes for a cleaner and more refined image.
- Cropping and straightening: Cropping your 360 photos can help you focus on the most interesting part of the scene and remove any distractions. Straightening the horizon line can also add to the overall aesthetic of the image.
- HDR (High Dynamic Range) Imaging: HDR imaging involves capturing multiple exposures of the same scene at different brightness levels, and then blending them together to create a final image with a wider range of tones and details. This technique can be especially useful in challenging lighting situations where there house o Airbnb bright highlights and dark shadows.
- Avoid Compression: Compression can reduce the resolution and overall image quality of your 360 photos. When saving or exporting your panoramic, use lossless or minimal compression settings to preserve the details and sharpness of your photos. Save your images in a format that supports high-resolution, such as TIFF, PNG or JPEG, to ensure the best possible image quality.
- Use a Tripod: Make sure to use a sturdy tripod or monopod that can support the weight of your 360 camera and lens, and use a remote shutter release or a timer to minimize camera shake when taking the shot.
Final thoughts
As we come to the end of our journey, it's crucial to remember that capturing breathtaking high-resolution 360 photos demands meticulous consideration of an array of crucial factors. From your trusty camera gear to the settings, innovative shooting techniques, flawless stitching, and post-processing, each aspect contributes to the final outcome.
Remember, Incorporating these additional tips and techniques into your 360 photography workflow can further enhance the resolution and quality of your photos. Experiment with different settings, times, techniques, and equipment to find the best approach that suits your creative vision and shooting style.
Don't miss out on the opportunity to level up your 360 photography skills.