How to Make a 360° Image: A Comprehensive Guide
%20YouTube%20Thumbnail%201280x720%20px%20(9).jpeg)
With virtual reality (VR) technology becoming more accessible, the popularity and applications of 360° images have skyrocketed. From real estate and travel to marketing and entertainment, industries across the board are leveraging the power of 360° images to deliver immersive experiences to their audiences.
Whether you're a seasoned photographer looking to expand your skill set or simply a hobbyist eager to explore new techniques, this guide will equip you with everything you need to know to make stunning 360° images that will leave your viewers in awe.
You can expect us to cover the following topics:
- What is a 360° image?
- 360° Camera vs. DSLR vs. Smartphone: Choosing the Ideal Option
- Equipment Recommendations
- 360° Image Stitching Software Recommendations
- Best Practices for Shooting 360° Images
- Best Practices for Editing 360° Images
- Overcoming Common Problems
- How to Create Virtual Tours with 360 Images
- How to Share and Display 360 Images
What is a 360° image?
Simply put, it's a photograph that captures a full 360-degree view around a particular scene or vantage point in a single image. It allows viewers to immerse themselves in the image and explore every angle, changing the way we perceive and interact with visual content.
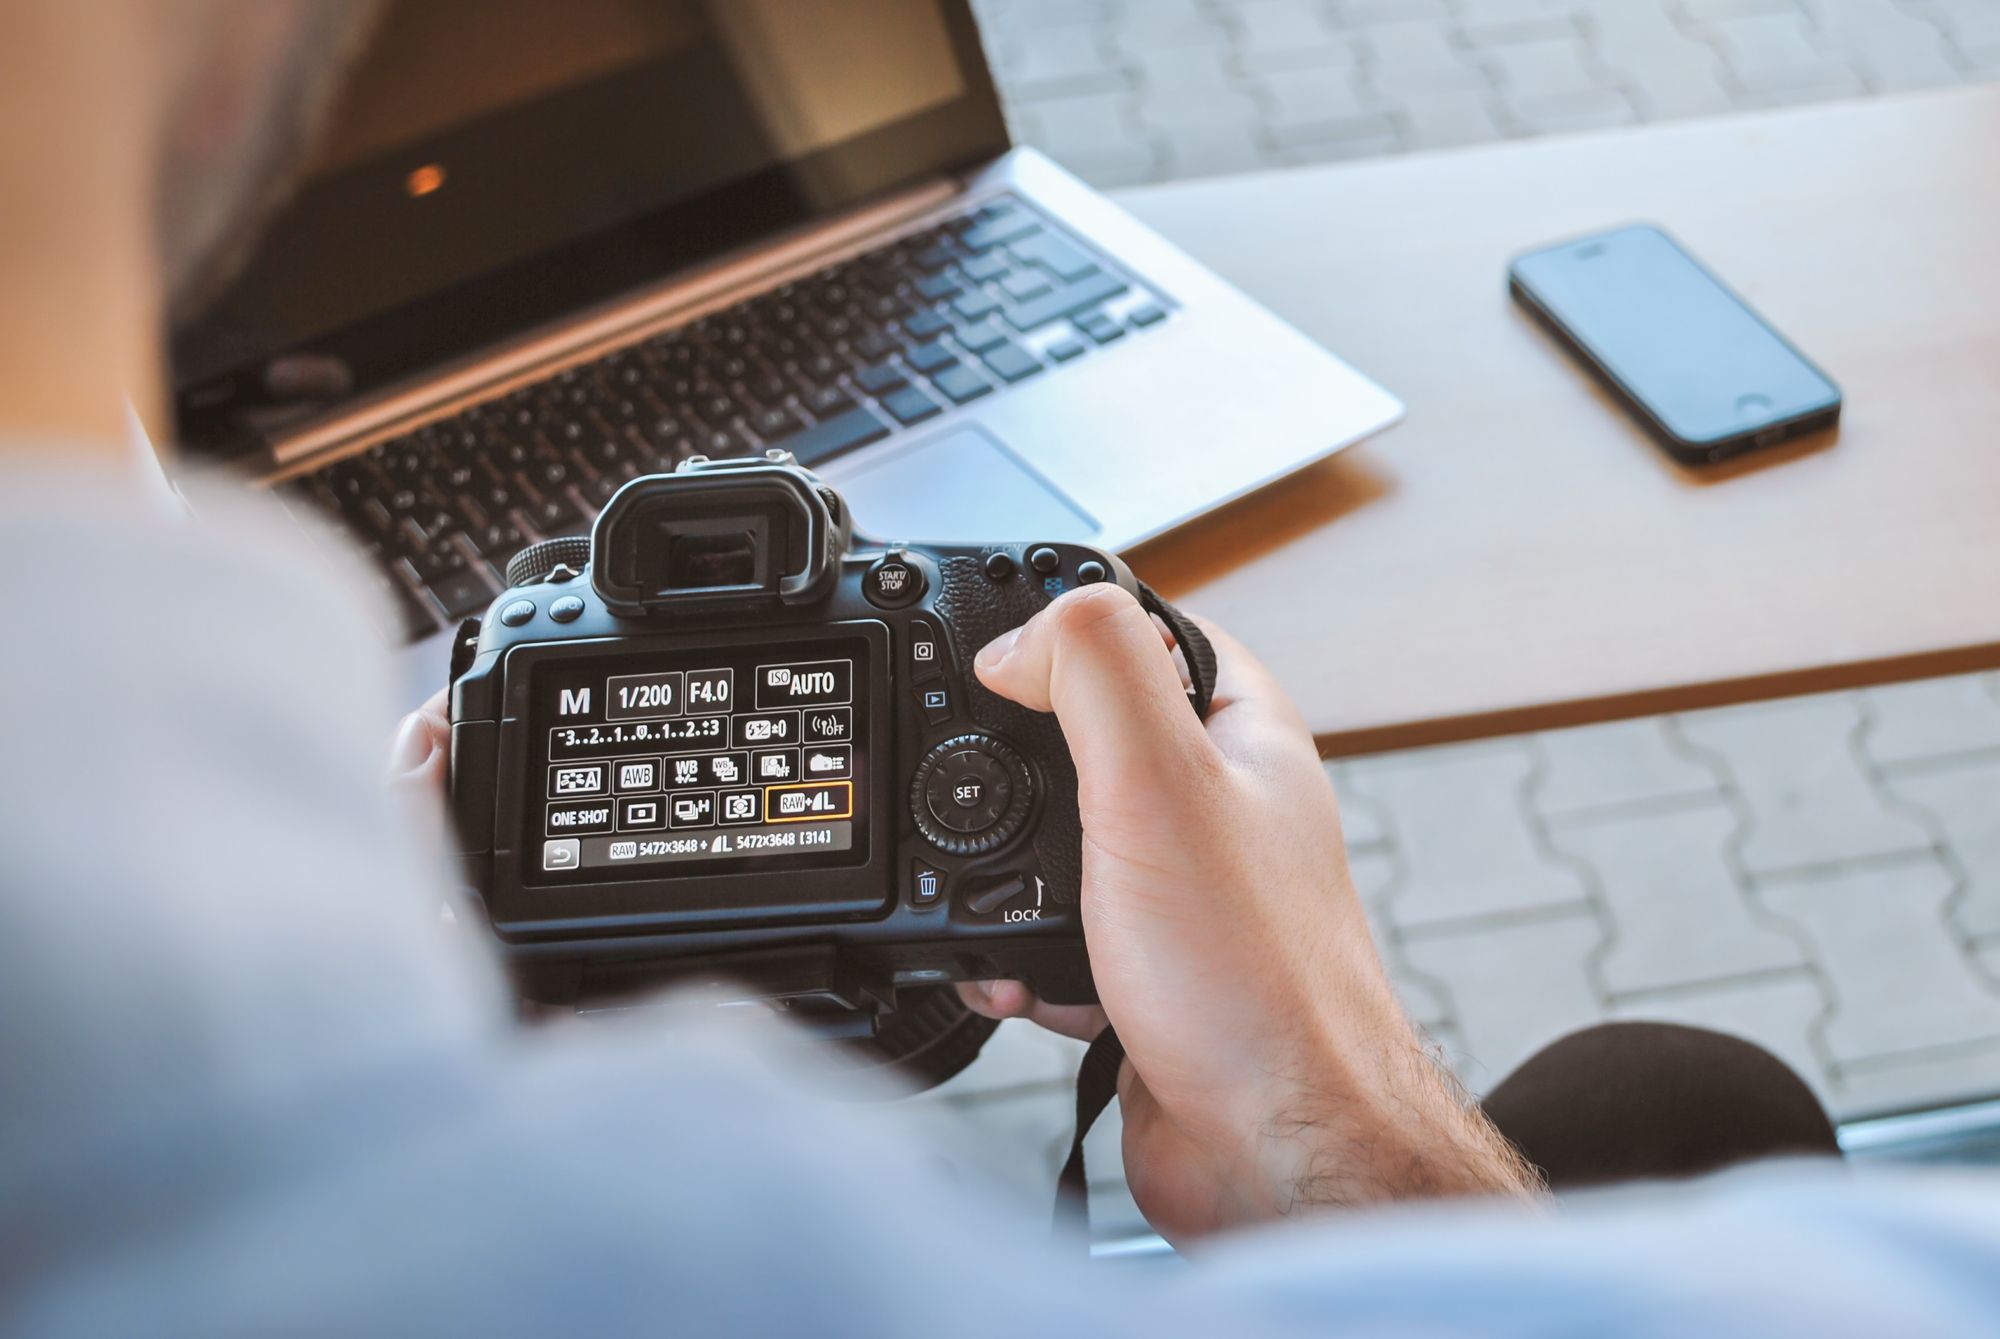
360° Camera vs. DSLR vs. Smartphone: Choosing the Ideal Option
To generate a 360-degree image, you have 3 options: a 360 camera, DSLR, or smartphone.
A dedicated 360 camera is purpose-built for capturing panoramic images in a single shot. These cameras usually come equipped with specialized software for seamless stitching and processing, simplifying the creation of 360-degree visuals.
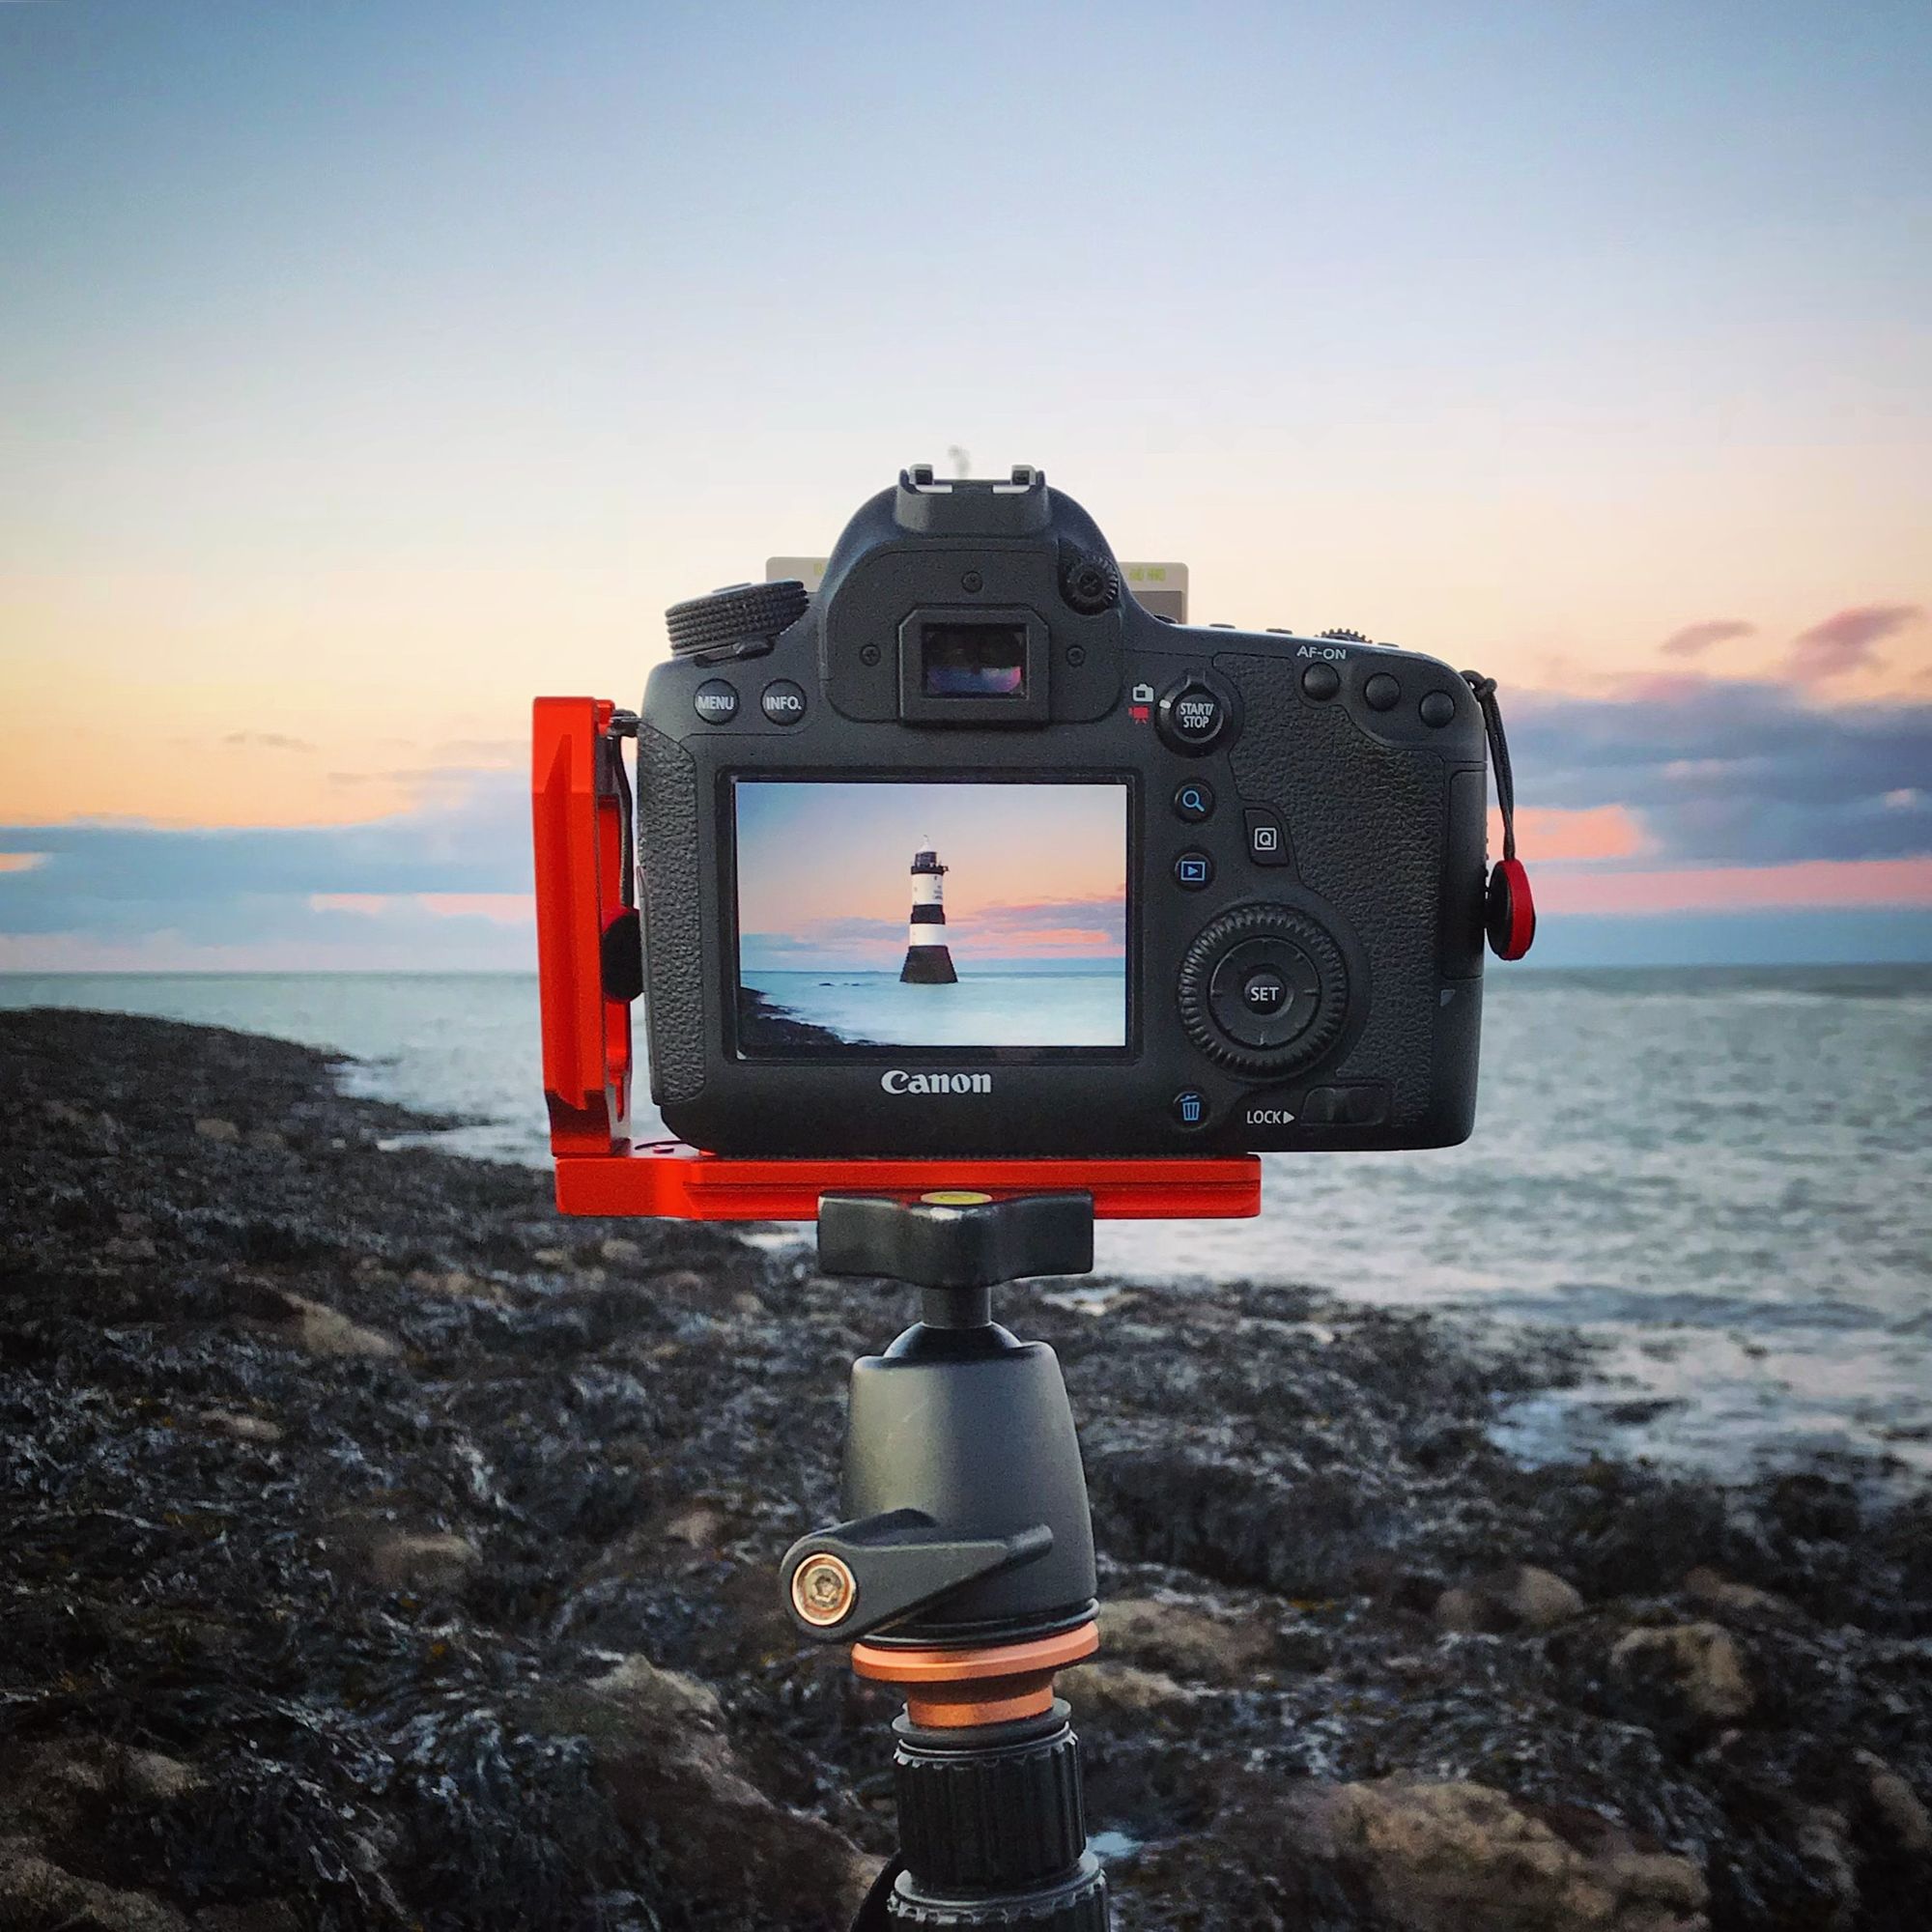
On the other hand, a DSLR, known for its versatility and high-quality imaging capabilities, provides another avenue for crafting 360-degree images. To achieve this, you'd typically capture a series of overlapping photos and then use specialized software to stitch them together into a cohesive panoramic view.
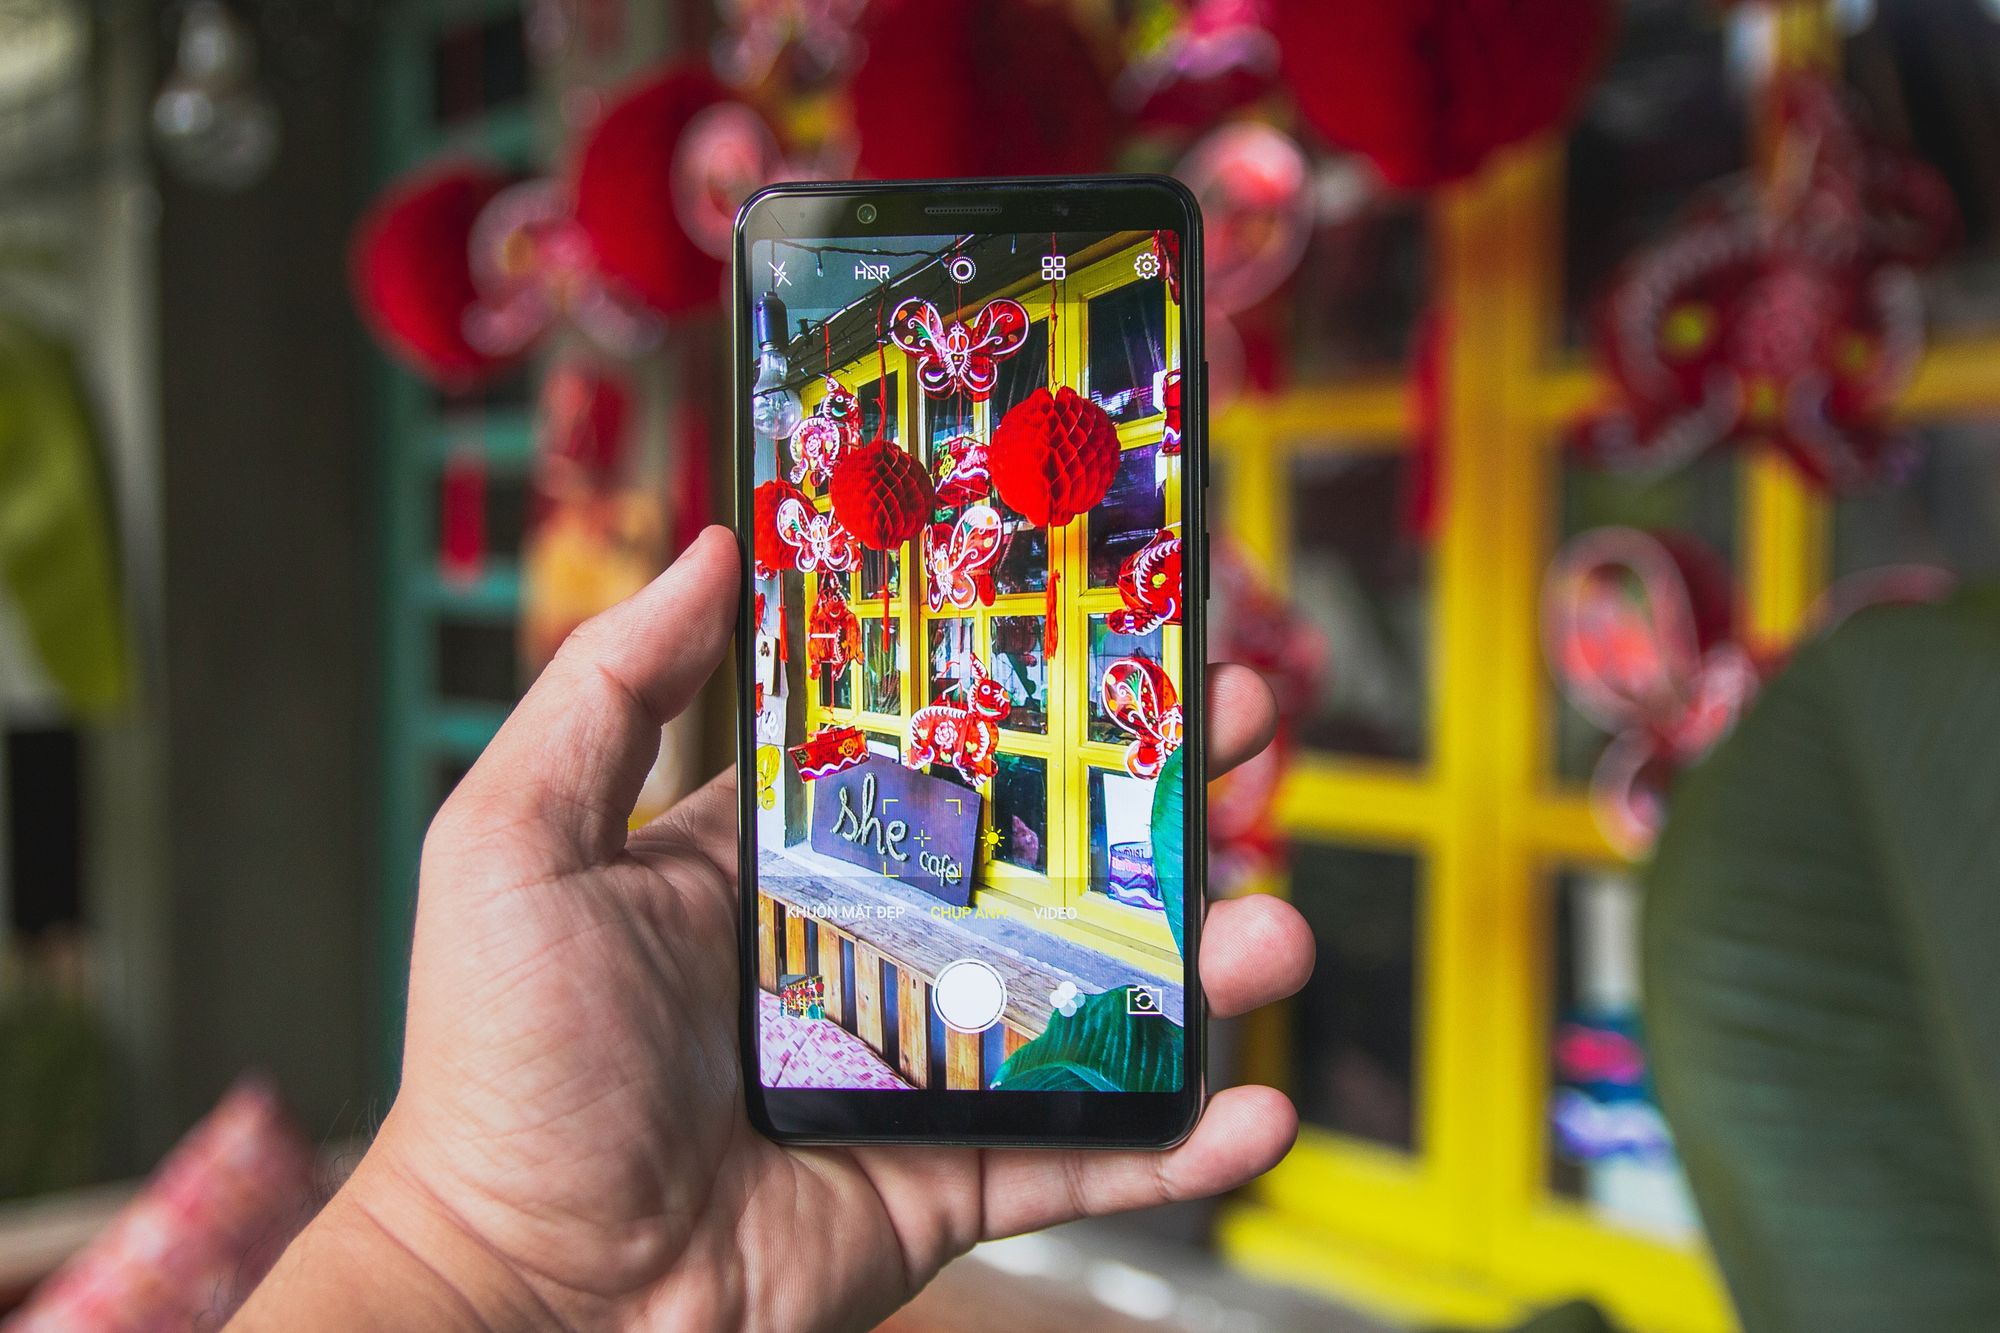
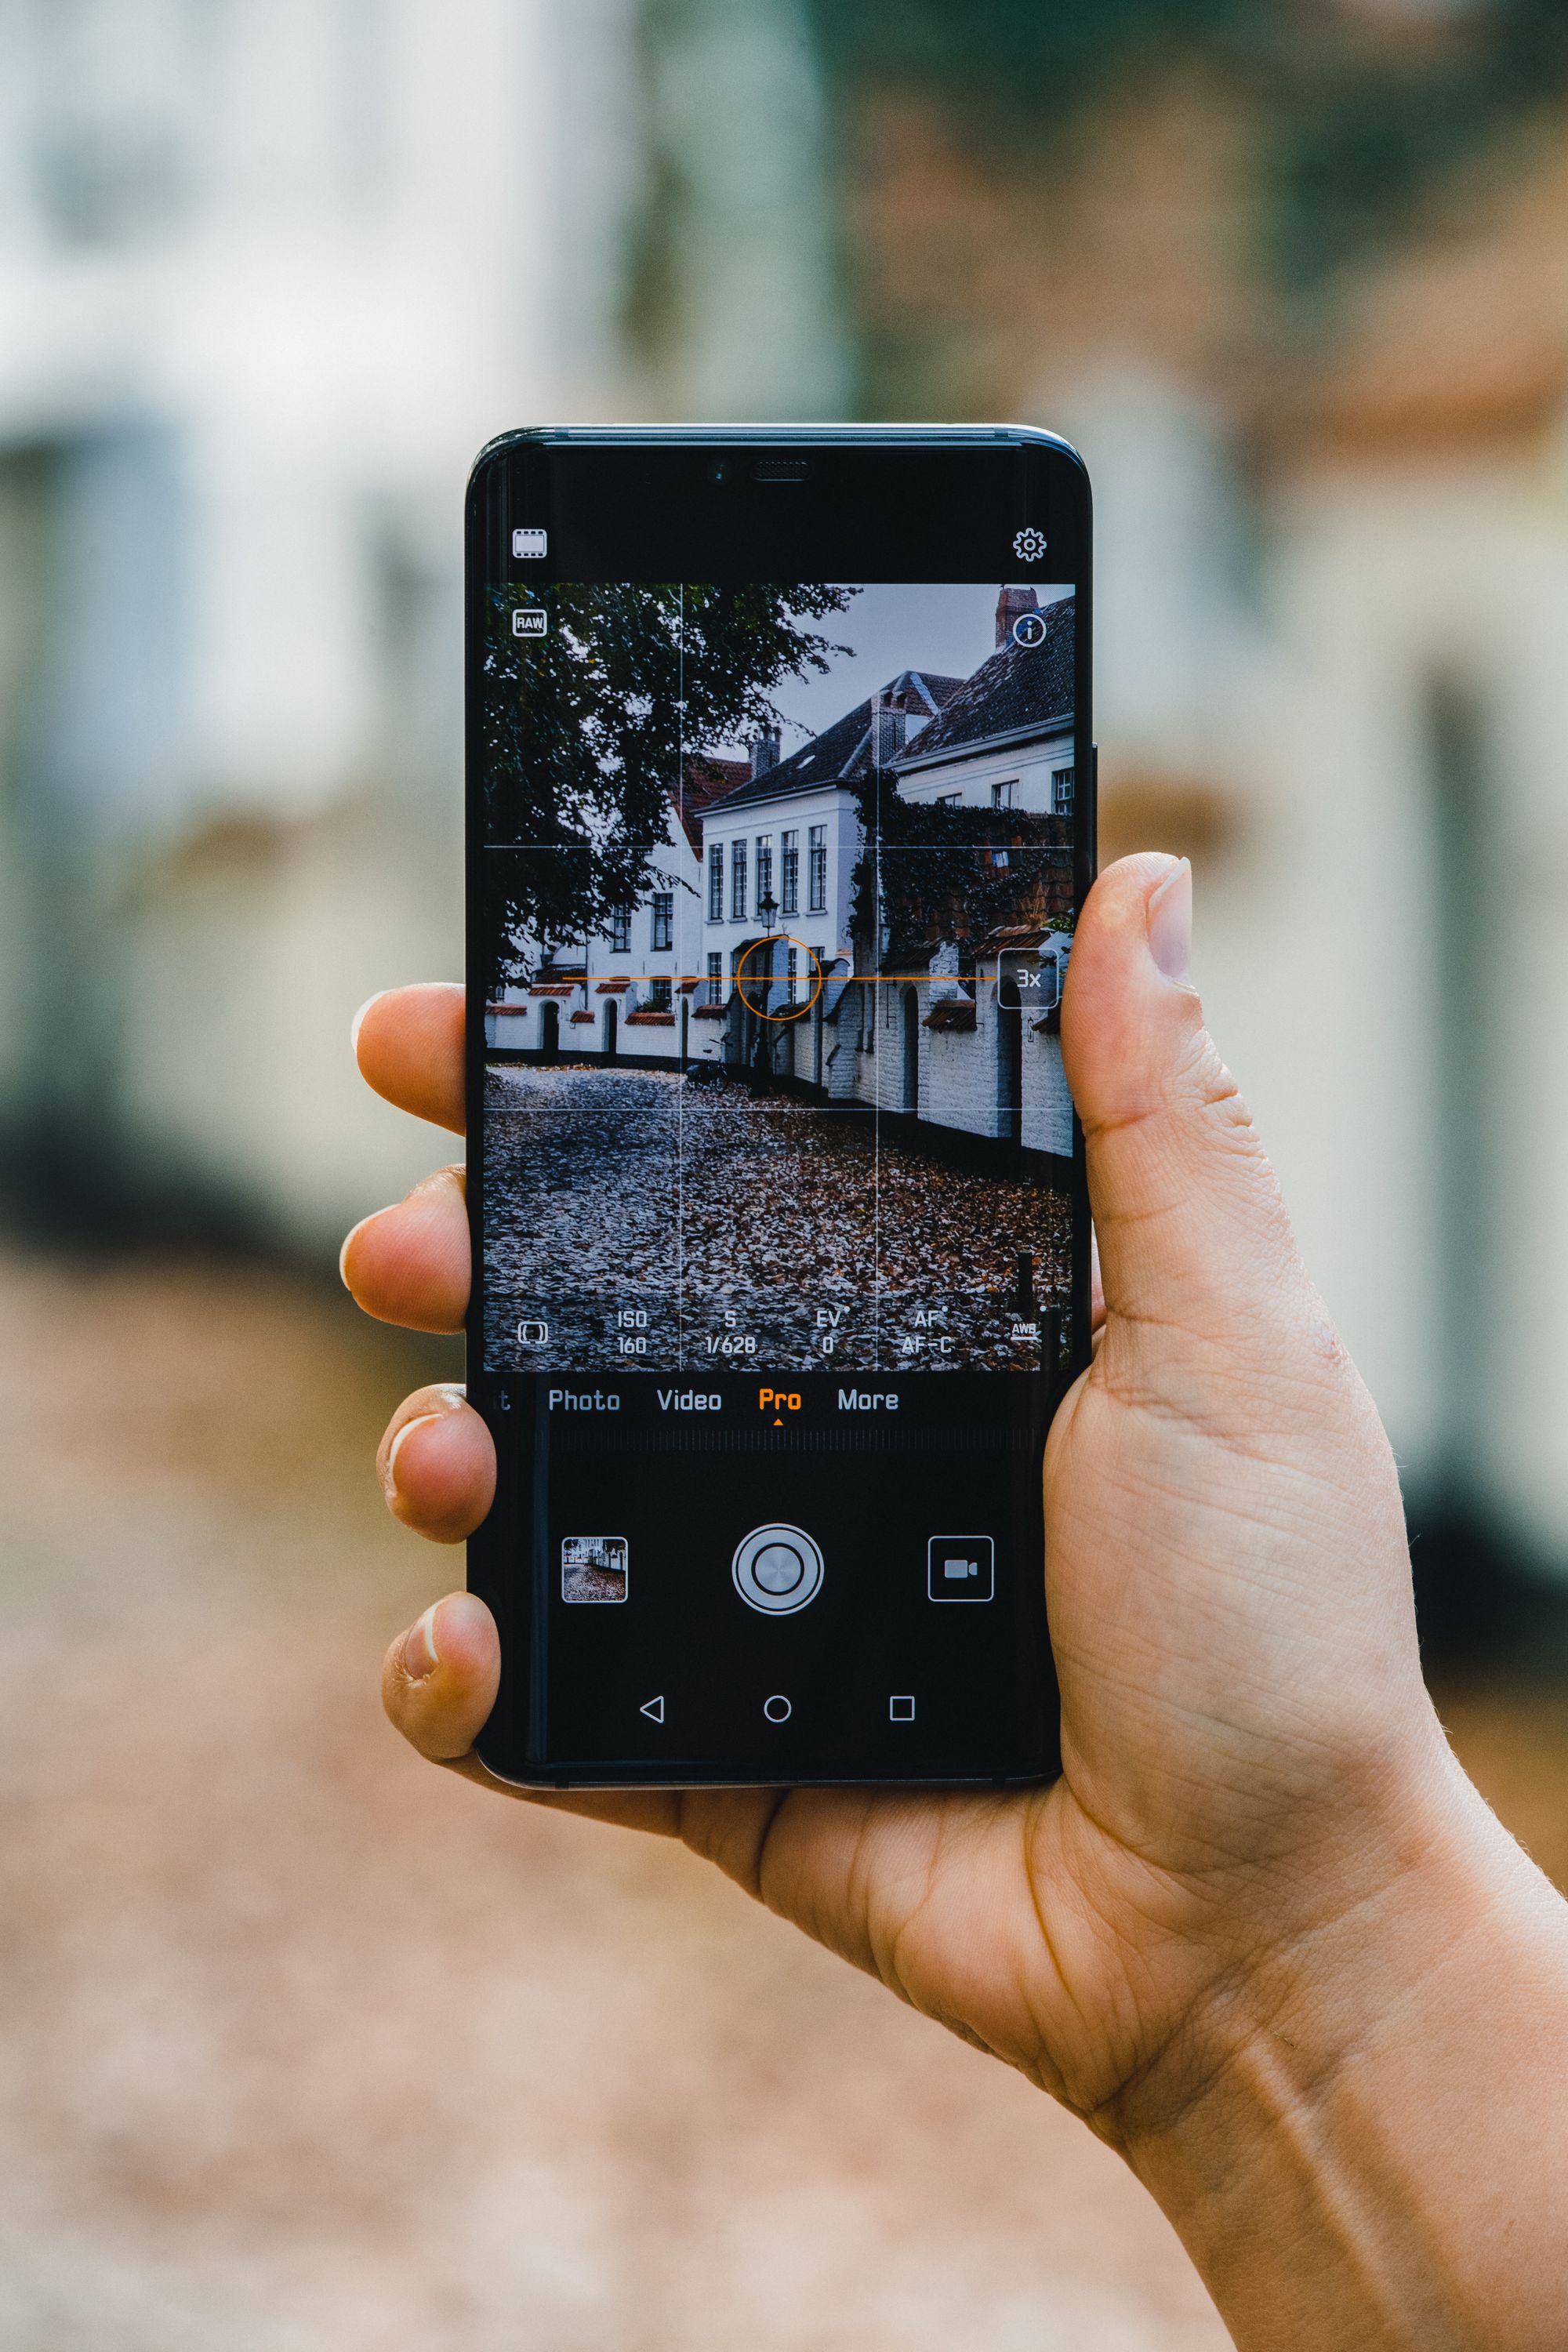
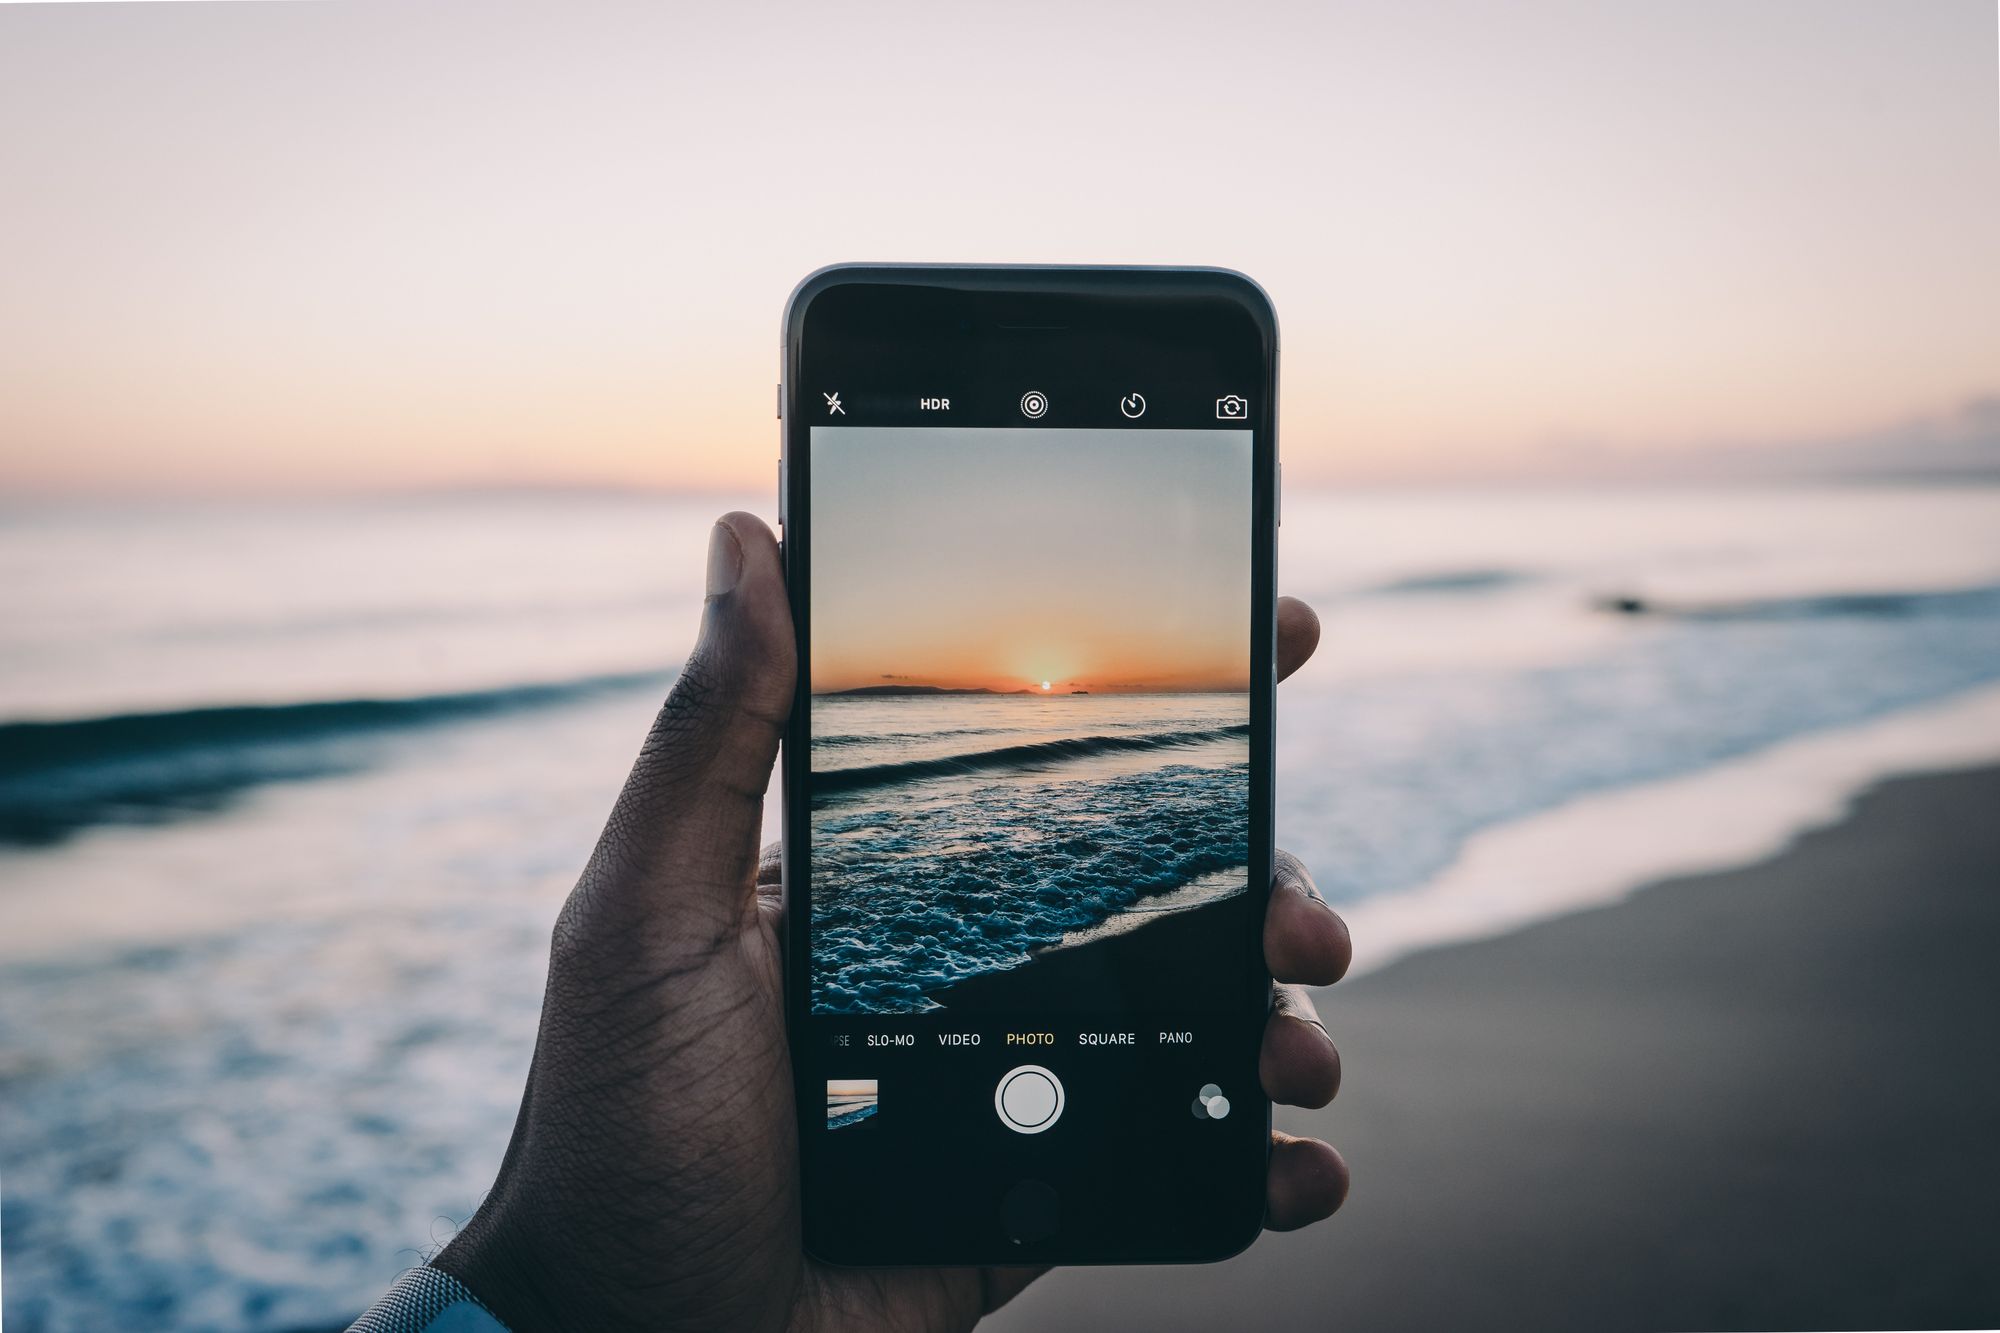
If budget and convenience are your top priorities, then using a smartphone to capture 360° images may be your best option. Smartphones, equipped with increasingly sophisticated cameras and user-friendly applications, offer a cost-effective and accessible means to delve into the world of panoramic photography.


Factors to Consider When Choosing Between a 360 Camera, DSLR, and Smartphone
When deciding between a 360 camera, DSLR, or smartphone for 360 image capture, consider the following factors:
- Image quality: If image quality is a top priority for you, a DSLR is likely the best choice.
- Versatility: If you value versatility, it may make more sense to invest in multiple lenses for a DSLR.
- Convenience: If you prefer a simple and hassle-free experience, a 360 camera or smartphone may be more suitable than a DSLR.
- Portability: If you frequently need to capture 360 images on the go, a compact and portable 360 camera or smartphone may be more convenient.
- Budget: DSLRs tend to be more expensive than 360 cameras and smartphones, so consider your budget in making a decision.
All options offer distinct advantages. Let's delve into the specific benefits of each.
Advantages of Using a 360° Camera:
- Easy to use: 360° cameras are designed specifically for capturing immersive content, which makes them user-friendly, even for beginners.
- All-in-one solution: With a 360 camera, you don't need any additional equipment or lenses to capture a 360 image.
- Compact and portable: 360 cameras are typically small and lightweight, making them convenient to carry and use in various locations.
Disadvantages of Using a 360° Camera:
- Image quality: Compared to DSLR cameras, 360 cameras may have lower resolution and image quality.
- Limited manual controls: Most 360 cameras have limited manual settings, which can restrict your creative control over the image.
- Stitching issues: Some 360 cameras rely on in-camera stitching, which may result in stitching errors or artifacts in the final image.

Advantages of Using a DSLR:
- Superior image quality: DSLRs typically deliver higher resolution and image quality compared to 360 cameras, making them an excellent choice for photographers who prioritize detailed and crisp visuals in their panoramic images.
- Advanced control: DSLR cameras offer a compelling option for capturing 360-degree images, especially for those who prioritize advanced control over key parameters like exposure and apperture. This level of control caters to experienced photographers who want to tailor each aspect of their 360-degree shots.
- Versatility in lenses: Unlike 360 cameras, DSLRs provide the flexibility to choose from a wide range of lenses, allowing photographers to experiment with different focal lengths, apertures, and perspectives. This versatility enables the capture of 360-degree images with varying visual styles and creative effects.
Disadvantages of Using a DSLR:
- Complexity and Learning Curve: DSLRs often have a steeper learning curve, especially for beginners. Understanding manual settings, lens options, and the stitching process for panoramic shots can be challenging for those new to photography.
- Cost: DSLRs and their accompanying lenses can be more expensive than 360 cameras, potentially posing a financial barrier for some photographers.
- More time-consuming: Unlike some 360° cameras that automatically stitch images within the camera, DSLRs require external software to piece together the shots. This extra step adds more time to the process of producing 360 images.
Advantages of Using a Smartphone:
- Convenience: Smartphones are highly convenient for capturing 360-degree images due to their portability and ease of use. The all-in-one nature of smartphones eliminates the need for additional equipment.
- Cost-Effective: Using a smartphone is a cost-effective solution since many individuals already own one. This eliminates the need for purchasing specialized cameras, making it a budget-friendly option.
- User-Friendly Apps: Smartphone photography apps are designed to be user-friendly, simplifying the process of capturing and stitching 360-degree images. This accessibility makes it an excellent choice for beginners.
Disadvantages of Using a Smartphone:
- Image Quality: While smartphone cameras have improved significantly, they may still have limitations in terms of image resolution and quality compared to dedicated cameras like DSLRs.
- Limited Manual Controls: Smartphone cameras often offer limited manual controls, restricting the ability to adjust settings such as exposure and focus for more advanced users.
- Storage Limitations: High-resolution 360-degree images can take up significant storage space on a smartphone. This limitation may require users to manage storage or transfer files to external devices.

Equipment Recommendations
Creating stunning 360° images requires the right equipment. In this section, we'll explore the various options available for different needs and budgets.
360° Camera Recommendations
The following cameras offer advanced features and functionalities tailored for 360° image capture.
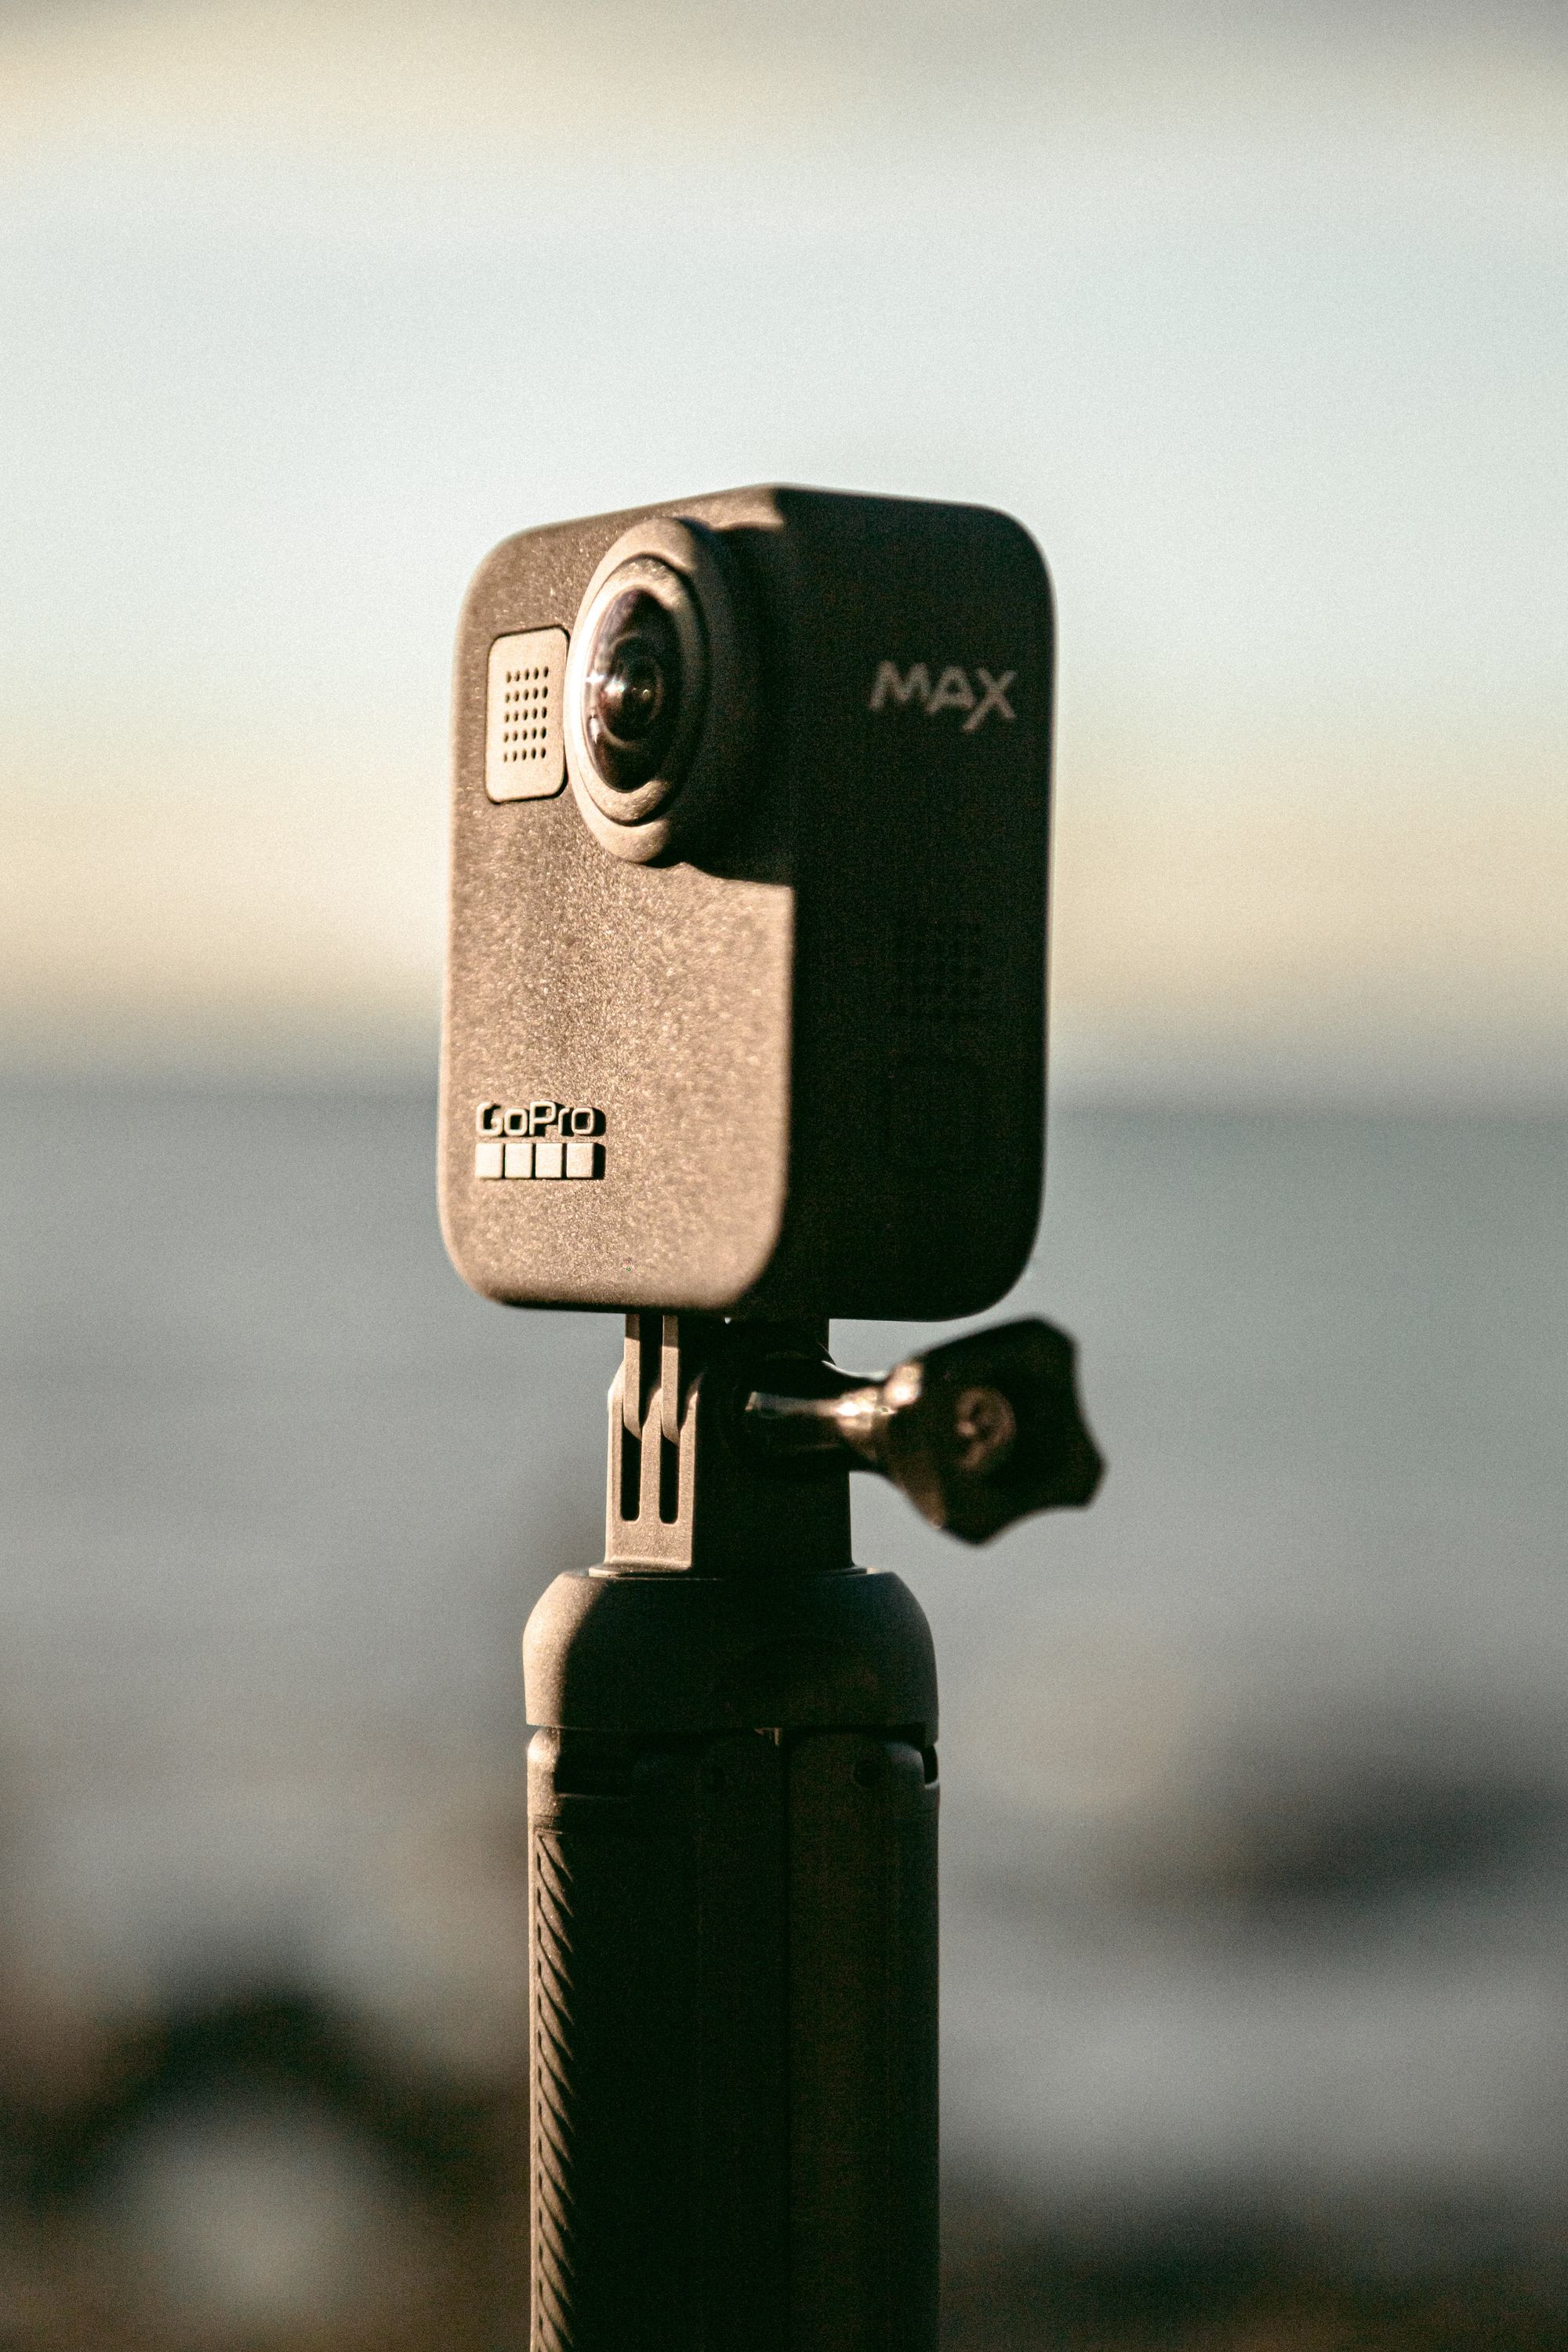
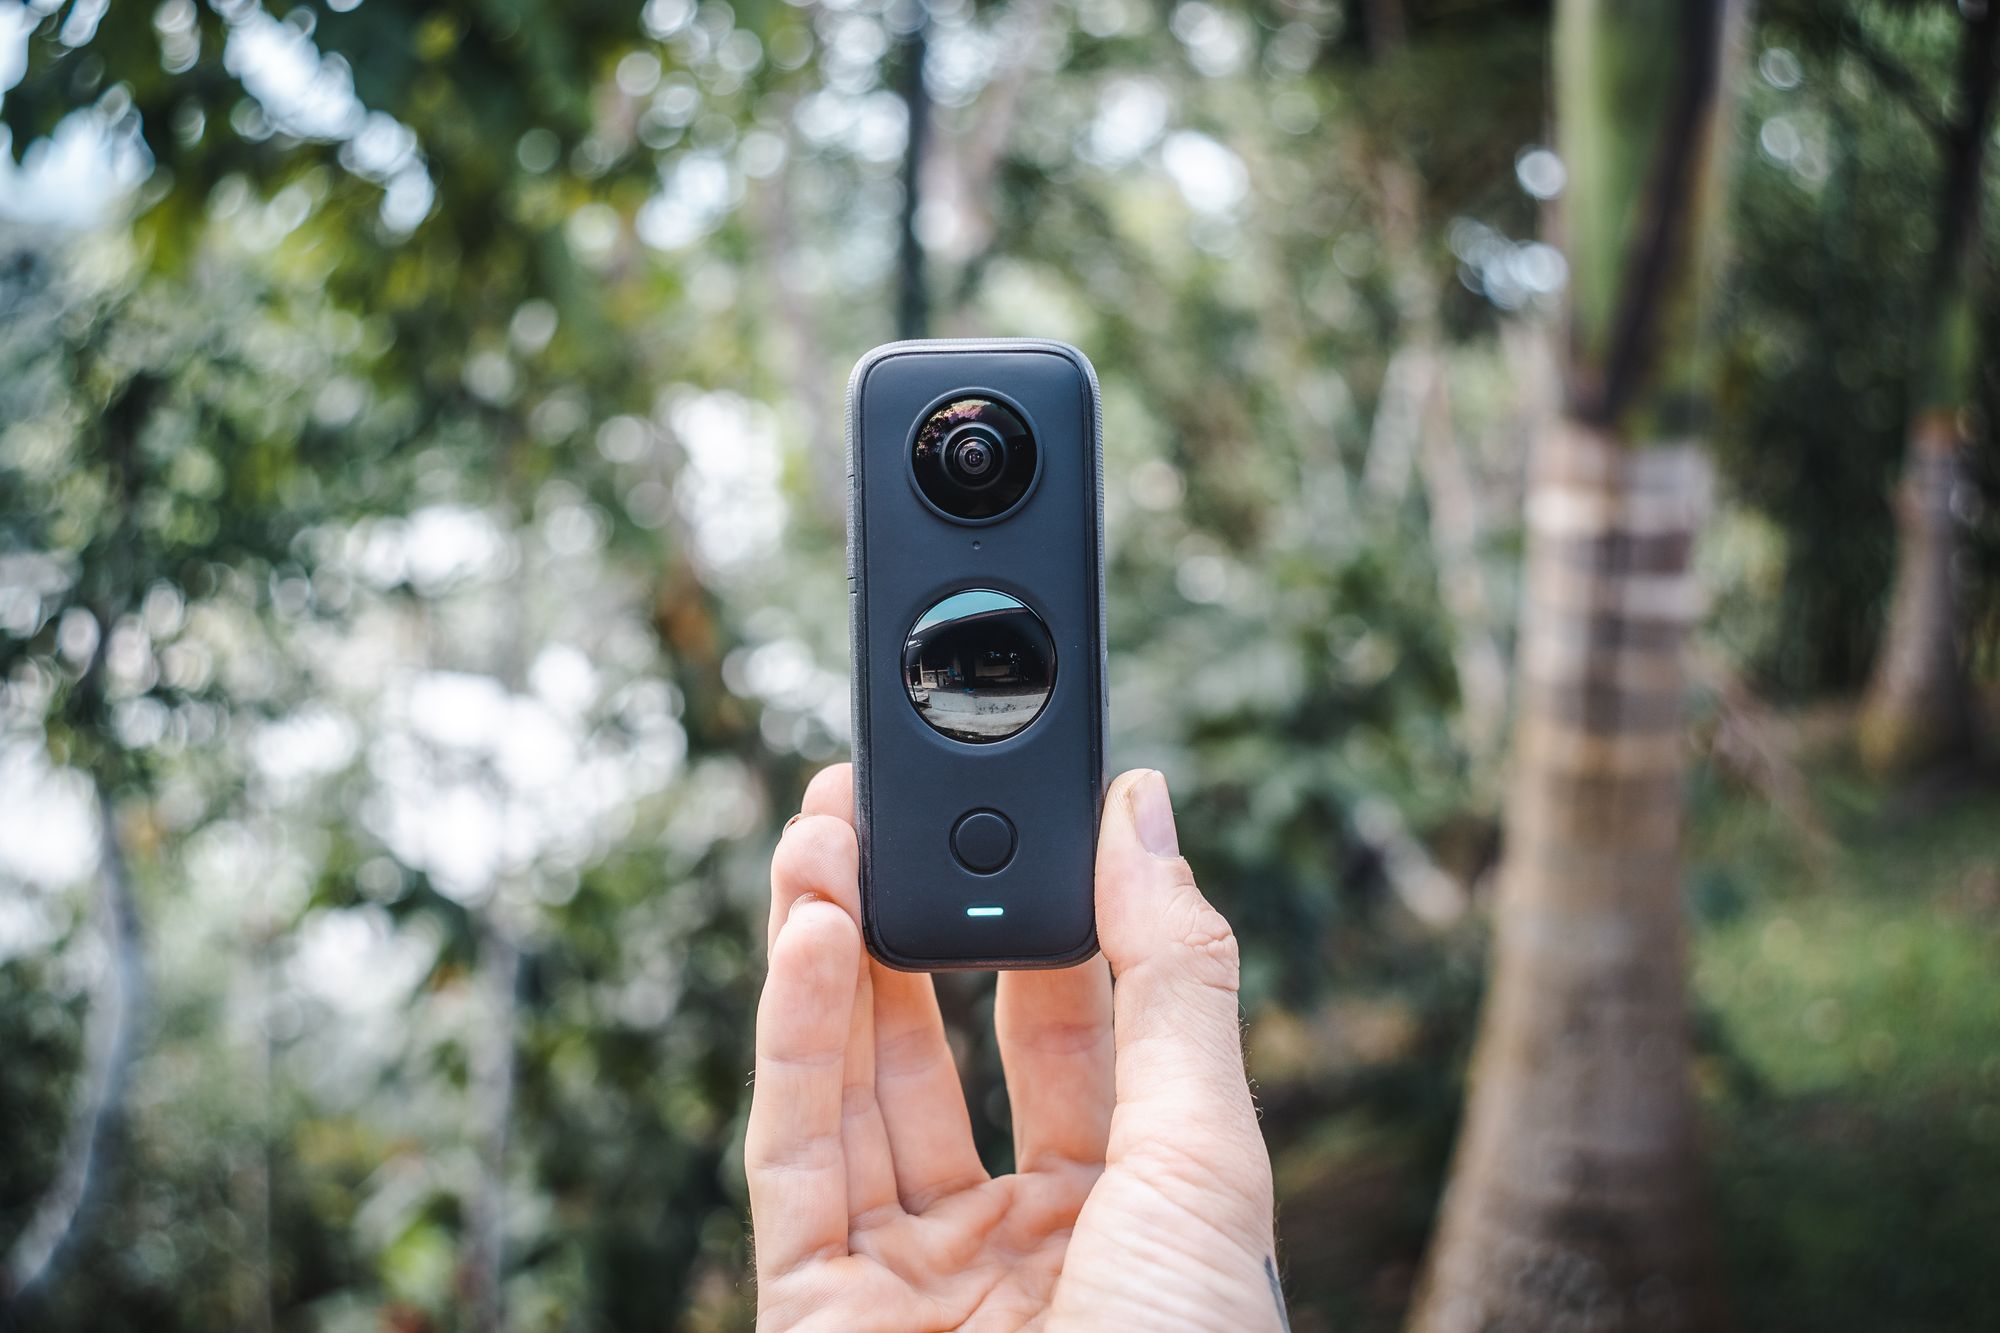
Best Overall: Insta360 ONE RS
Best Budget-Friendly: Trisio Lite2
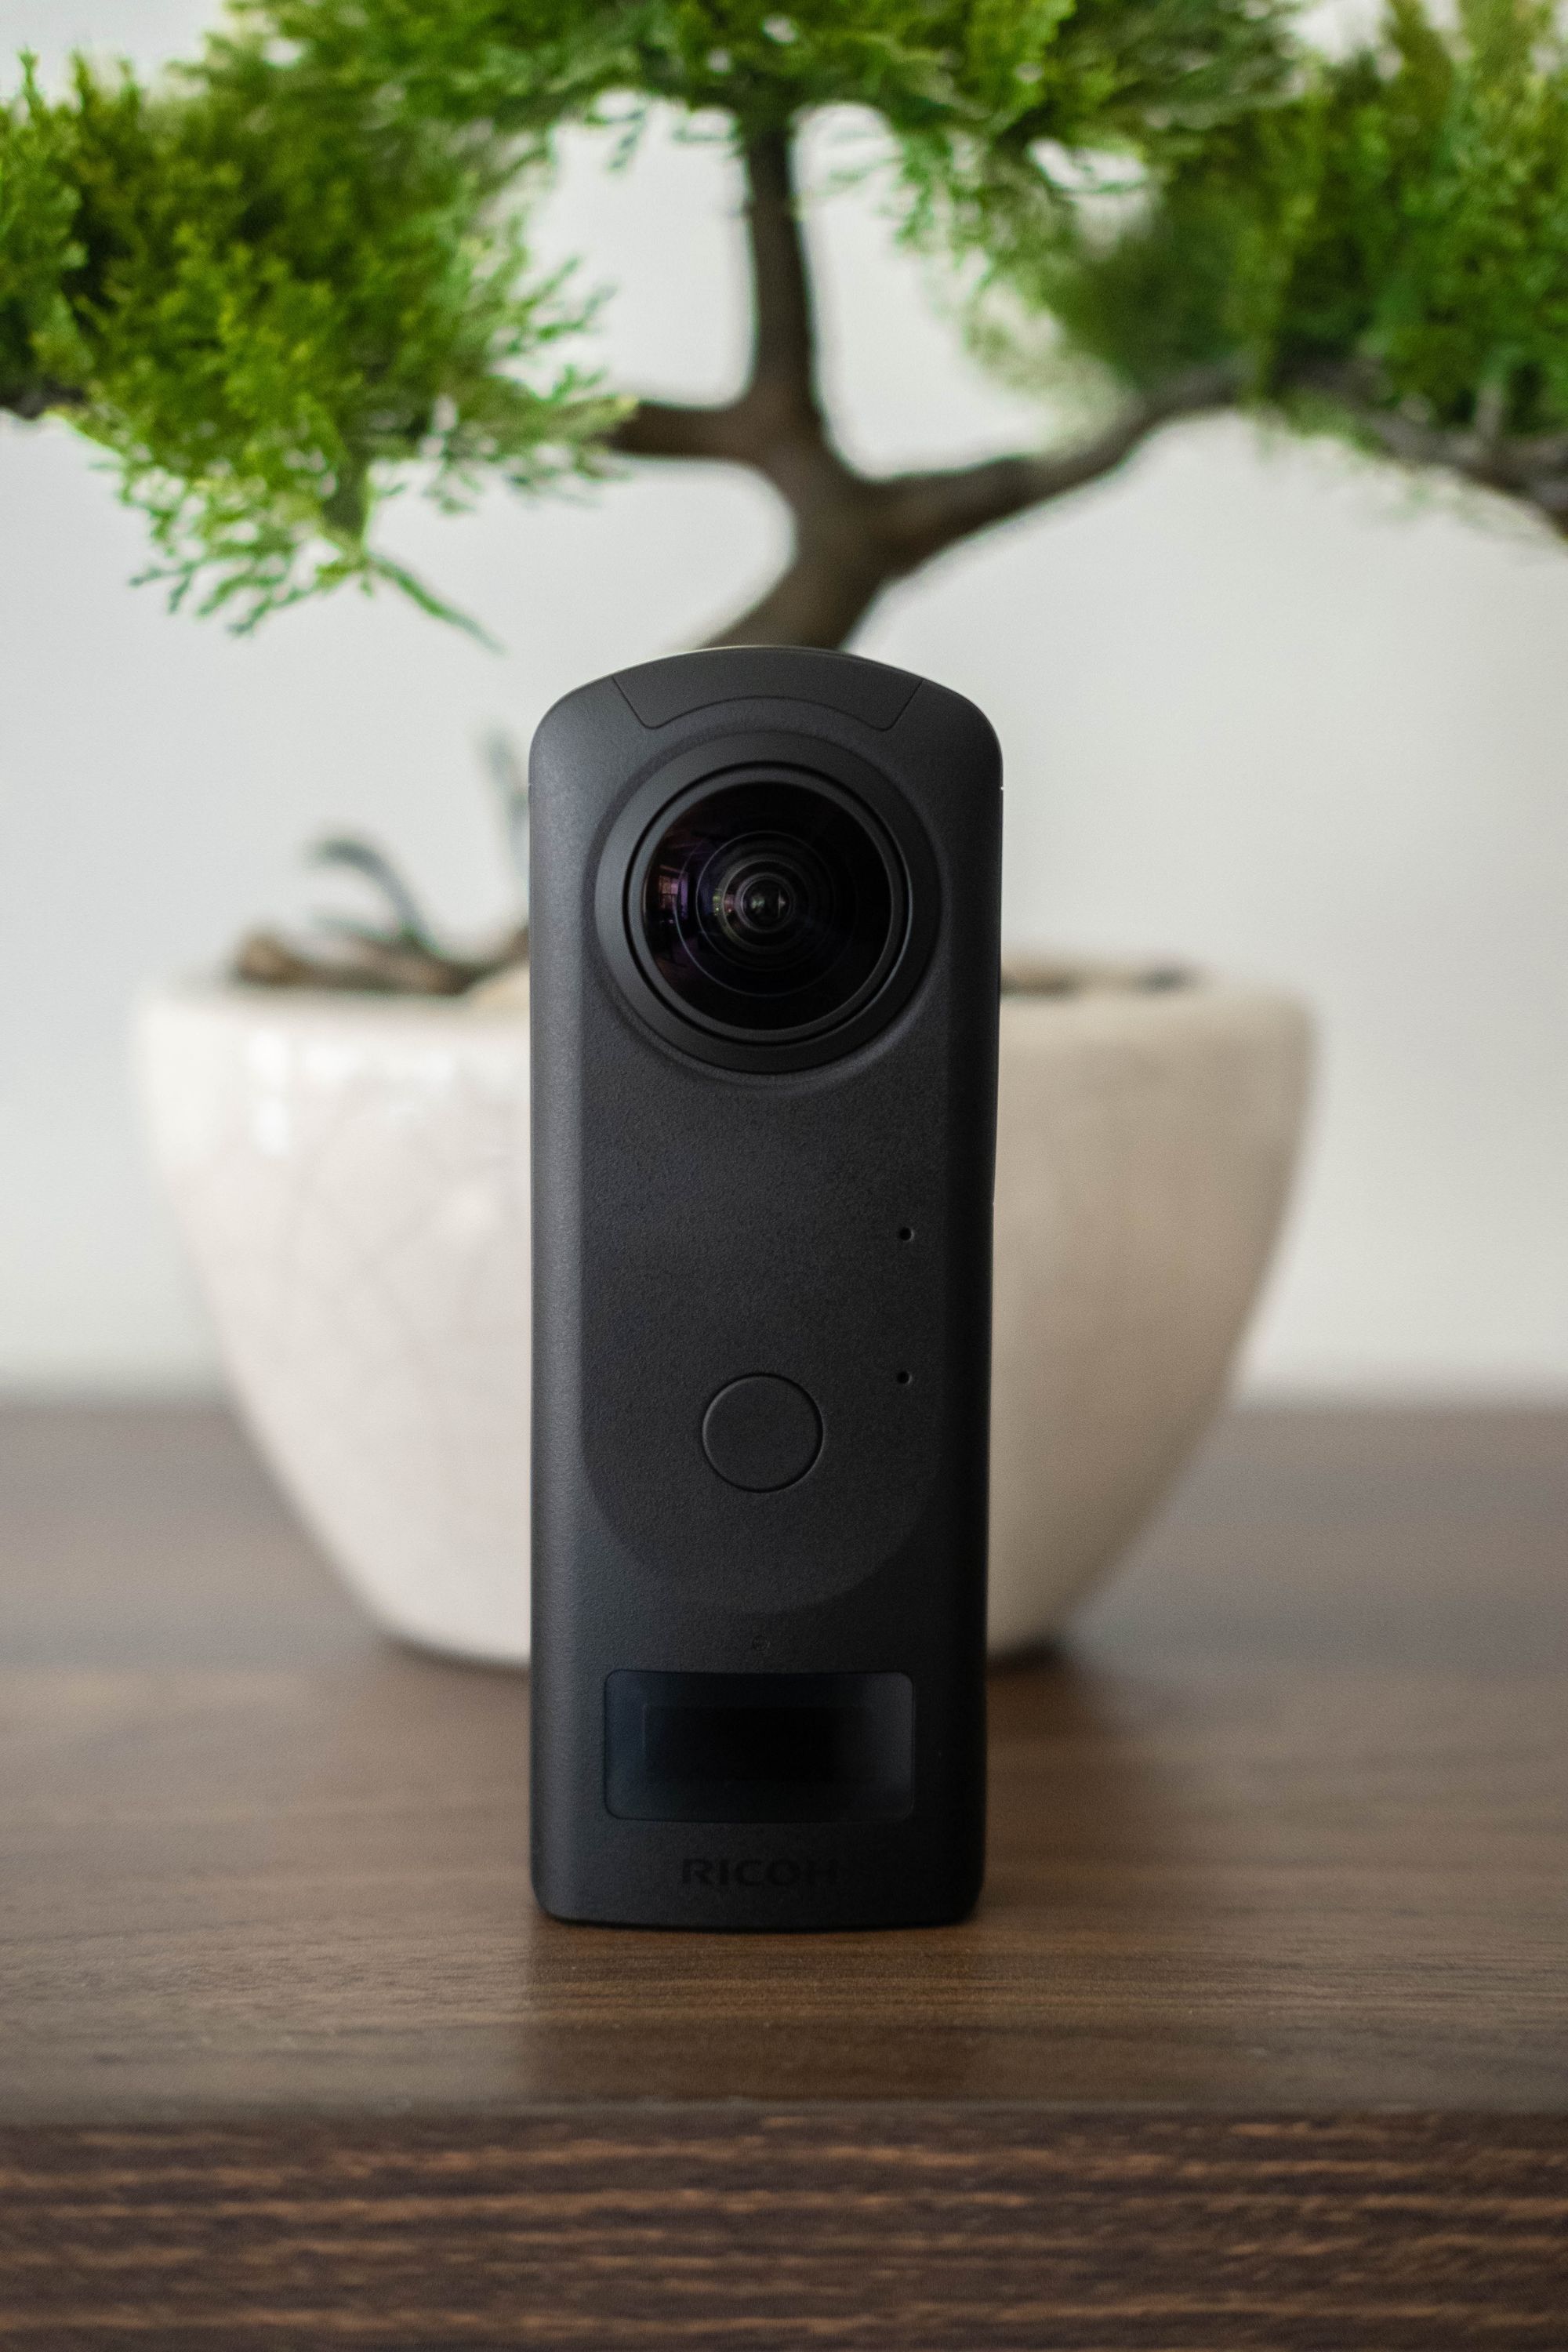
Best Photo Quality: Ricoh Theta X
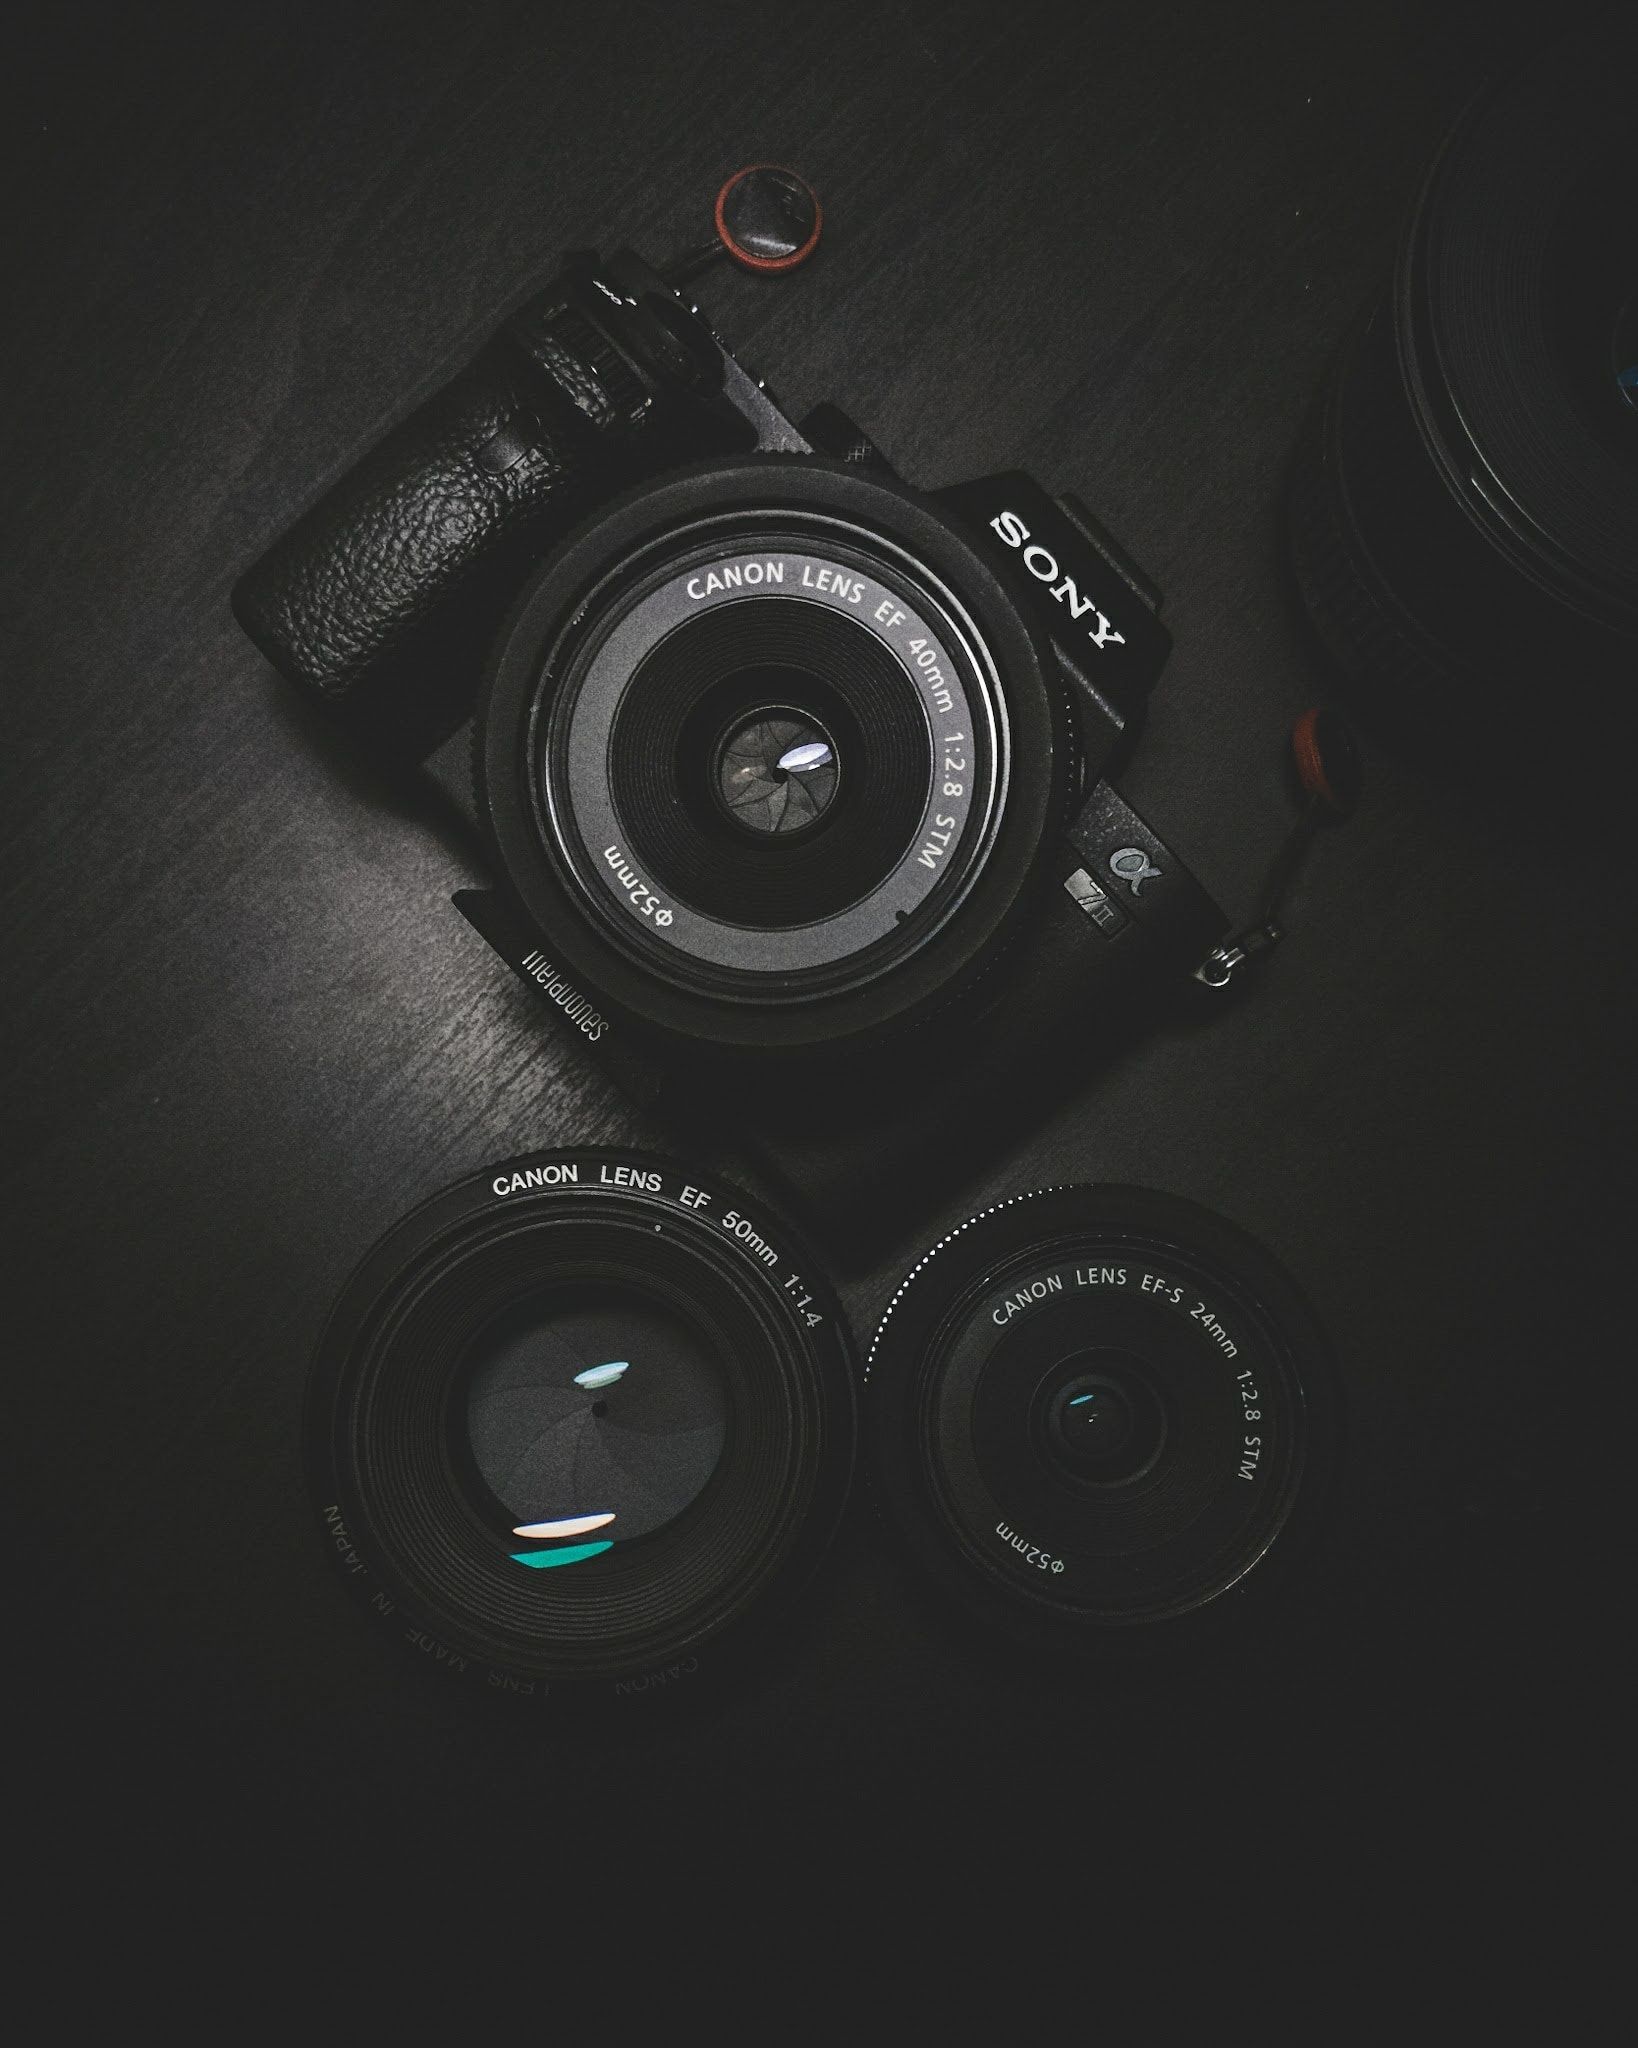
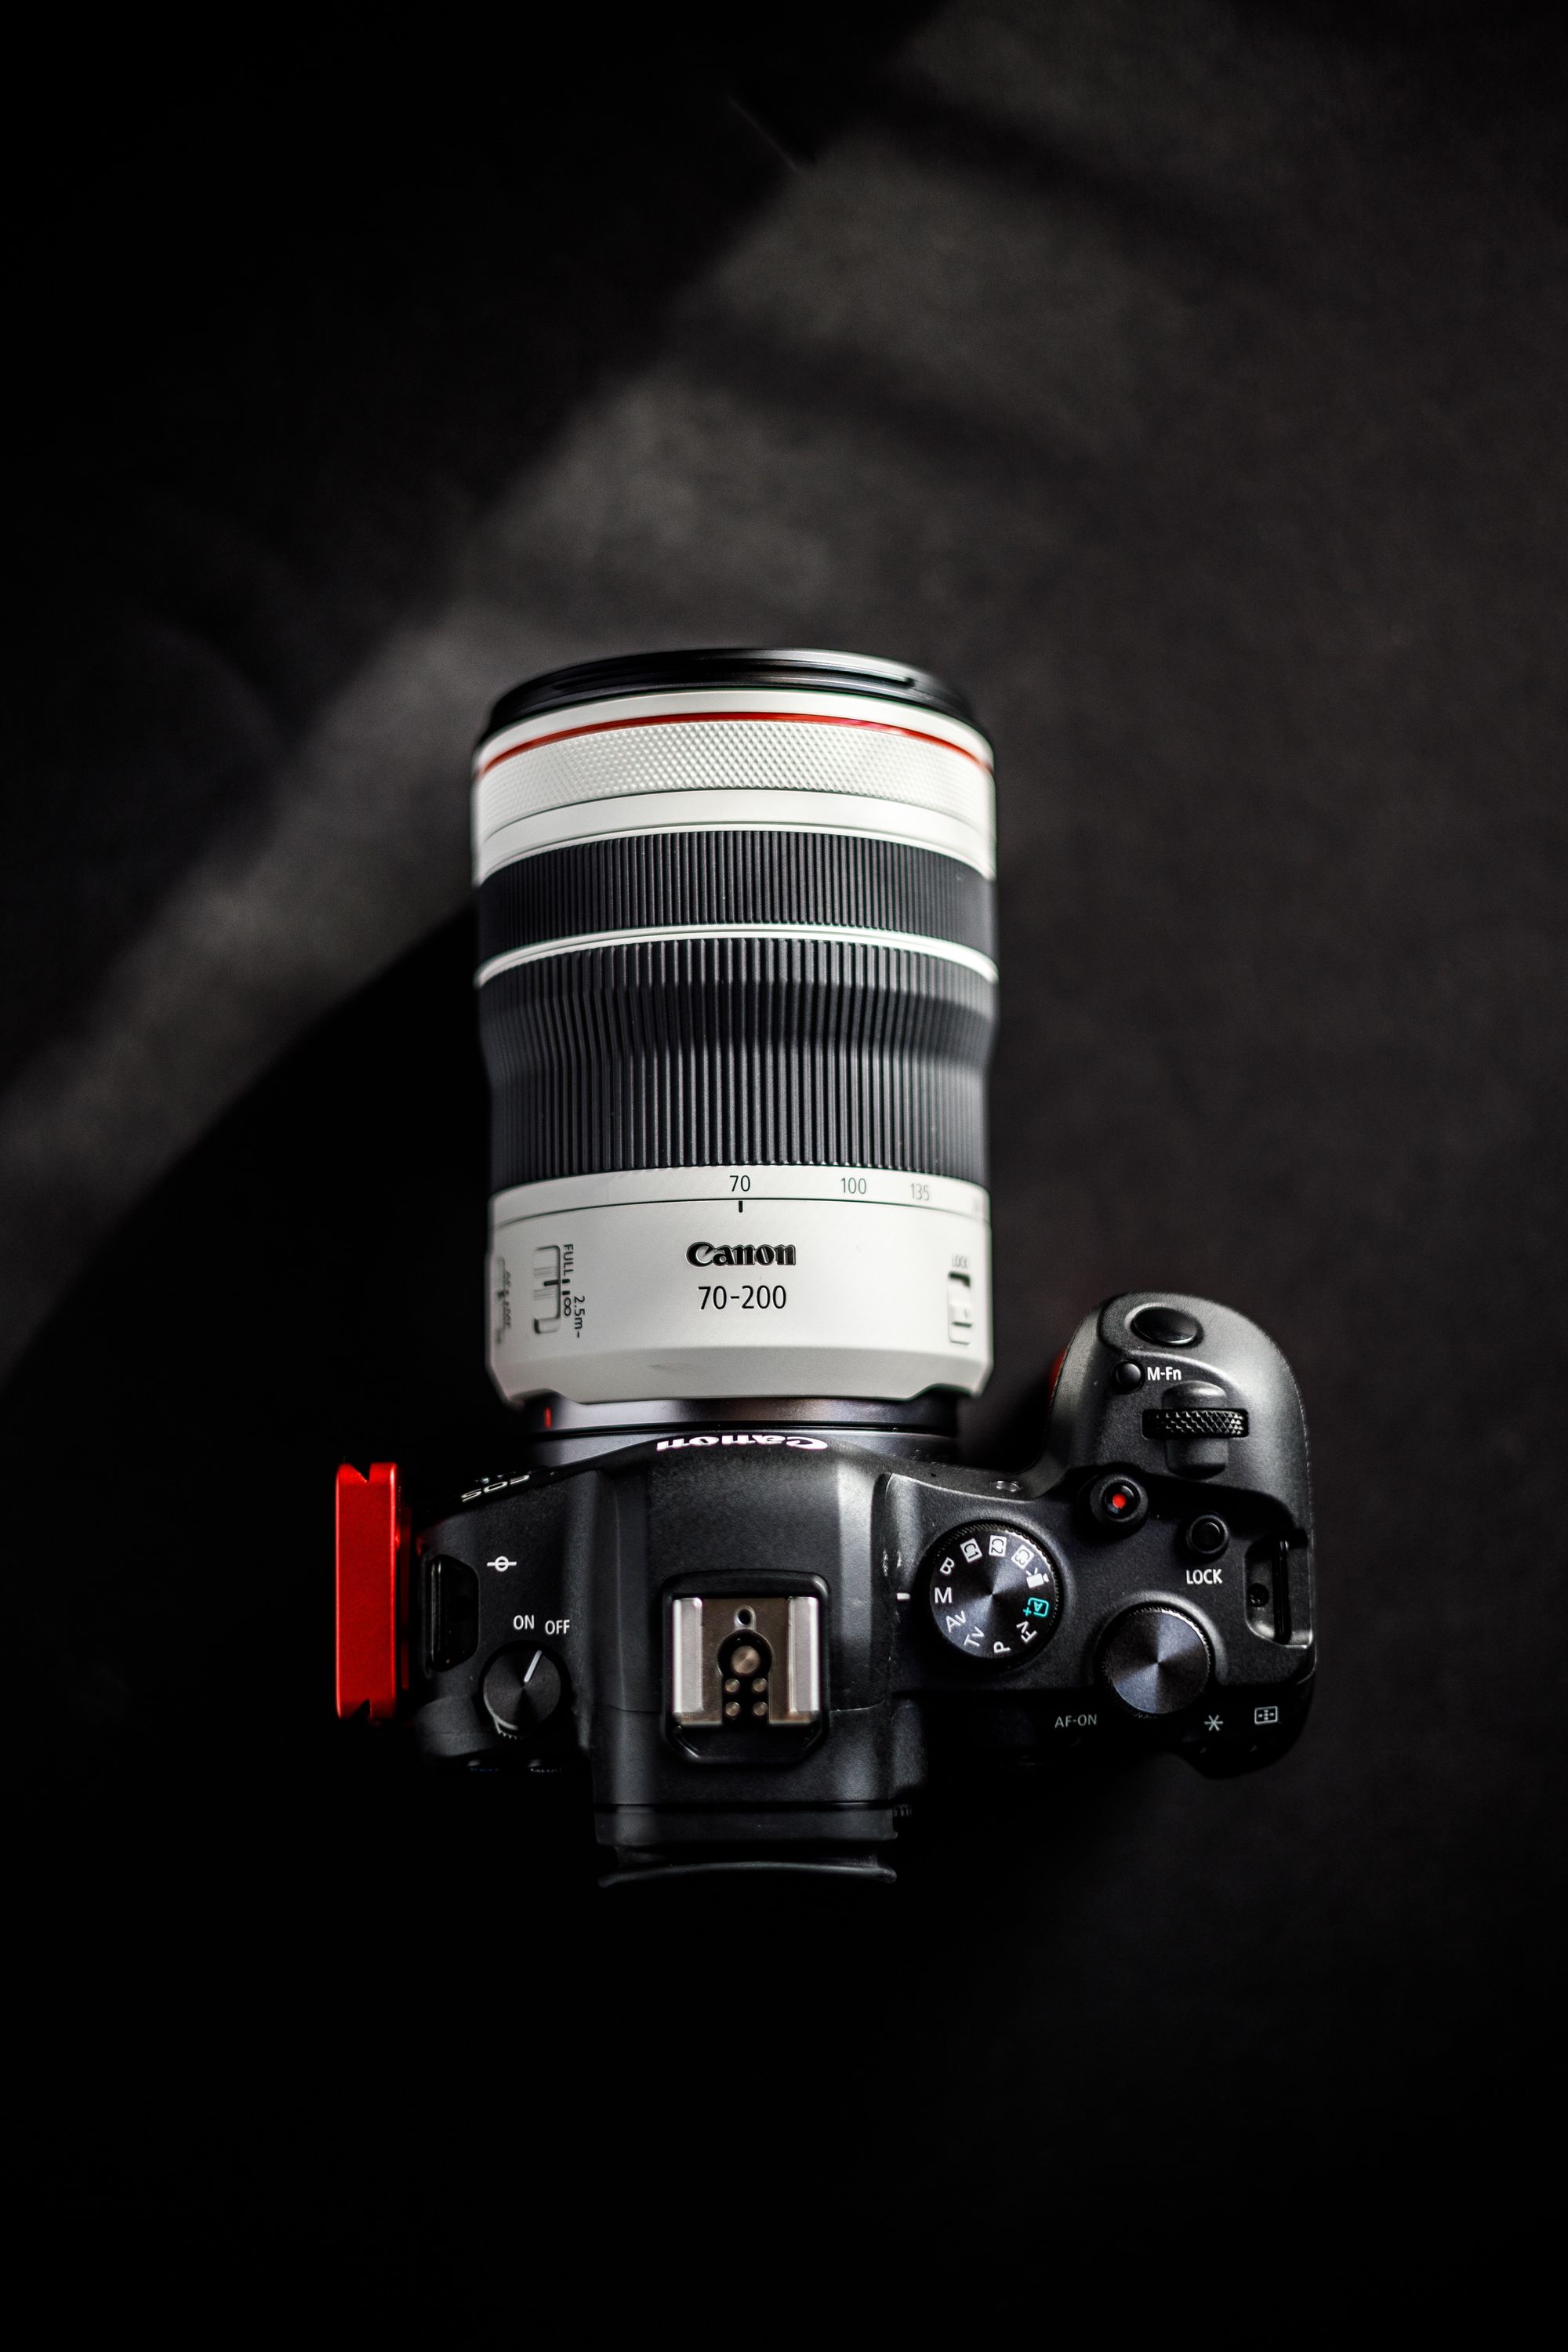
DSLR Recommendations
DSLRs with wide-angle lenses allow you to capture a wider field of view, perfect for creating panoramic images. We recommend the following setup:
DSLR + wide-angle lens + panoramic head
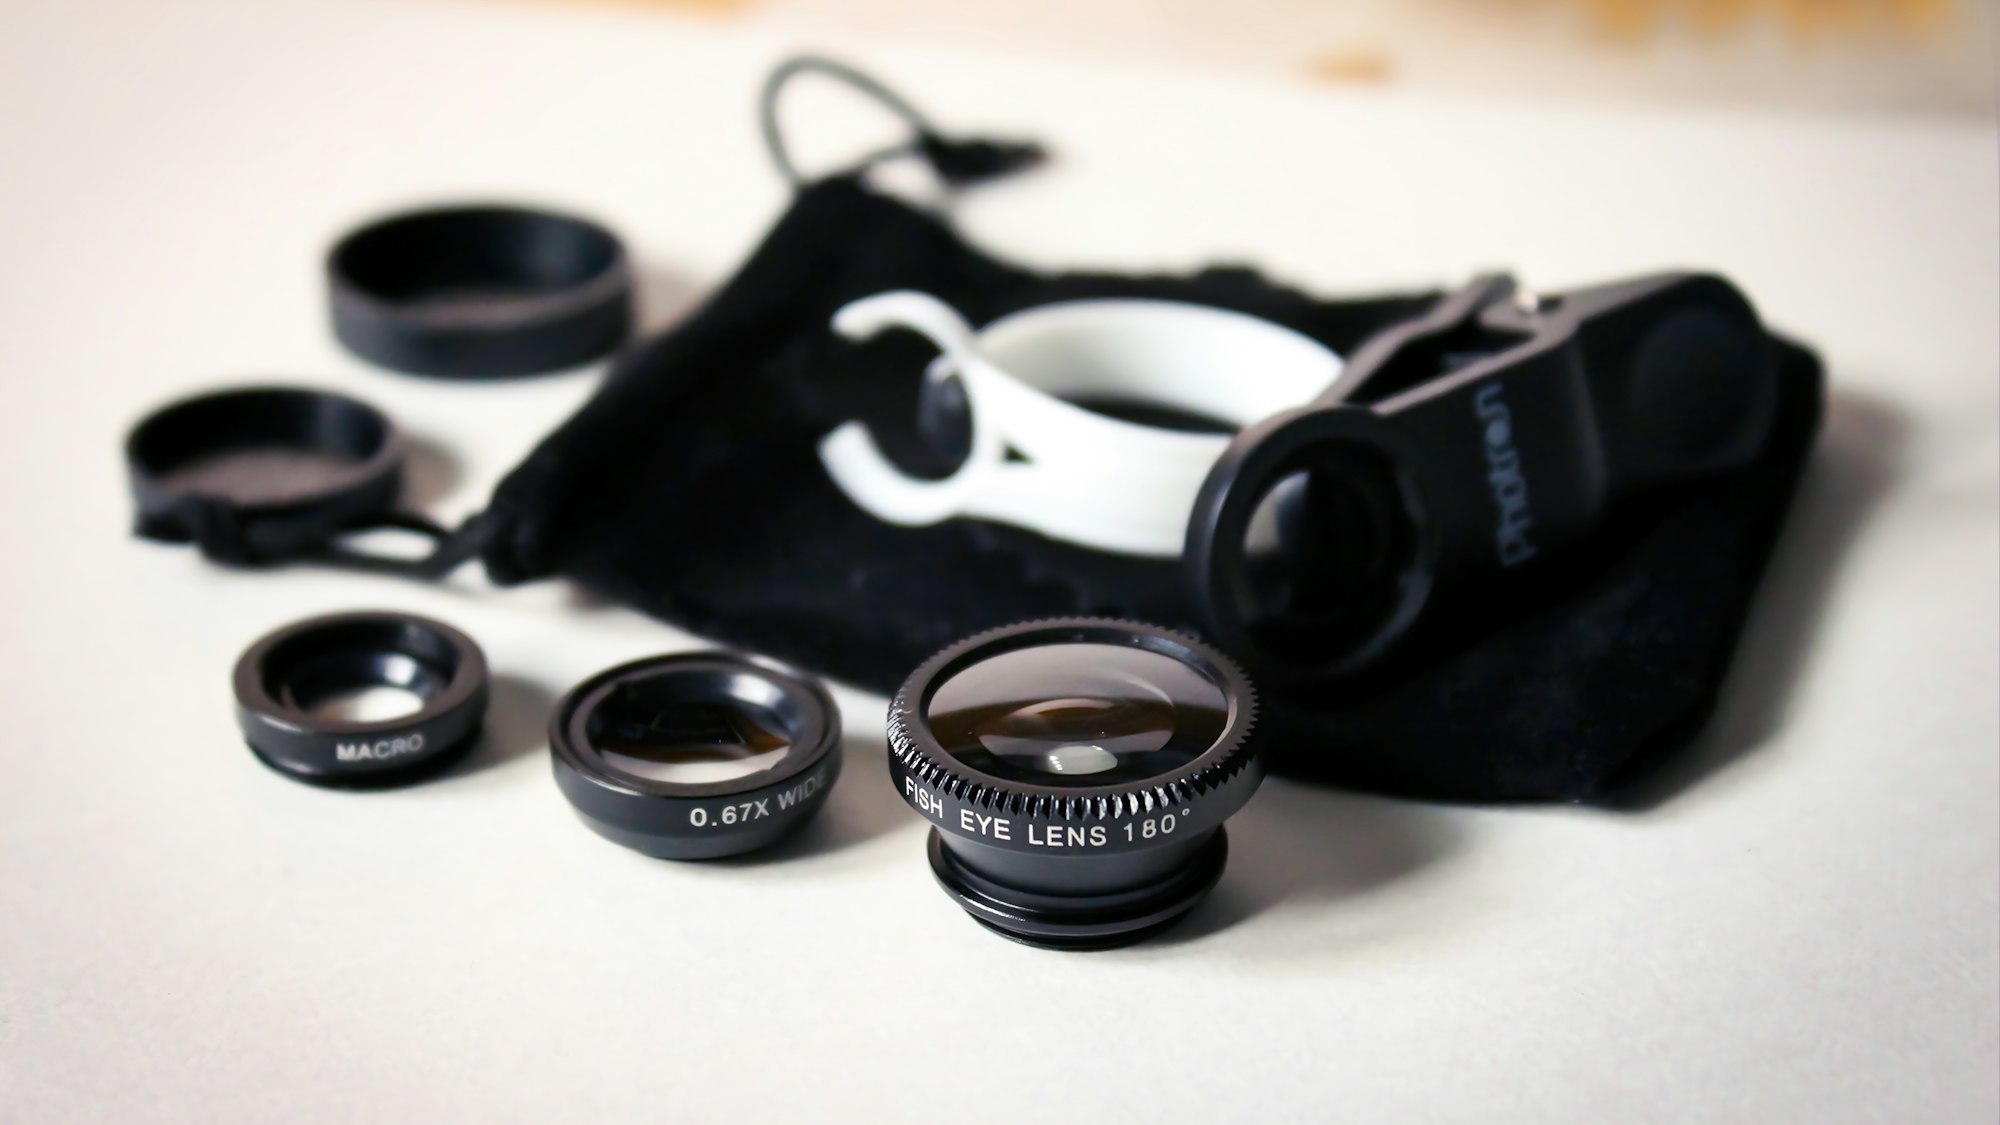
While the lens you purchase will ultimately depend on your DSLR model, the Sigma 8mm is a popular choice for Canon users.
A panoramic head is an tool that helps DSLR cameras capture precise and distortion-free panoramic images. By rotating the camera around its nodal point, it minimizes errors, ensures accurate alignment of images, and streamlines the post-production workflow. This accessory enhances image quality, versatility in composition, and overall efficiency when creating 360-degree images with a DSLR camera.
For a panoramic head, we recommend the Nodal Ninja 6.
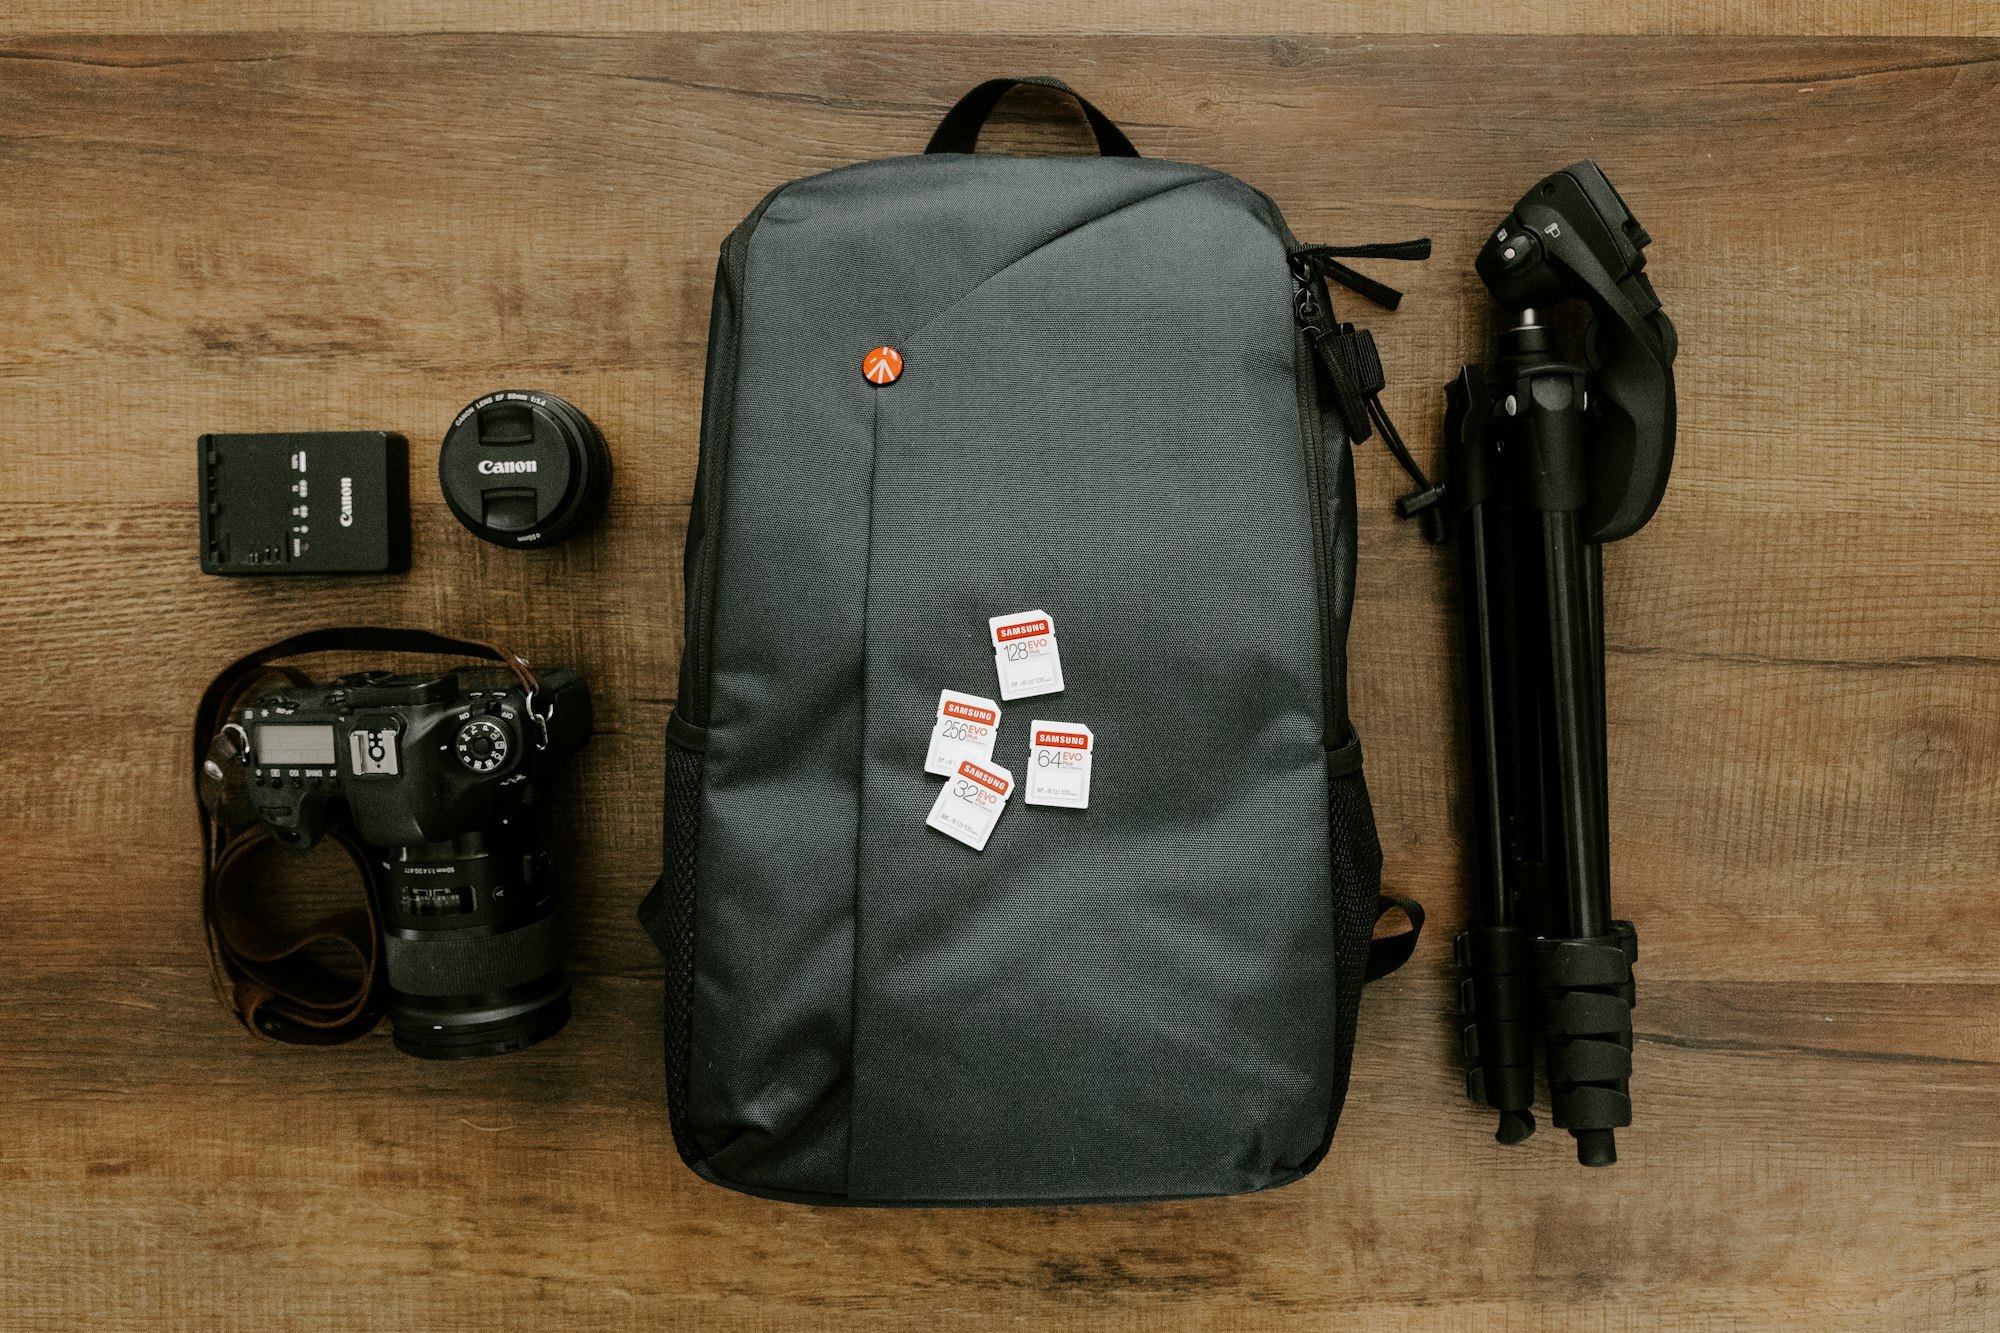
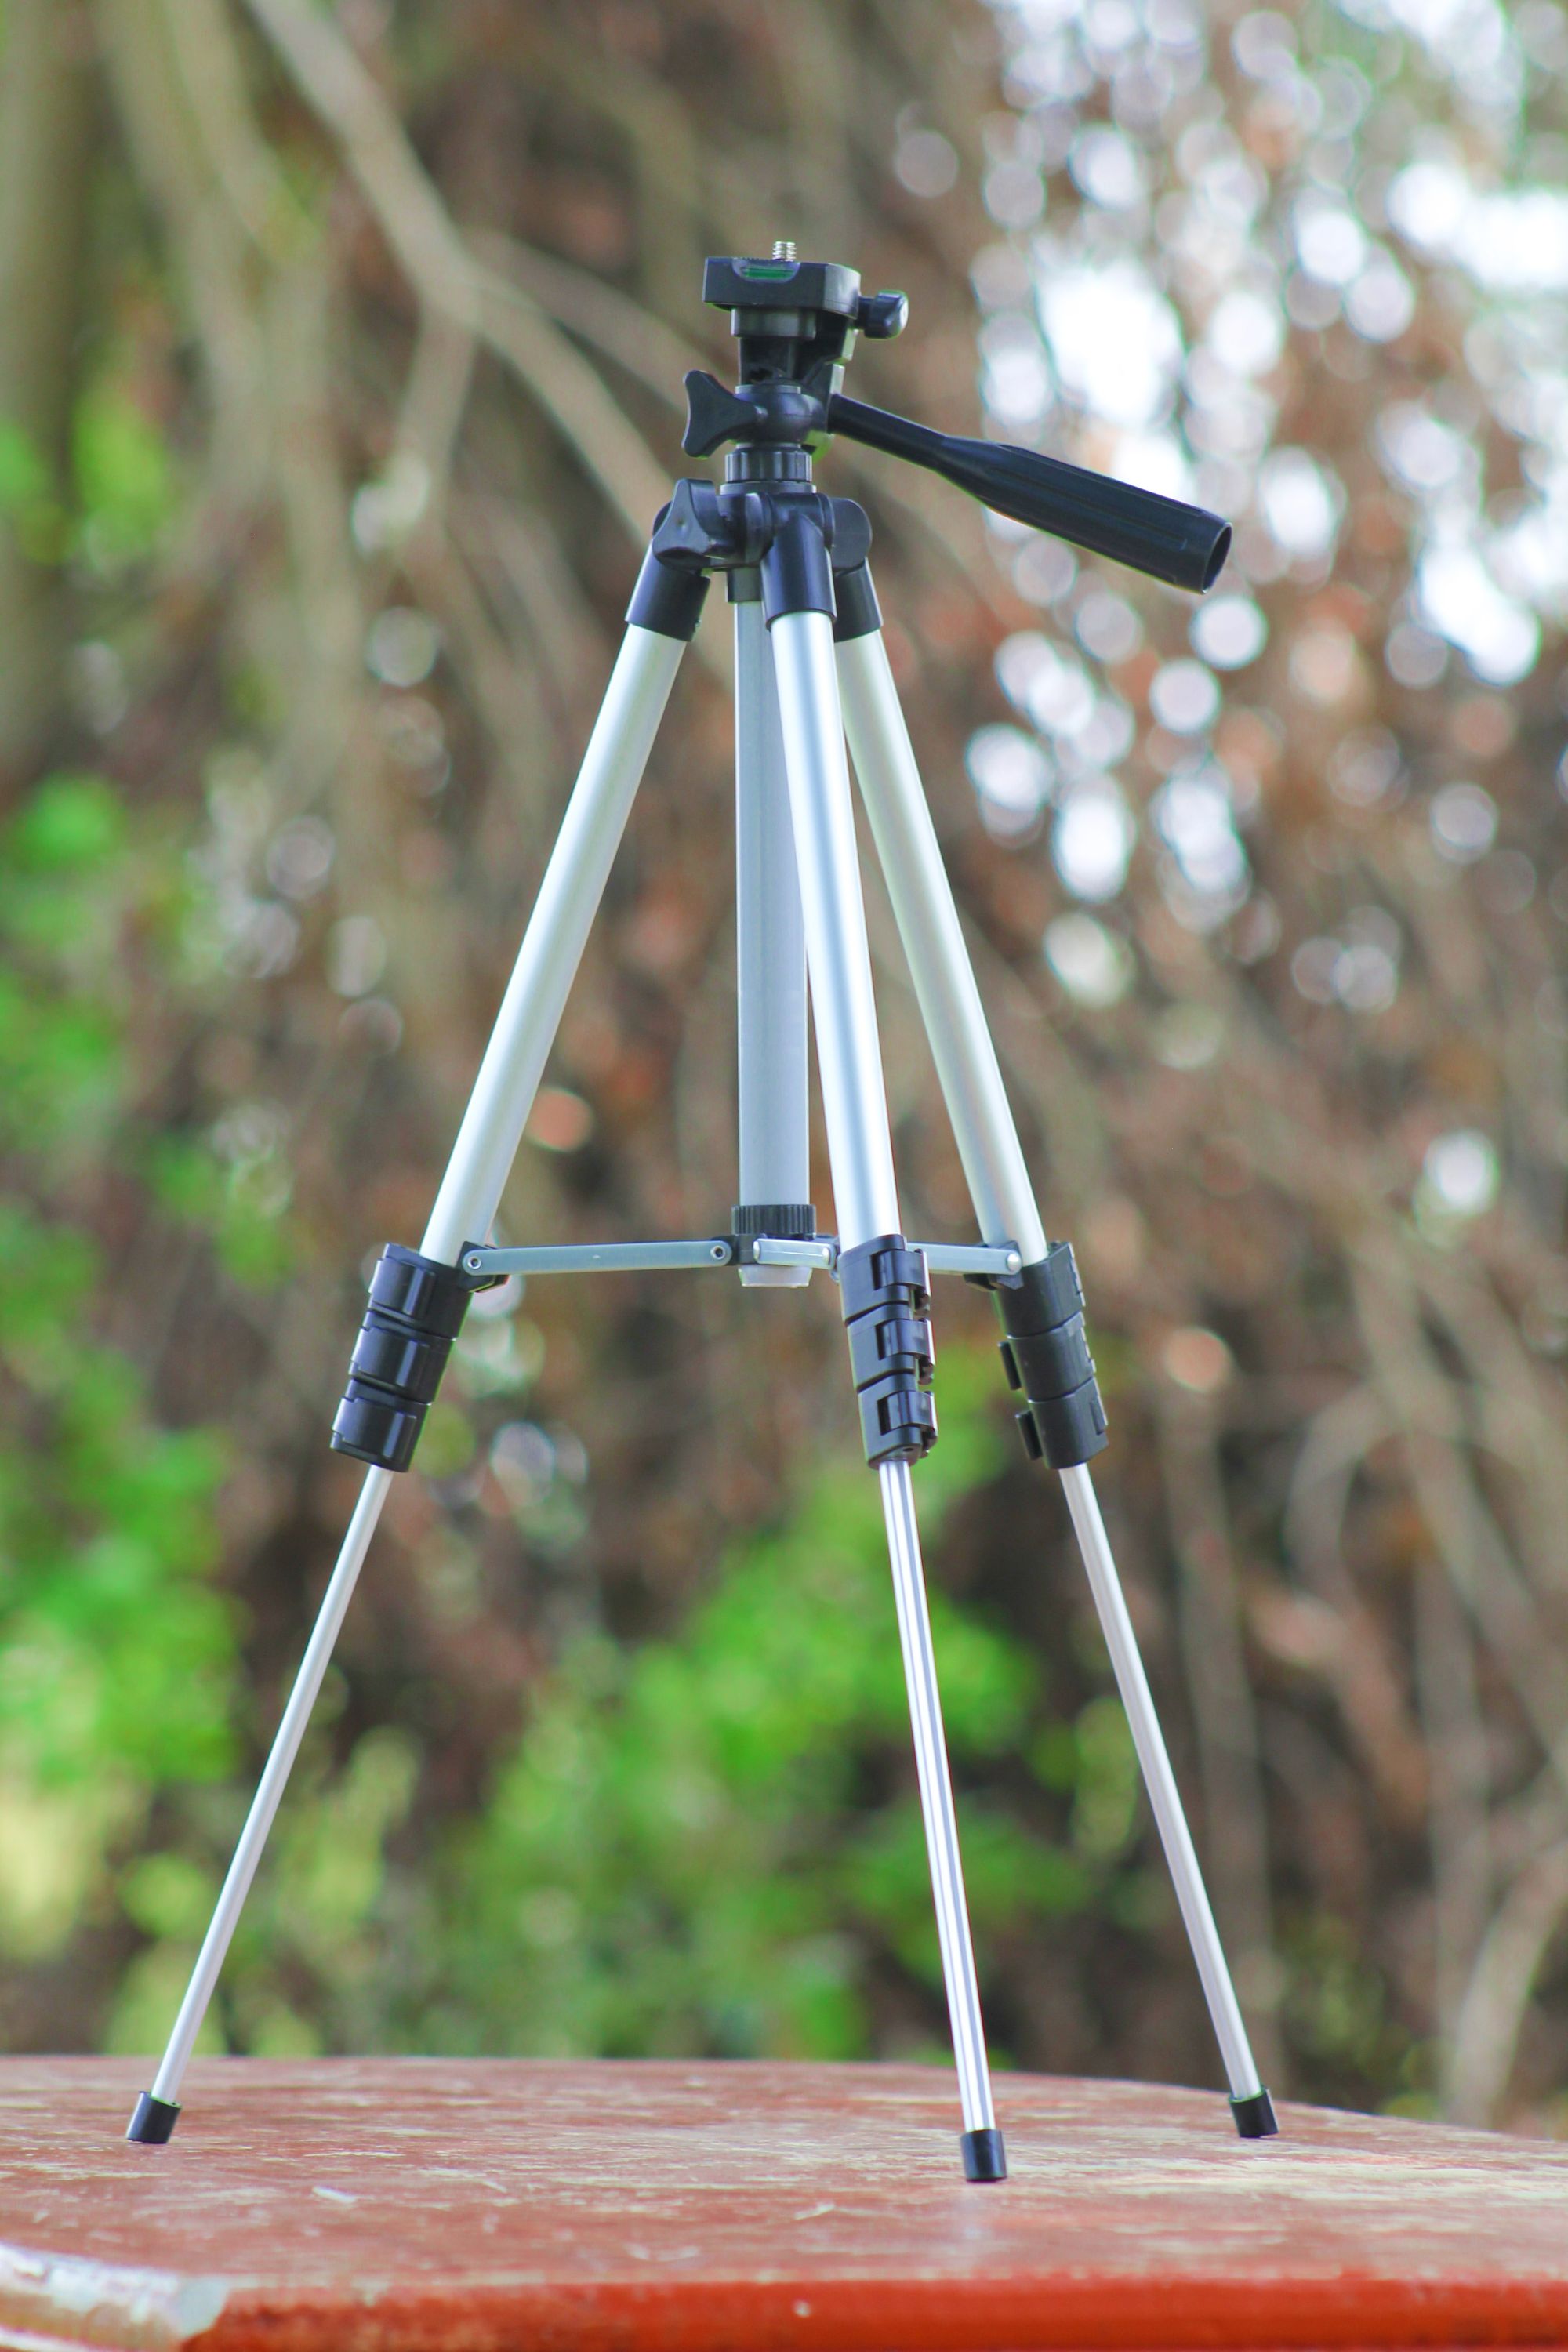
Additional Equipment for Capturing 360° Images
In addition to the camera, there are a few essential pieces of equipment that are necessary for capturing high-quality 360° images.
- Tripod: Using a tripod helps eliminate camera shake, resulting in sharper and clearer images.
- Remote trigger: Remote triggers allow you to capture images without physically touching the camera, which further reduces camera shake.
- Additional charging equipment: Spare batteries for your DSLR provide extended shooting time, serve as a backup for unforeseen circumstances, and ensure uninterrupted photography in remote locations or during important events.
By incorporating this equipment into your setup, you can ensure stability and minimize unwanted movement during the image capture process.
360° Image Stitching Software
Stitching multiple images together is a crucial step in creating a seamless 360° image. To achieve this, you will need reliable software that can effortlessly merge your photos.
PTGui
PTGui is a dedicated software designed specifically for panorama stitching, including 360° images. It offers a user-friendly interface and advanced features, such as exposure correction, alignment optimization, and control points. PTGui supports various file formats and has a built-in ability to straighten and mask out unwanted portions of your images, resulting in a seamless panorama.
Hugin
Hugin is another powerful open-source software that specializes in panorama stitching. It provides an intuitive interface and advanced features for aligning and blending images to create stunning panoramas. Hugin supports a wide range of file formats and offers control over individual image parameters, allowing you to fine-tune your final output.


Best Practices for Shooting 360° Images
When it comes to creating impressive 360° images, there are several tips, tricks, and best practices that can help you achieve high-quality results. In this section, we will explore some of these techniques to elevate your 360 image creation skills.
When shooting 360° images, we suggest the following:
1. Position your camera appropriately.
Ensuring the proper positioning of your camera is essential for capturing a comprehensive 360° view. Generally, it is advisable to place your camera around 5 feet from the floor. However, adjustments may be necessary based on specific scenarios.
For instance, when photographing a spacious room with high ceilings, you might need to raise the camera height slightly. Conversely, if your intention is to highlight an intriguing floor, positioning the camera lower than the usual 5 feet could be more effective.
The key is to adapt the camera height to the unique characteristics of the scene you are capturing, optimizing the composition for the best results.
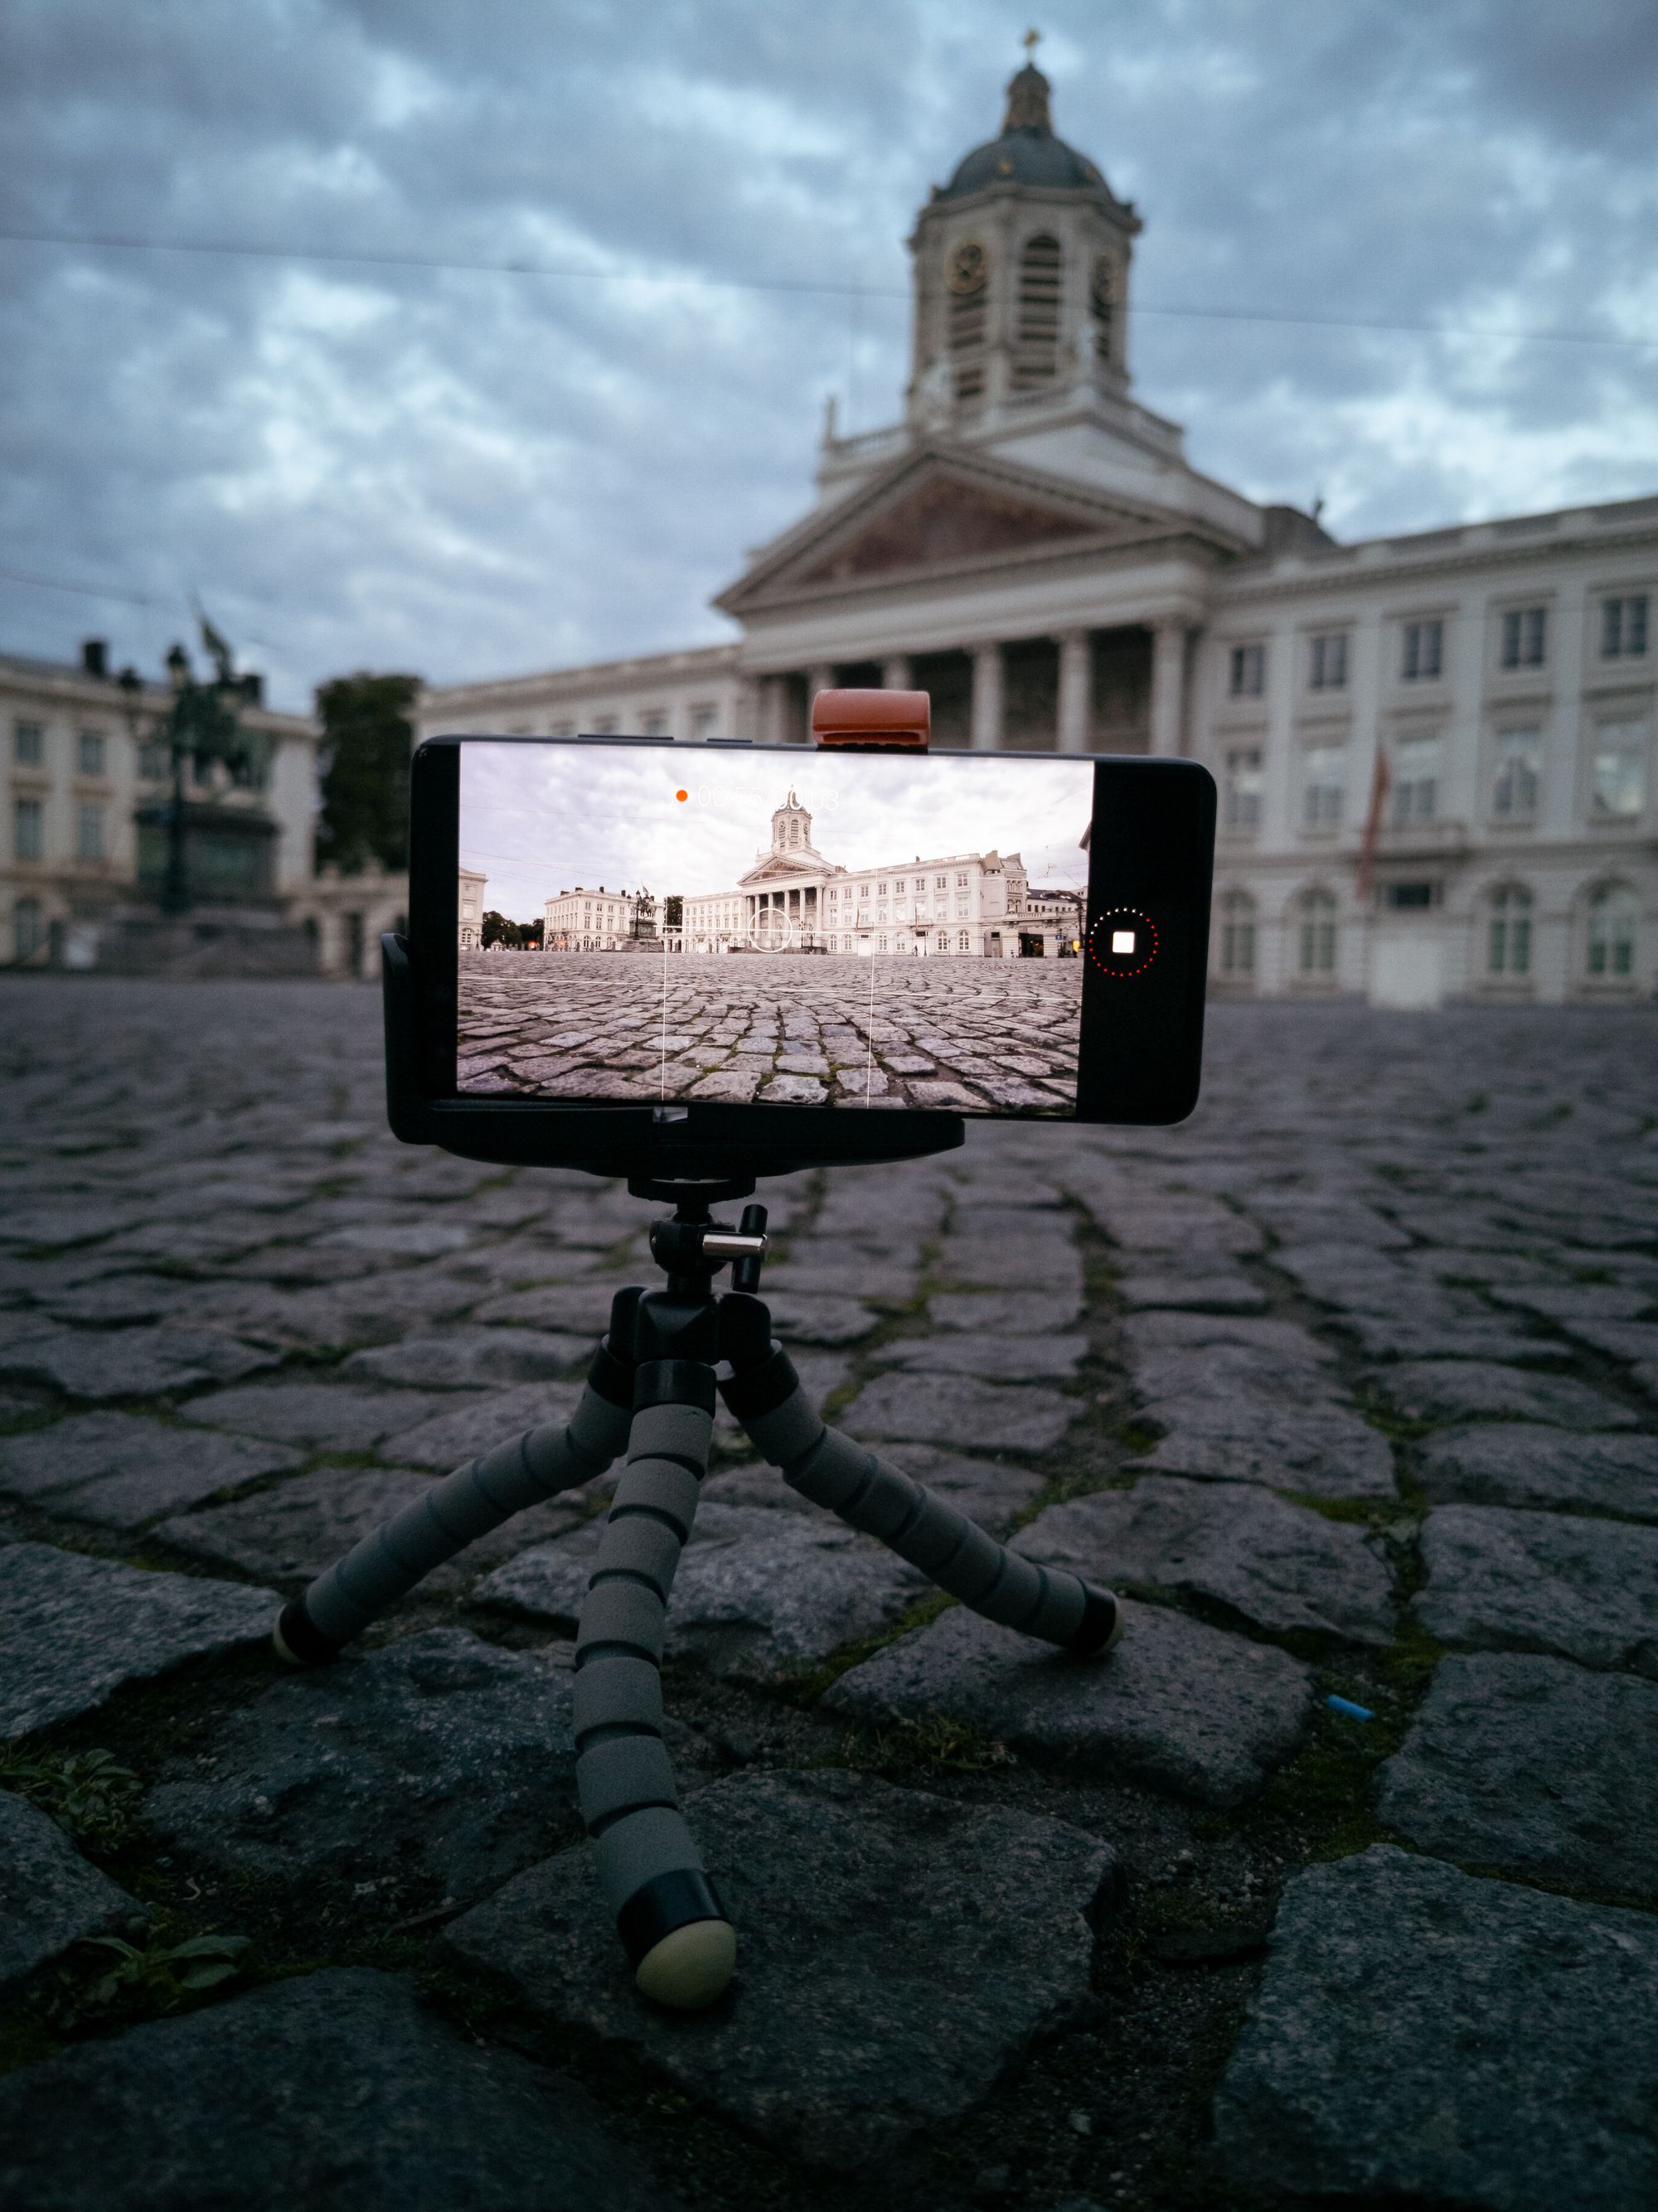
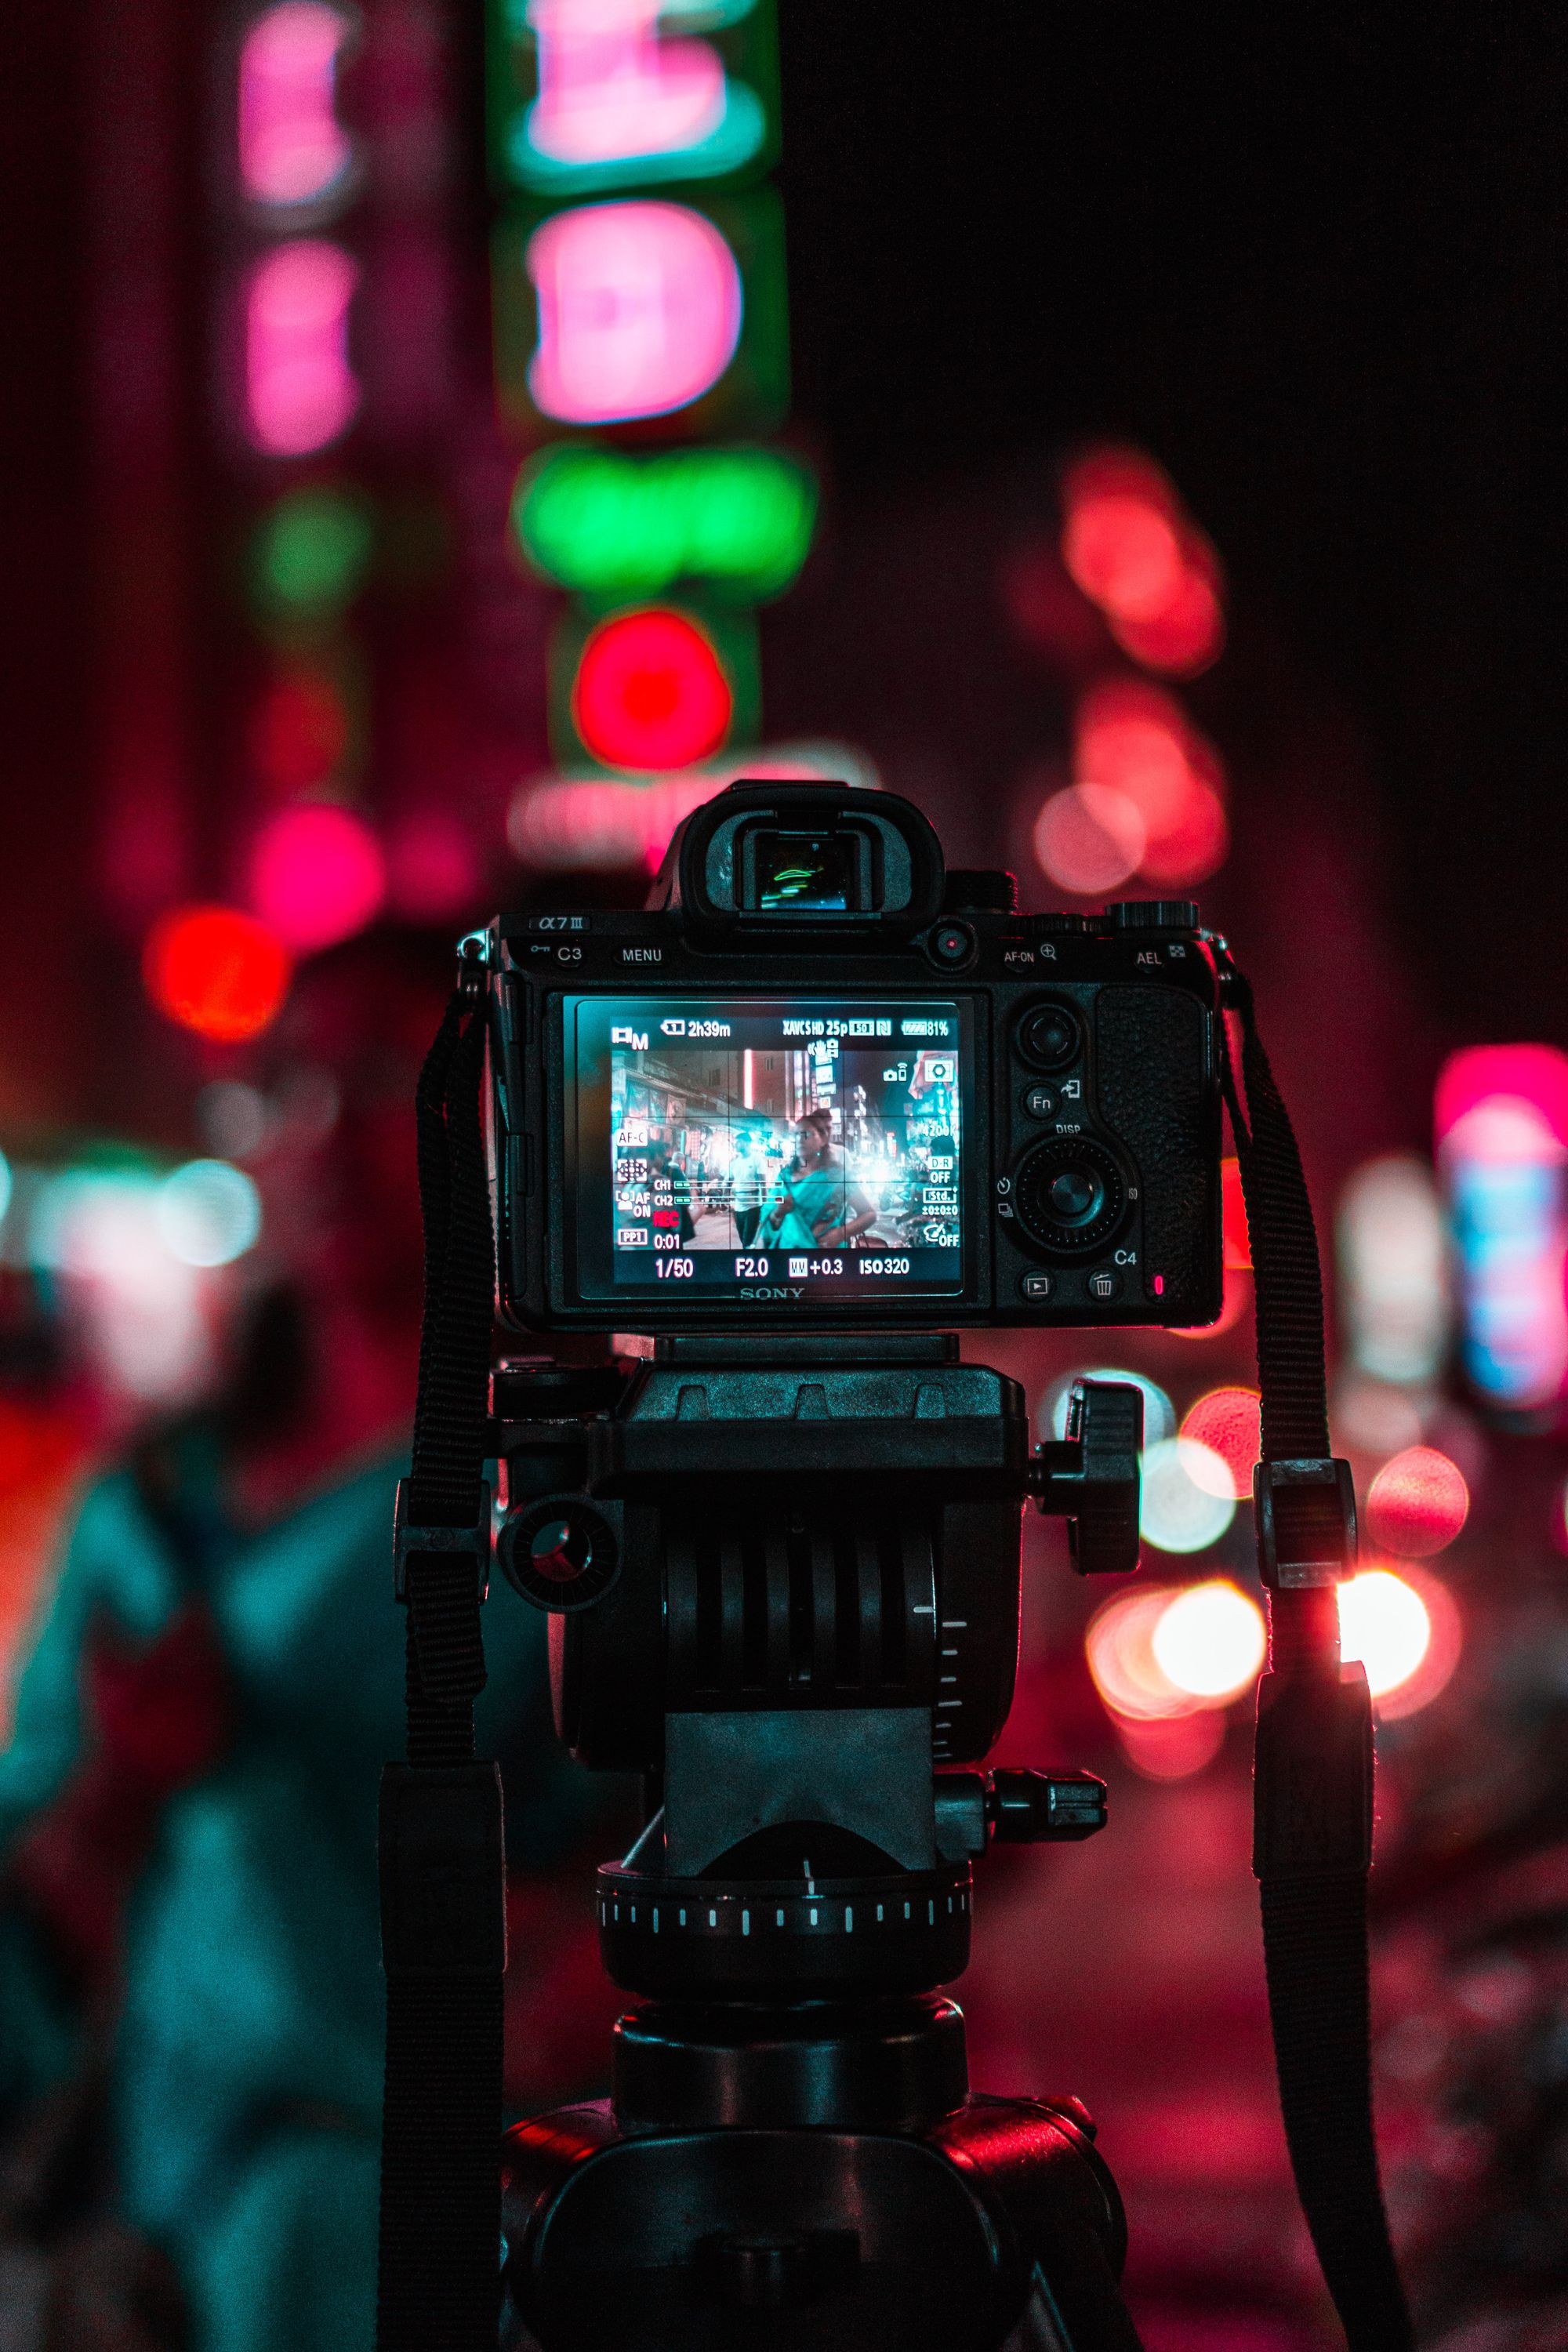
2. Use a tripod.
Handheld shots can introduce camera shake, especially in low-light conditions or longer exposure times.
The utilization of a tripod eliminates camera shake through the implementation of image stabilization, leading to sharper and clearer images in the final 360-degree composition.
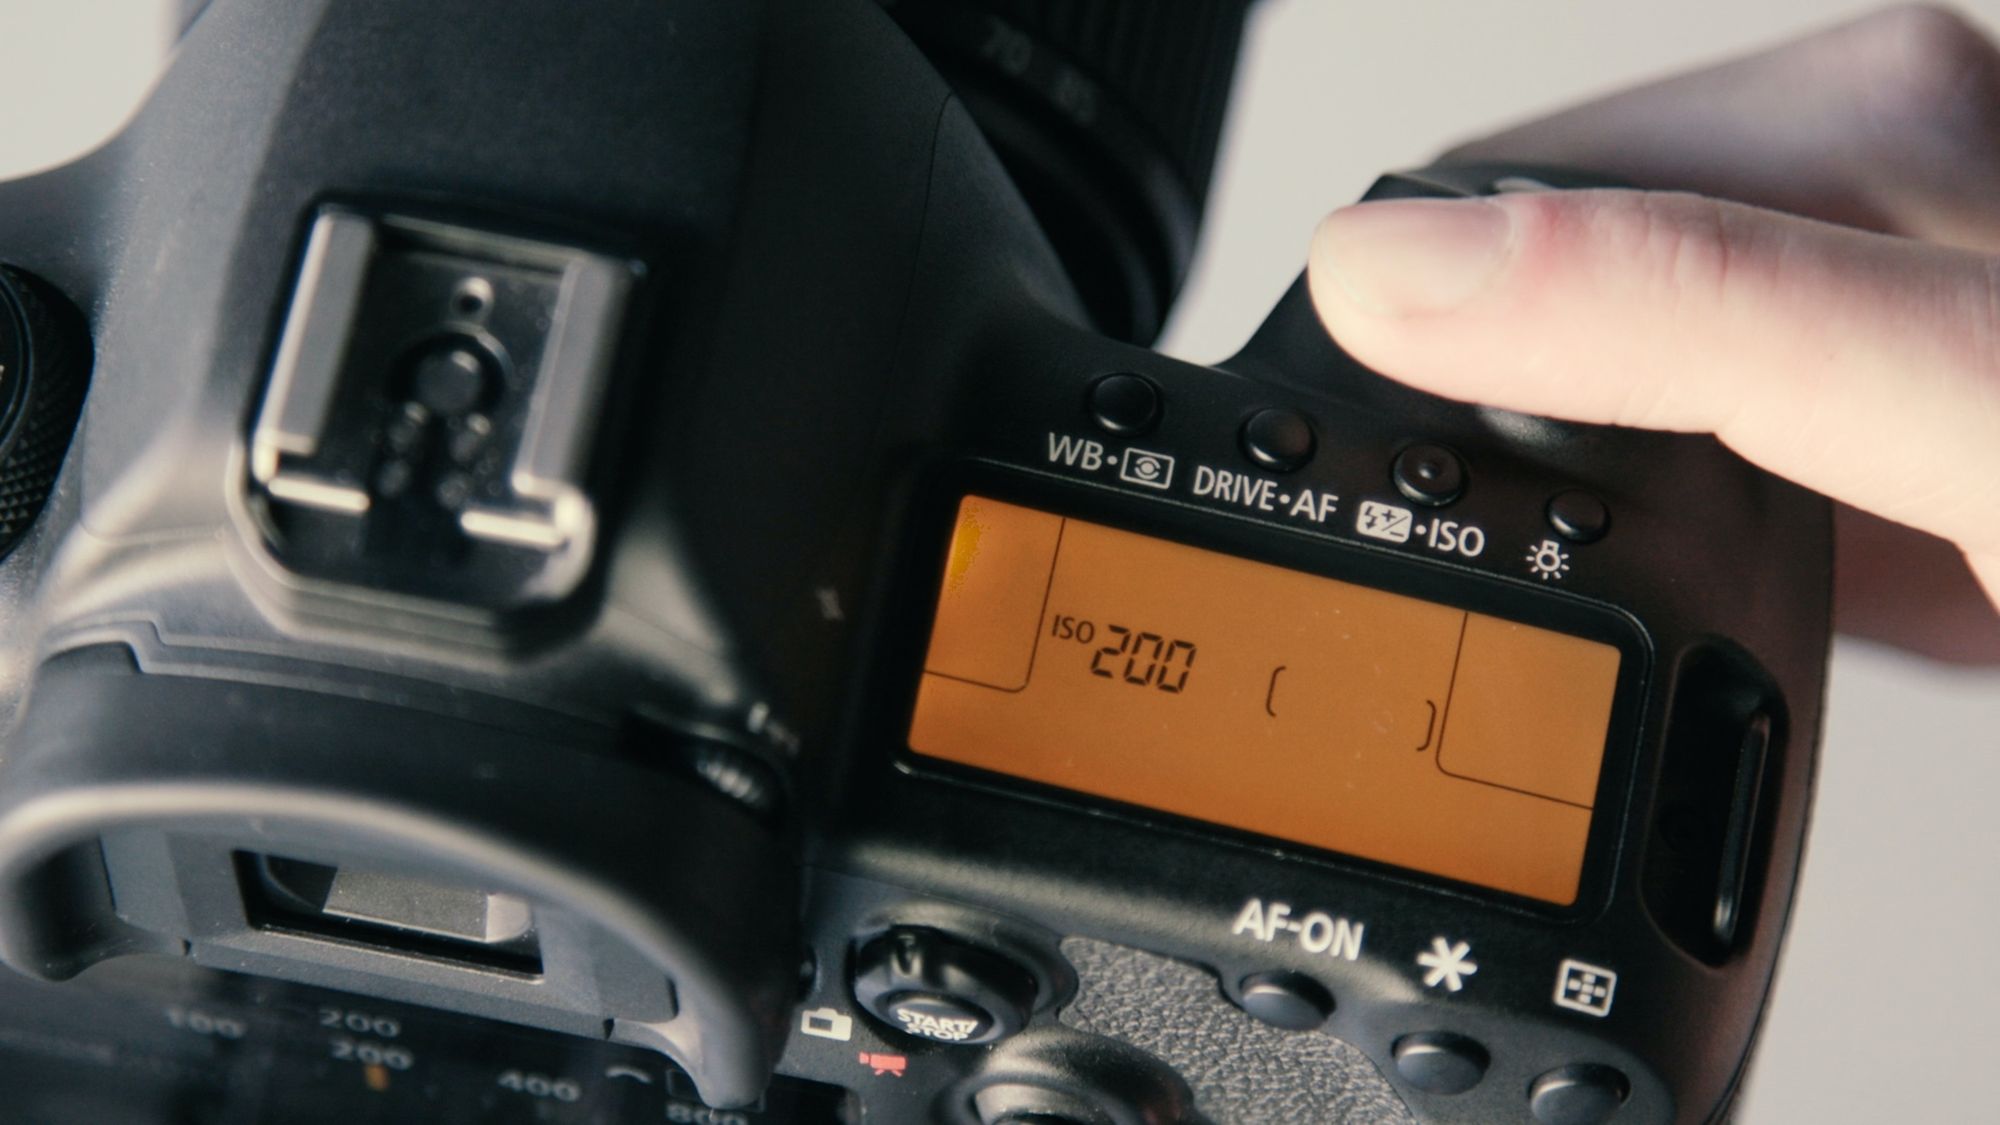
3. Maximize image quality.
Maintaining a clean camera lens is crucial to avoid unwanted smudges or dirt that might compromise image quality.
Consider opting for the RAW format. Unlike JPEG or other compressed formats, RAW files retain all the information collected by the camera's sensor during the exposure, without any in-camera processing. RAW files are considered the digital equivalent of a film negative, preserving the maximum amount of detail, color information, and dynamic range captured by the camera.
Achieving optimal results may involve adjusting exposure, aperture, and white balance settings on your camera. Experimenting with these settings allows you to find the right balance tailored to your specific shooting conditions, ensuring accurate colors and details in your final 360° image.
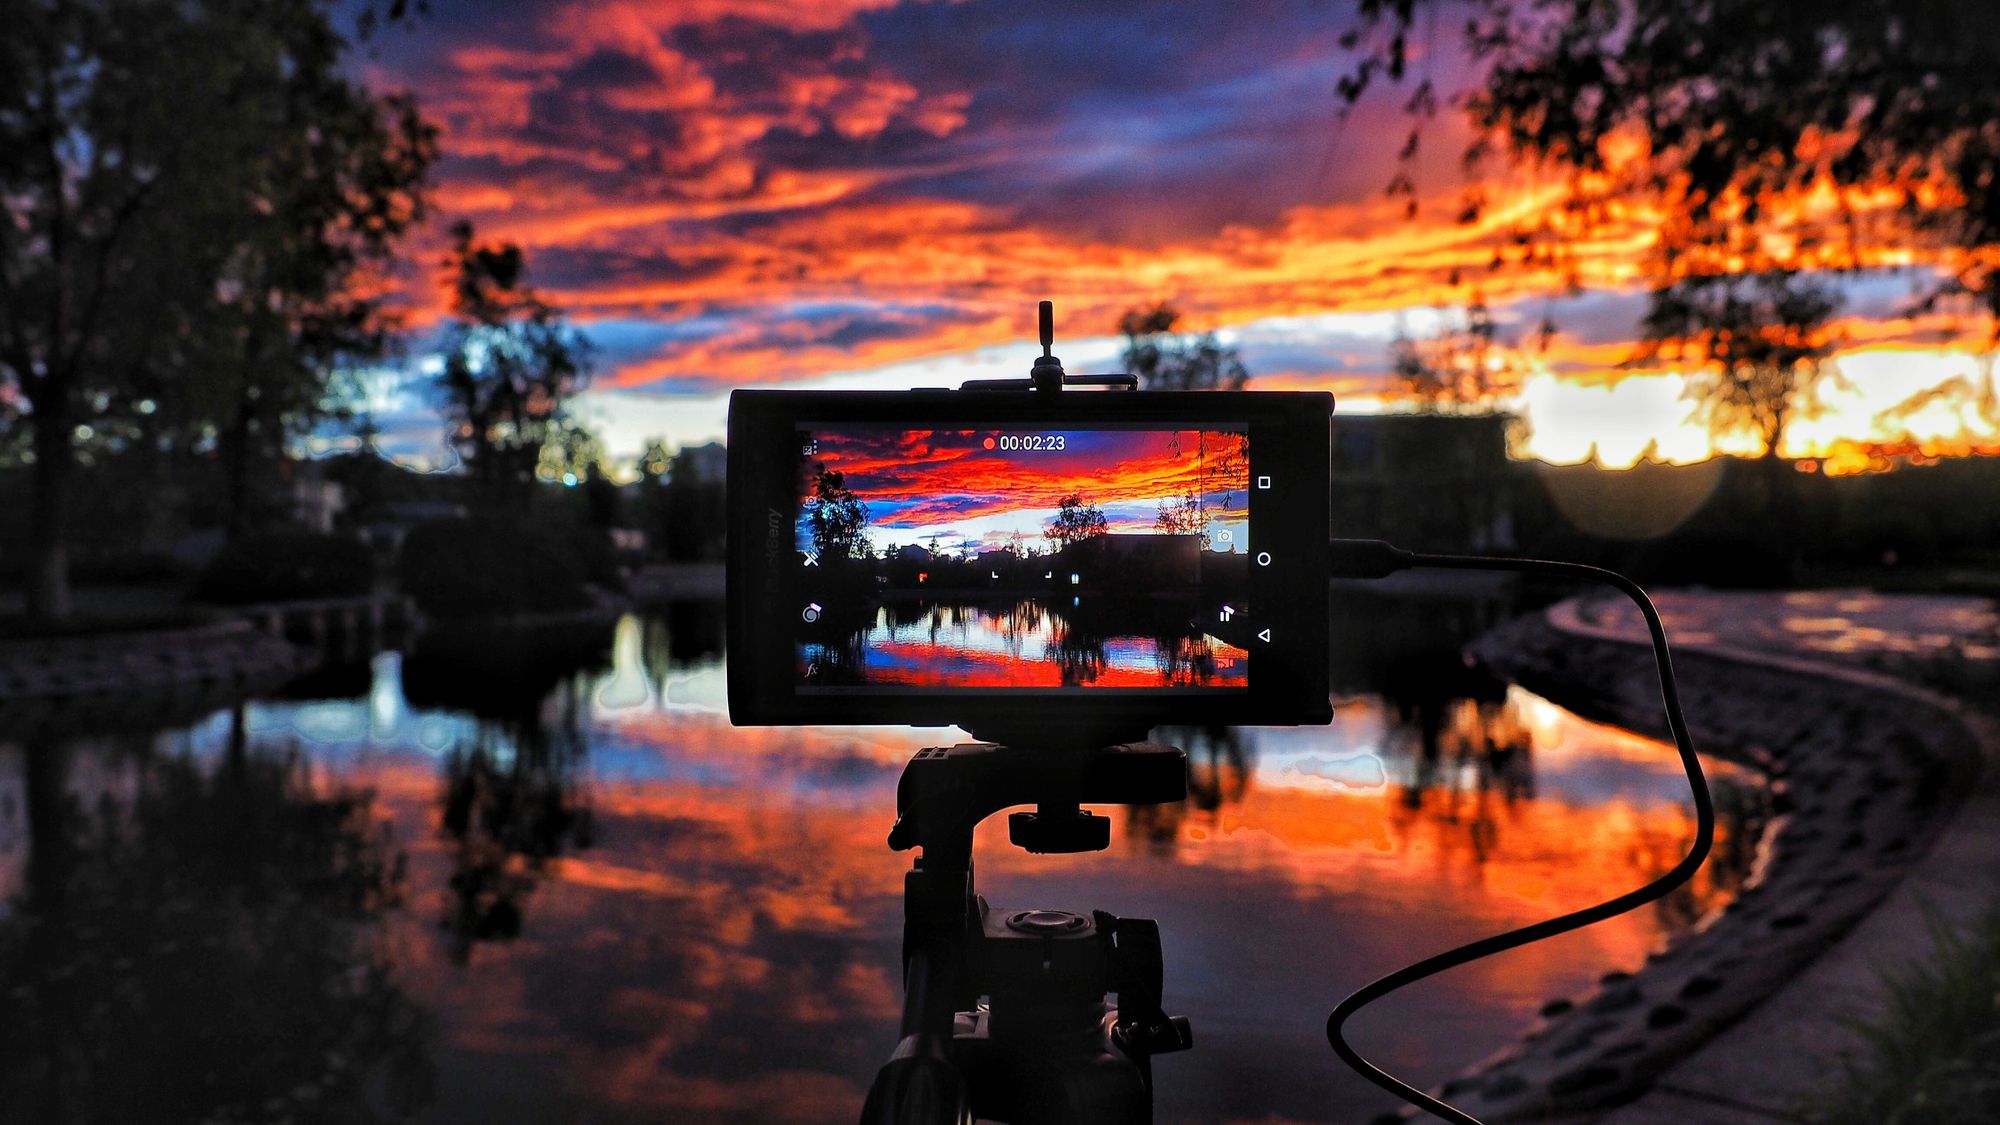
Additionally, explore High Dynamic Range (HDR) techniques to capture a wider range of colors and tones, particularly useful in scenes with varying levels of brightness and contrast.
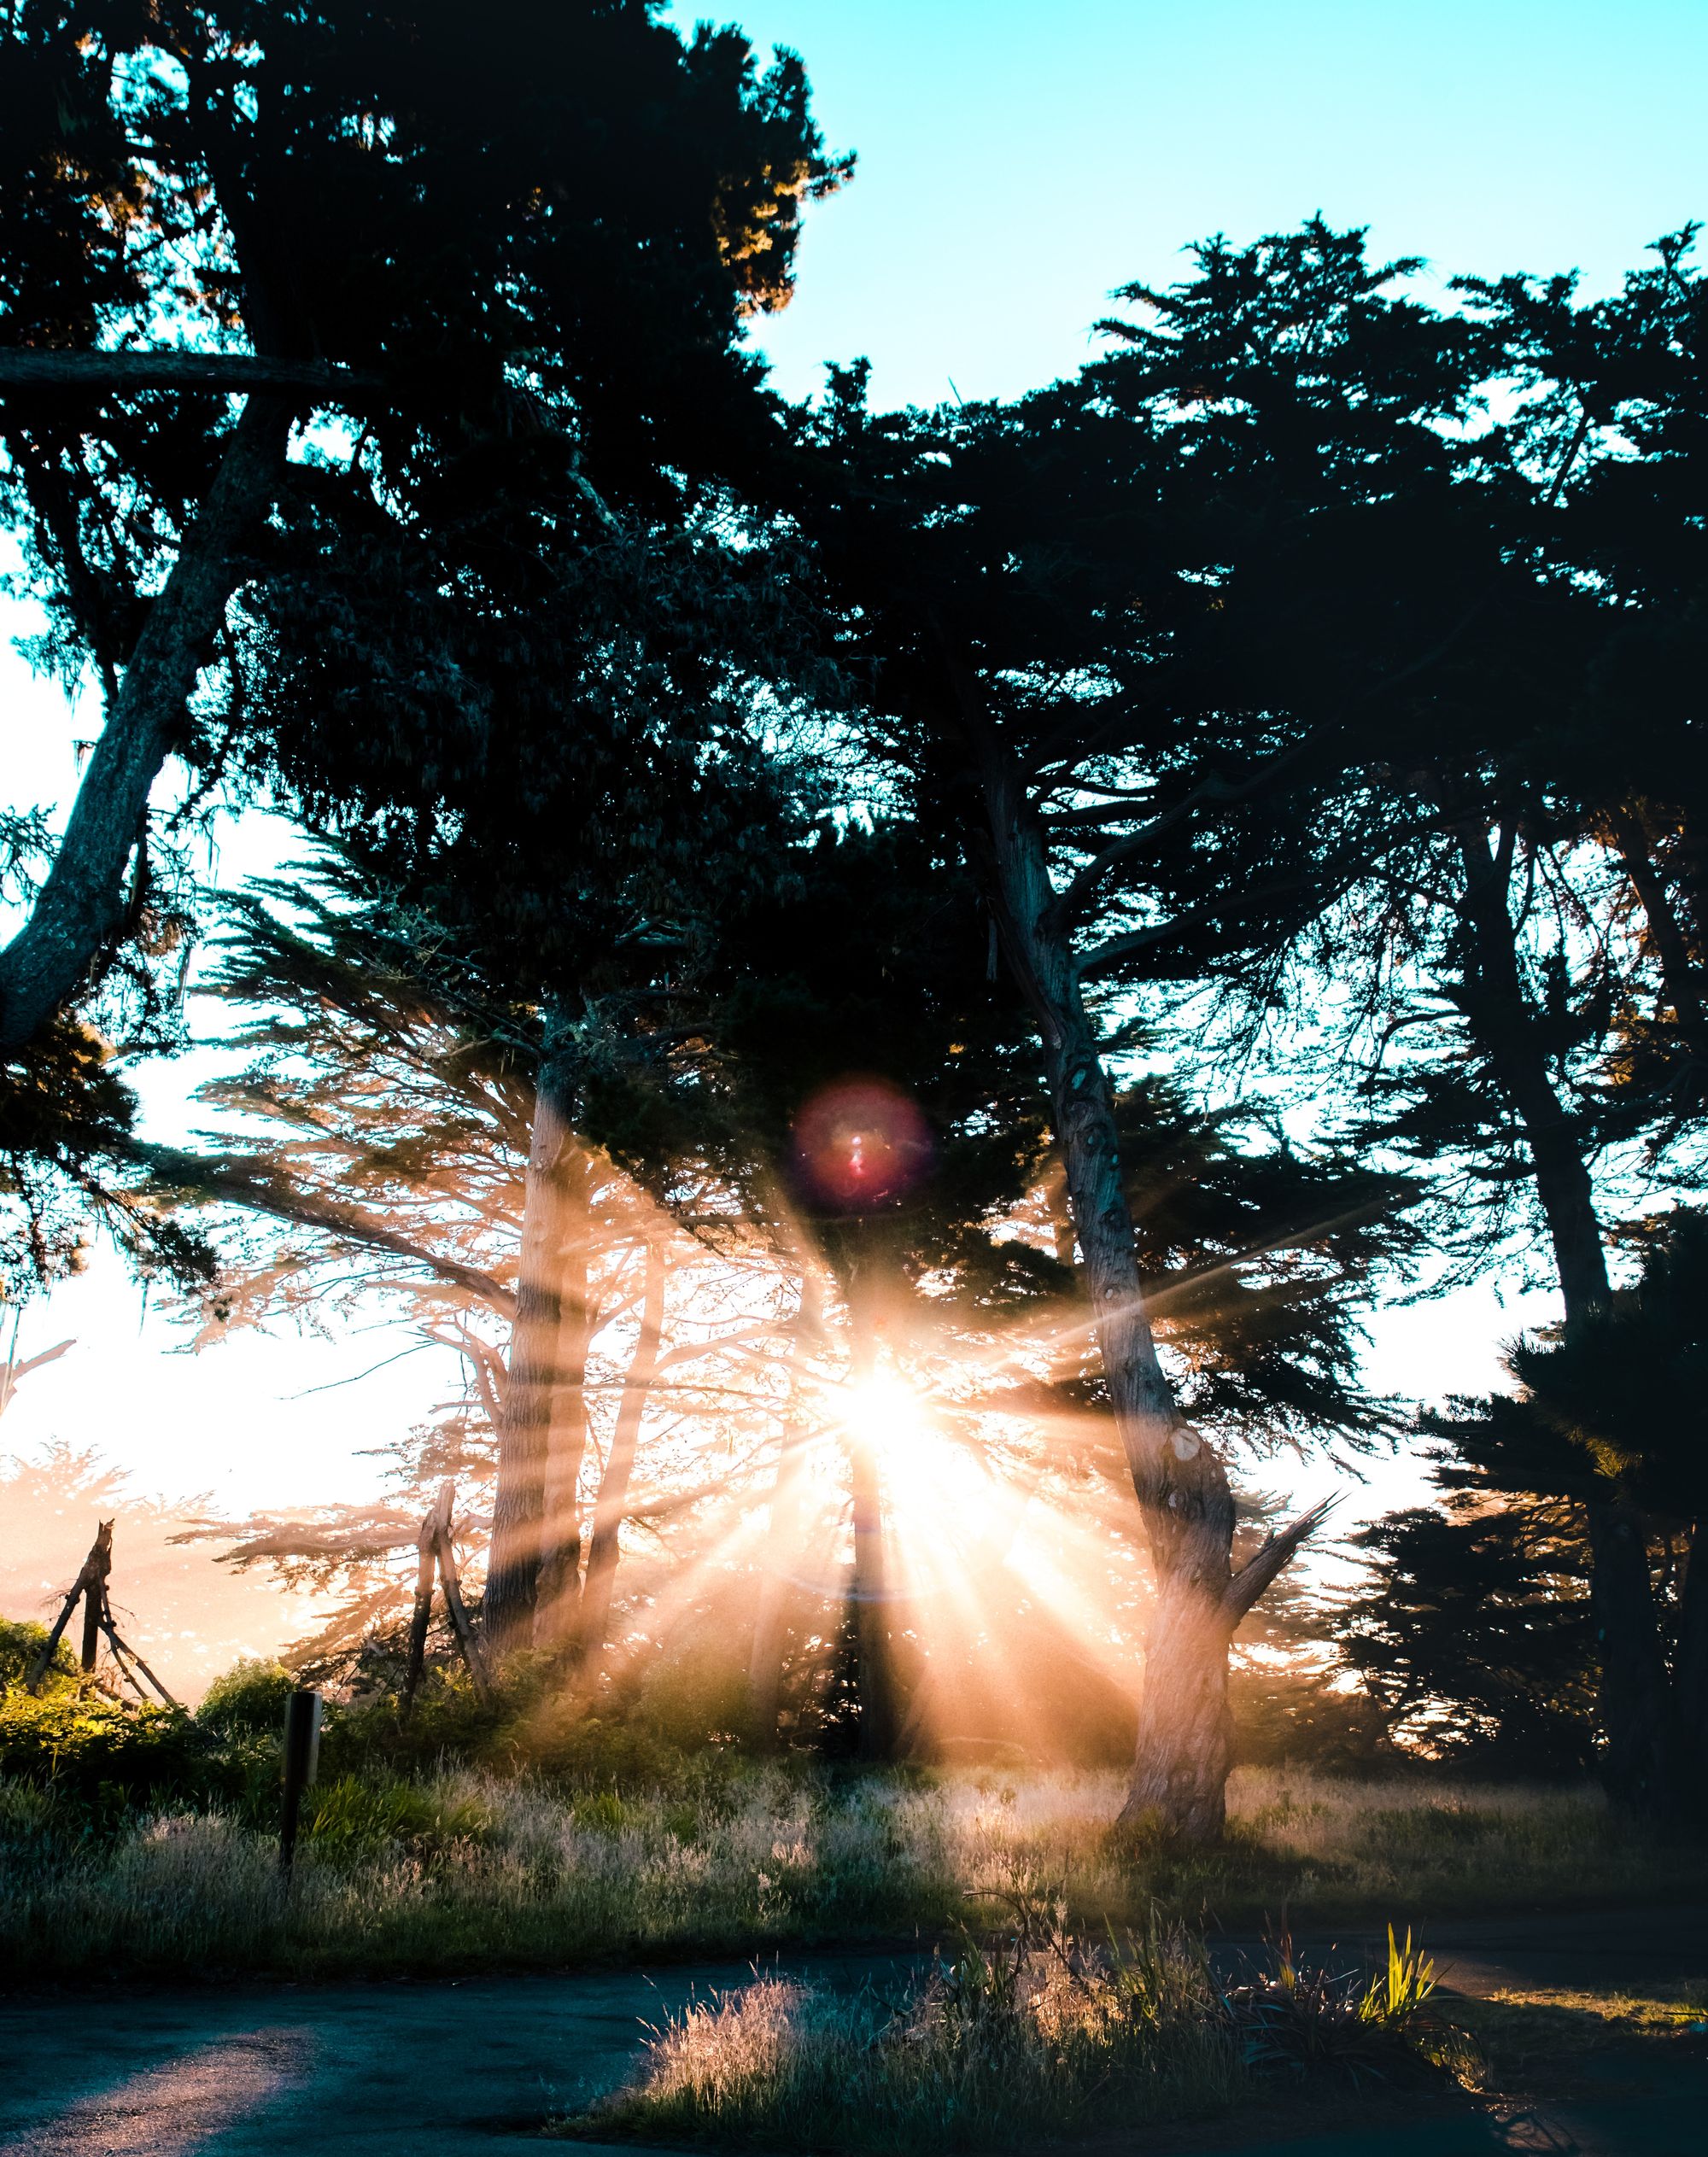
4. Take time to consider composition.
Although the rule of thirds may not be a primary concern when capturing panoramic images, it's advisable to focus on incorporating captivating foreground elements.
For example, consider including a visually interesting element in the foreground, such as a striking rock formation, a vibrant flower, or a reflective body of water. By doing so, you not only capture the expansive beauty of the landscape but also infuse the image with a sense of scale and depth.
5. Avoid parallax issues.
Parallax errors occur when objects in the foreground and background do not align correctly during the stitching process.
To avoid this, you will need to pivot around the nodal point and take images that overlap. This will minimize any misalignment and ensure seamless stitching in your final 360° image.
Best Practices for 360° Image Editing
Once you have captured your images with the right equipment and mastered the stitching process, it's time to take your images to the next level through image editing. This crucial step allows you to enhance the overall quality and aesthetic appeal of your 360 images.
Here are some best practices to help you achieve outstanding results:
1. Enhance image quality.
- Utilize sharpening tools or apply noise reduction to bring out fine details or minimize blurry images.
- Adjust the white balance to ensure accurate colors and eliminate any unwanted color casts.
- Experiment with different color temperature settings and special effects to evoke different moods or enhance specific elements in your image.
- Tweak the brightness and contrast levels to add depth.
2. Remove unwanted elements.
- Use the content-aware fill tool to intelligently remove any objects or people that may have unintentionally appeared in your image.
- Use the clone stamp tool to remove any distracting elements or imperfections.
- If you have captured a 360° image with a tripod, utilize the clone stamp or healing brush tool to eliminate any visible tripod shadows.
3. Optimize for different platforms.
- Consider the specific requirements of various platforms where you plan to showcase your 360° images.
- Resize your images to fit the desired display dimensions without sacrificing quality.
- Optimize your images for web or mobile platforms to ensure fast loading times and optimal viewing experiences.
By implementing these editing and retouching techniques, you can transform your 360 images into visually captivating masterpieces that leave a lasting impression on your viewers.
Overcoming Common Problems
In this section, we will delve into common mistakes that often occur during the capture and processing of 360 images, offering solutions and tips for effectively overcoming these challenges.
Glare Issues
Glare can be a major problem when shooting in environments with excessive lighting. It can result in overexposed areas in your images, causing loss of detail and visual appeal.
Stitching Errors
Incorrect alignment of individual images can lead to distorted perspectives and uneven stitching, affecting the overall quality of your 360 image.
Mismatched Exposures
Inconsistent exposures among the frames used for stitching can create noticeable differences in brightness or contrast within the final image, disrupting the overall visual harmony.
How to Create Virtual Tours with 360 Images
Creating virtual tours from 360 images allows you to provide users with an immersive and interactive experience. By incorporating hotspots, navigation, and interactivity, you can guide viewers through a virtual space and provide them with a unique way to explore different areas.
To create virtual tours from your 360 images, follow these simple steps:
- Select specialized software: There are various software options available for creating high-quality virtual tours from 360 images. Consider using platforms like TeliportMe, KRPano, or Pano2VR, which provide user-friendly interfaces and a range of features.
- Import your 360 images: Once you have chosen your preferred software or platform, import your 360 images into the platform's interface.
- Arrange the sequence: Arrange your 360 images in the desired sequence to create a logical flow for your virtual tour.
- Add hotspots: Hotspots are clickable areas within the virtual tour that allow viewers to navigate between different images or access additional information. Add hotspots to connect your 360 images and create a seamless navigation experience.
- Customize navigation: Customize the navigation options within your virtual tours, such as arrows or menus, to make it easy for viewers to explore different areas.
- Incorporate interactivity: Enhance the interactive capabilities of your virtual tour by adding additional multimedia elements like videos, audio, or text descriptions.
- Preview and test: Before sharing your virtual tour, preview and test it to ensure a smooth and engaging experience for viewers.
By following these instructions, you can create captivating virtual tours from your 360 images and offer users an immersive way to explore your chosen spaces.
How to Share and Display 360 Images
Once you've created your stunning 360 images, it's time to share them with the world. Whether you want to display them on social media platforms, websites, or virtual reality (VR) platforms, here's a guide to help you get started.
Choose a platform.
Several digital platforms and websites specialize in hosting and displaying 360 images, providing an immersive experience for your viewers:
- TeliportMe: TeliportMe is a popular platform that uses cutting-edge technology to allow users to create and share 360 images. It offers a user-friendly interface and various customization options.
- Facebook: Facebook is another excellent platform where you can host and showcase your 360 images. It does not support high-resolution images but provides embedding options for websites and blogs.
- Google Street View: Google Street View is a widely used platform for sharing 360 images and creating virtual tours. It integrates seamlessly with Google Maps and offers extensive visibility.
Sharing your 360 images on these platforms is a straightforward process. Simply create an account or sign in, navigate to the upload page, and follow the instructions to select and upload your images. After uploading, you can customize the settings, add descriptions, and share your images with others.
Additionally, these platforms allow you to embed your 360 images on websites and share them on social media. Make sure to utilize these features for maximum exposure and engagement.
Choose a suitable file format.
When it comes to sharing 360 images, it's important to choose the right image file format for your platform. The most commonly used formats are JPEG and PNG. JPEG is ideal for its compression capabilities, balancing file size and image quality. On the other hand, PNG is preferred when a higher quality and lossless compression is required.
In addition to these standard formats, some cameras and software may use proprietary formats that offer additional features or capabilities. It's essential to check the compatibility of these formats with the platforms on which you intend to share your images.
Join Our Community
If you're interested in joining the largest community of 360-degree photo enthusiasts, we encourage you to join TeliportMe.
Create a free account and become part of our 15 million users strong community where you can share and view stunning 360-degree panorama images with fellow enthusiasts.
Sign up now and start exploring the panoramic world!