
It doesn’t need to be exact. Your best guess, from the floor plan or the street outside, takes a minute per panorama and is close enough.
Set north on a panorama
- In the editor, go to the panorama and open the Panorama tab on the right.
- Open View & Orientation and, under North Point, choose Select North (1).
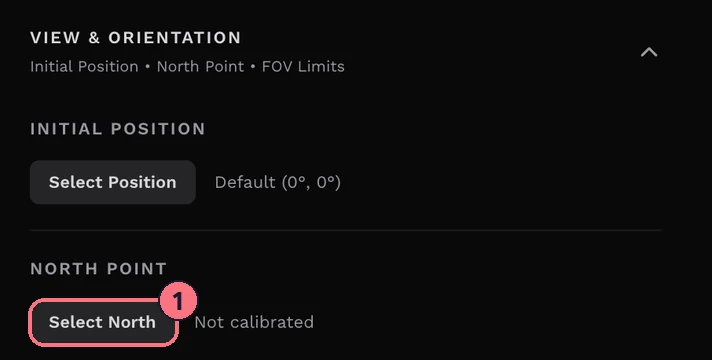
- Drag the panorama until you’re facing north. A grid helps you line it up.
- Choose Save North (2). “North position set.” confirms it.
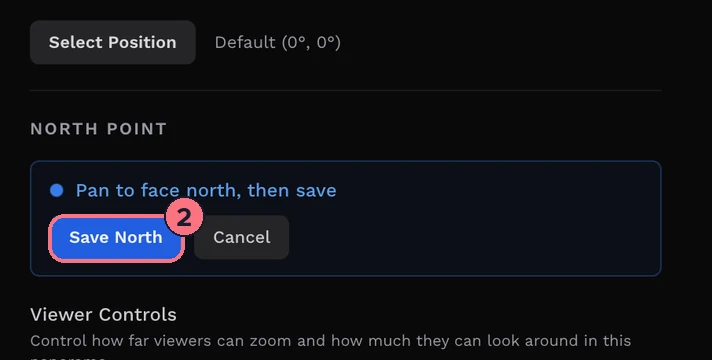
The section then shows North calibrated. Choose View to check it, Change to set it again, or Reset to clear it.
Repeat for each panorama in the tour. North is saved per panorama, because each photo was taken with the camera turned a different way.
What north is used for
- Keep when moving: with the tour’s View Direction set to Keep when moving, visitors keep facing the same compass direction from one panorama to the next. Without north, they can end up facing a wall. See Set initial views.
- Floor plan compass: with Show Compass Heading on, the floor plan marker turns to show which way the visitor is looking, worked out from north. See Add a floor plan.
- Google Street View has its own Set North in the Street View Editor. See Publish to Google Street View.
Tips
- Use a landmark. Find the street or a window on the floor plan, work out which way it faces, and turn to the matching direction.
- Note it when you shoot. Jot down which way the camera’s front faces, using a phone compass. That makes this step quick later.
Common questions
Do I need to set north on every panorama?
Only if you use Keep when moving or the floor plan’s Show Compass Heading. Then yes: set it on every panorama, because the rooms without north are the ones that misbehave. See View Direction.
Is north the same as the initial view?
No. North tells the tour which way a panorama faces in the real world; the initial position is the view the panorama opens on. See Set initial views.
How do I set north for Google Street View?
Use Set North in the Street View Editor. Google Street View publishing has its own north setting there. See Publish to Google Street View.