How to Create a Virtual Tour for Real Estate
%20YouTube%20Thumbnail%201280x720%20px%20(19).jpeg)
Unlike static images, virtual tours capture details with unparalleled clarity, giving viewers a more accurate sense of dimension and layout. This level of accuracy fosters trust and confidence in potential buyers, enticing them to explore your real estate listing at their own pace and from any location they desire.
In this article, we provide step-by-step instructions to craft a professional-looking virtual tour. We'll guide you through every stage--from selecting the best equipment for your budget and needs to sharing your tour online.
Step 1: Choose Equipment
To create a virtual tour, you have 3 options for image capture: the P360 app for iOS and Android, a 360 camera, or a DSLR.
The equipment you choose will depend on your budget and priorities. In this section, we'll offer expert recommendations tailored to your needs, whether you're seeking a convenient, budget-friendly option or prioritizing superior image quality.
_YouTube_Thumbnail_1280x720_px_(15)%20(8).jpg)
P360 App
If convenience and speed are top priorities, and you don't want to splurge on a fancy camera, we recommend using the P360 app for capturing 360-degree panoramas. If you've got a relatively new phone, chances are its camera can do the job just fine.
However, it's important to note a key limitation: neither P360 nor any other app can capture a complete spherical panorama. Due to current stitching technology, you won't be able to capture views of the area directly above and below your phone's camera.
_YouTube_Thumbnail_1280x720_px_(15)%20(7).jpg)
360 Camera
360 cameras come with built-in software that makes capturing a full 360-degree view super easy. And don't worry about compatibility—TeliportMe works with every type of 360 camera. Just connect via Bluetooth with the P360 app, and you're good to go.
While 360 cameras deliver exceptional image quality and easily integrate with TeliportMe's virtual tour platform, they do come with a price tag. Expect to pay $400 or more for good model.
If you're looking for a high-quality, dependable model, we recommend the following 360 cameras:
- Best Overall: Insta360 ONE RS
- Best Budget-Friendly: Trisio Lite2
- Best Photo Quality: Ricoh Theta X
For a more in depth look at the features and limitations of these particular cameras, we recommend reading this article.
_YouTube_Thumbnail_1280x720_px_(15)%201%20(1).jpg)
DSLR
If you already have a DSLR, it could be worth considering using it instead of splurging on a 360 camera. With a DSLR, you have the flexibility to swap out lenses, so you might want to explore wide-angle or fisheye options to maximize your camera's potential.
However, we advise against this option for beginners because using a DSLR to create a panoramic image can be tricky. Differences in lighting between shots can pose a challenge, often requiring manual editing of each image to ensure a seamless blend in the final panorama.
If you're planning to use a DSLR, you'll need to rely on your own stitching software. We recommend the following options:
_YouTube_Thumbnail_1280x720_px_(15)%20(10).jpg)
Step 2: Capture
When using the P360 app, you follow these step-by-step instructions:

.jpg)

.jpg)
If you decide to capture your panoramas with a 360 camera or DSLR, you will have to refer to your model's user manual.
Regardless of the method you have chosen, we recommend following these best practices for capturing the best possible images.
1. Position your camera appropriately.
As a general rule, it's recommended to position your camera around 5 feet from the floor, in the center of your space.
However, adjustments may be needed depending on the specific circumstances. For example, when photographing a large room with high ceilings, raising the camera height might be necessary.
The key is to tailor the camera height to suit the unique characteristics of the space you're capturing.
2. Use a tripod.
Even if you have a steady hand, the smallest shake of the camera can result in blurry images with stitching errors. Plus, having the person holding the camera featured in the final result is not ideal.
If you're investing the time and effort to create a virtual tour, it's worth taking the extra step to set up a tripod. Using a tripod ensures stability and consistency throughout your shots, leading to sharp, professional-looking images.
3. Maximize image quality.
If you're a novice, don't feel compelled to overcomplicate this step.
The most effective way to maximize image quality is to maintain a clean camera lens. However, it's important not to accidentally damage your lens in the process. We recommend blowing off any dust or dirt with a blower—not your mouth—which can introduce condensation and saliva.
If the blower doesn't fully clean your lens, you can use a lens brush or a microfiber cloth. Just remember, do not touch the lens with your hands. Even though it might seem insignificant, introducing oil from your hands can damage the lens.
4. Avoid parallax issues.
Parallax errors happen when objects in the foreground and background don't align properly during the stitching process. This misalignment can result in noticeable discrepancies, such as objects appearing distorted or disjointed in the final image.
To avoid this, you will need to pivot around the nodal point and take images that overlap. This will minimize any misalignment and ensure seamless stitching.
Step 3: Edit and Retouch Images (optional)
This step is entirely optional. Unless you're a professional photographer already adept at using editing software, you can likely skip this without any issues.
Some common practices include:
- Adjusting exposure and contrast
- Fine-tuning colors and tones to achieve a more natural or stylized look
- Removing any distracting elements or blemishes
- Applying sharpening or noise reduction
Step 4: Upload to TeliportMe
If you used the P360 app to capture your panoramas, or integrated P360 with your 360 camera via Bluetooth, you've already completed this step.
Create an account with TeliportMe or log in to an existing account.
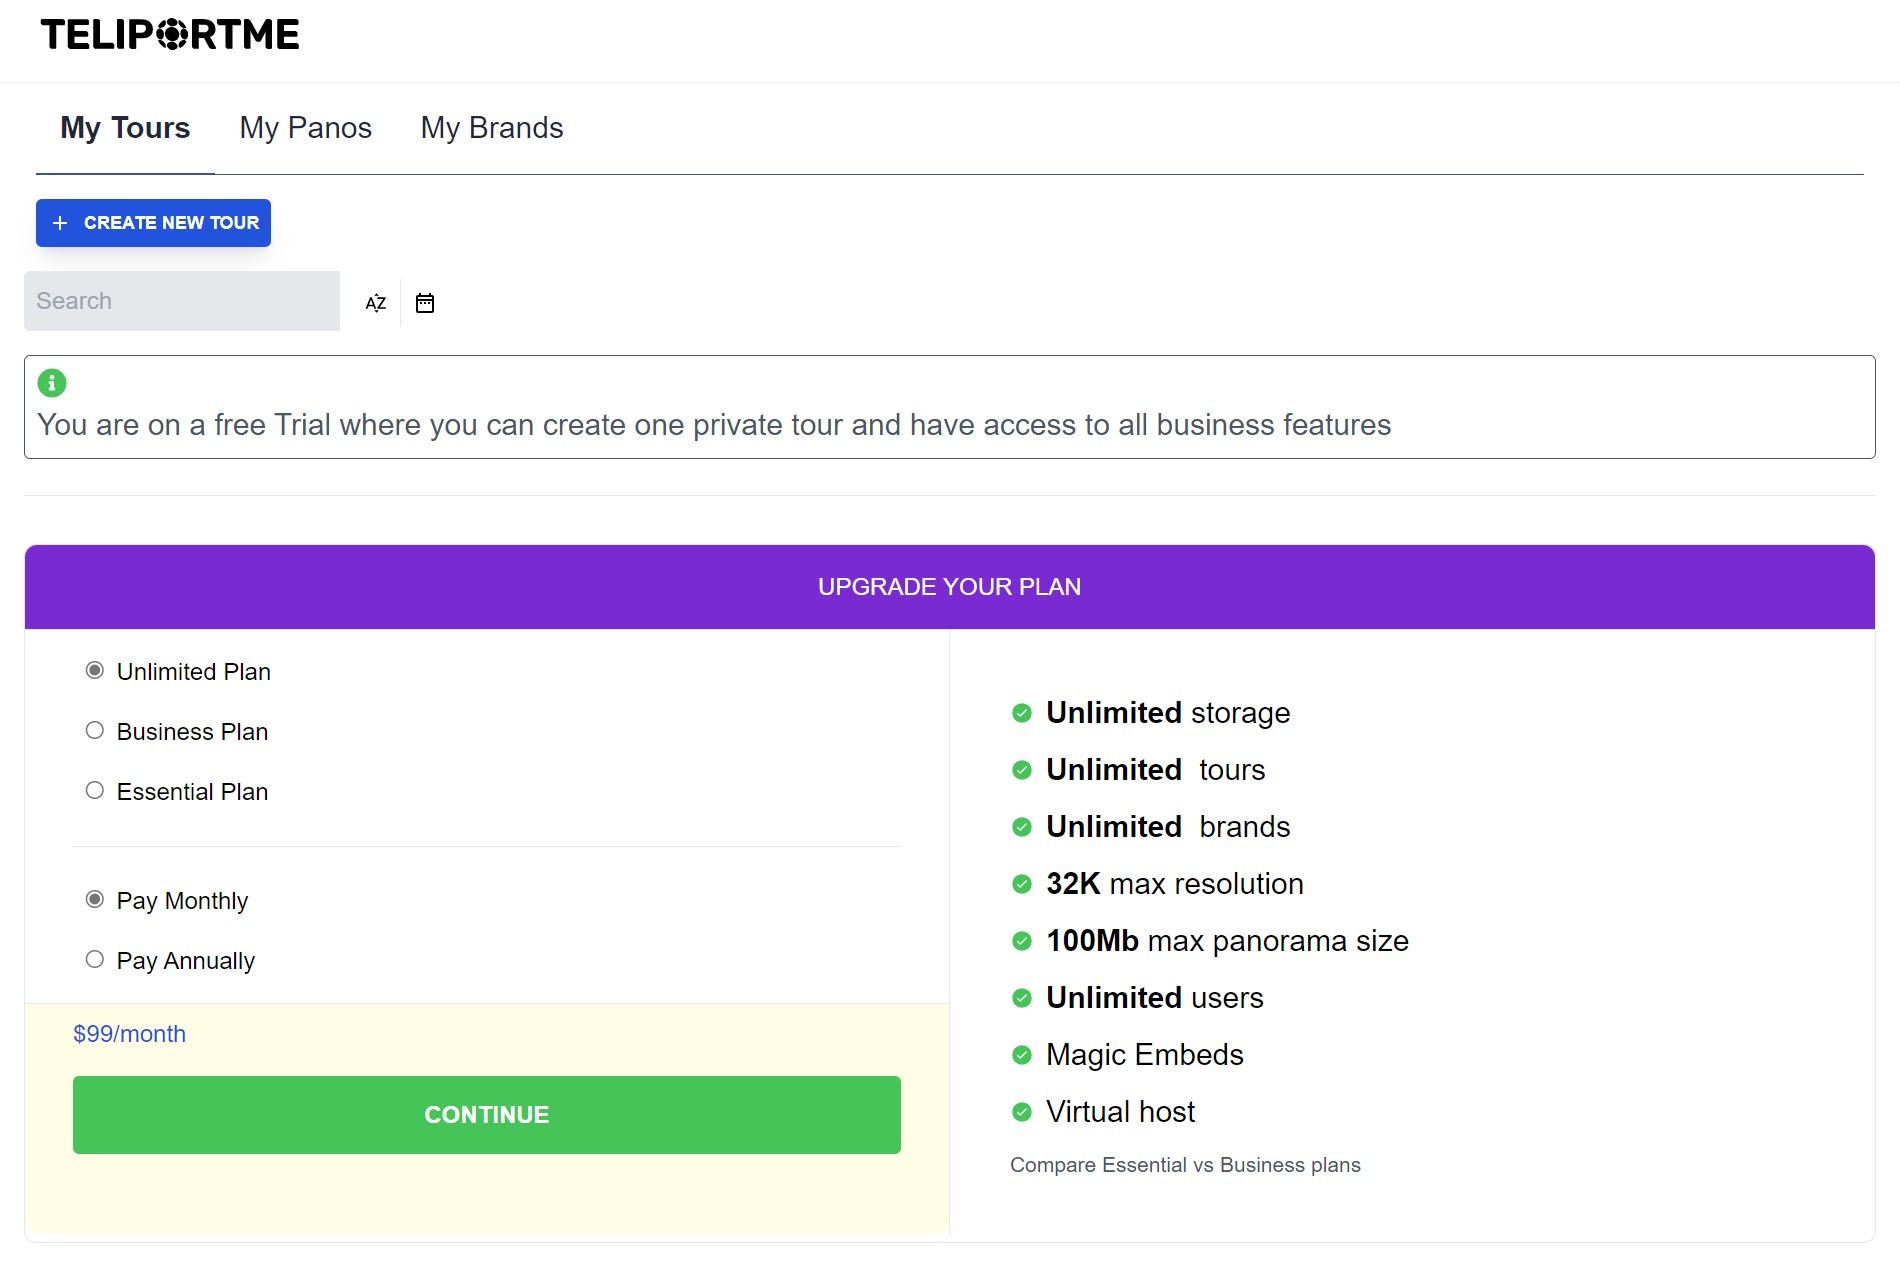
If you have signed up for an unlimited free trial, your dashboard will look like this:
On your dashboard, click "CREATE NEW TOUR" in the upper left-hand portion of your screen. This will open the following window.
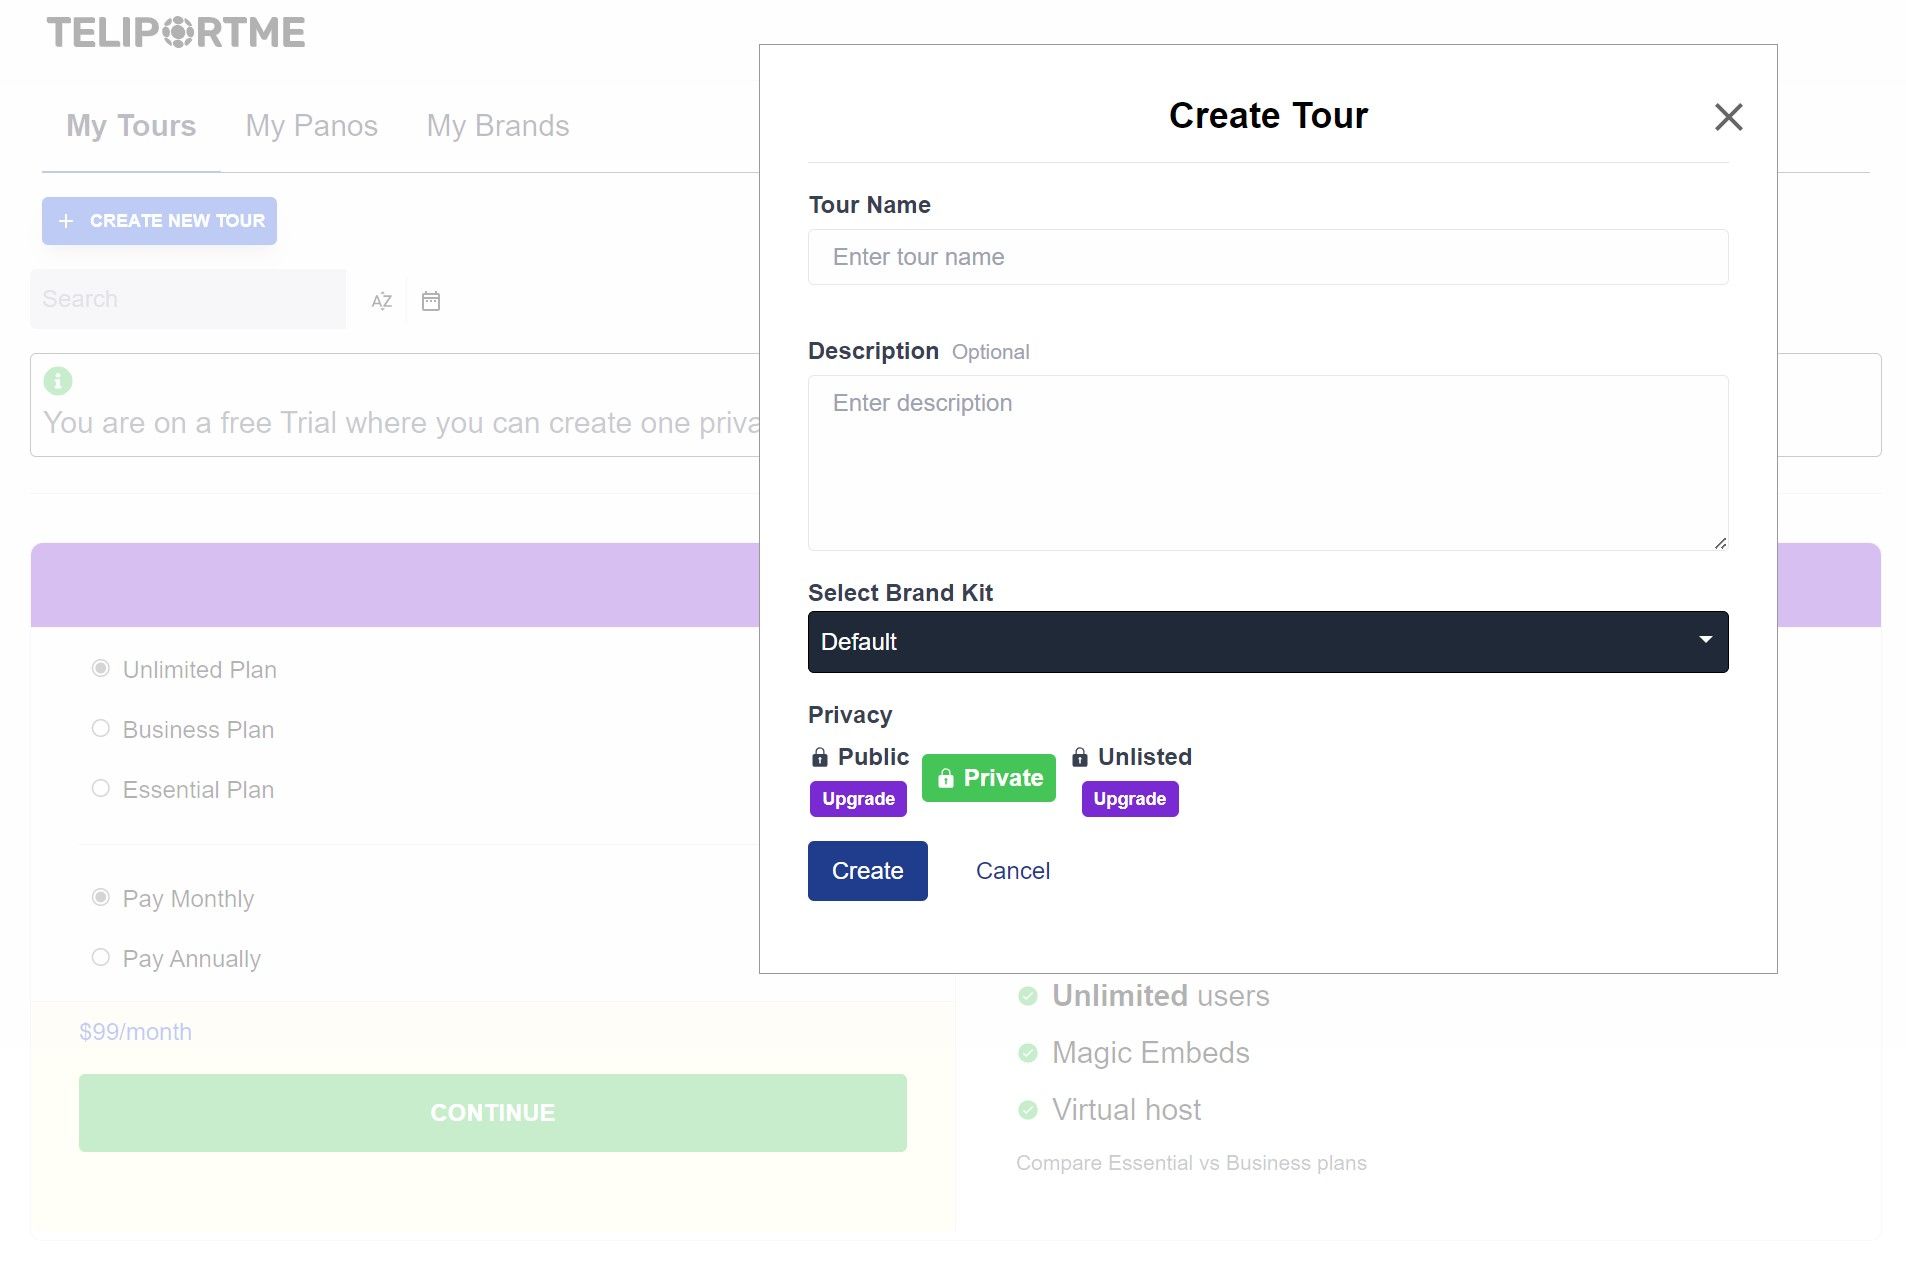
You can add your details, then hit the "Create" button.
Note that free trial users can try all of the business features but cannot publish their tours publicly.
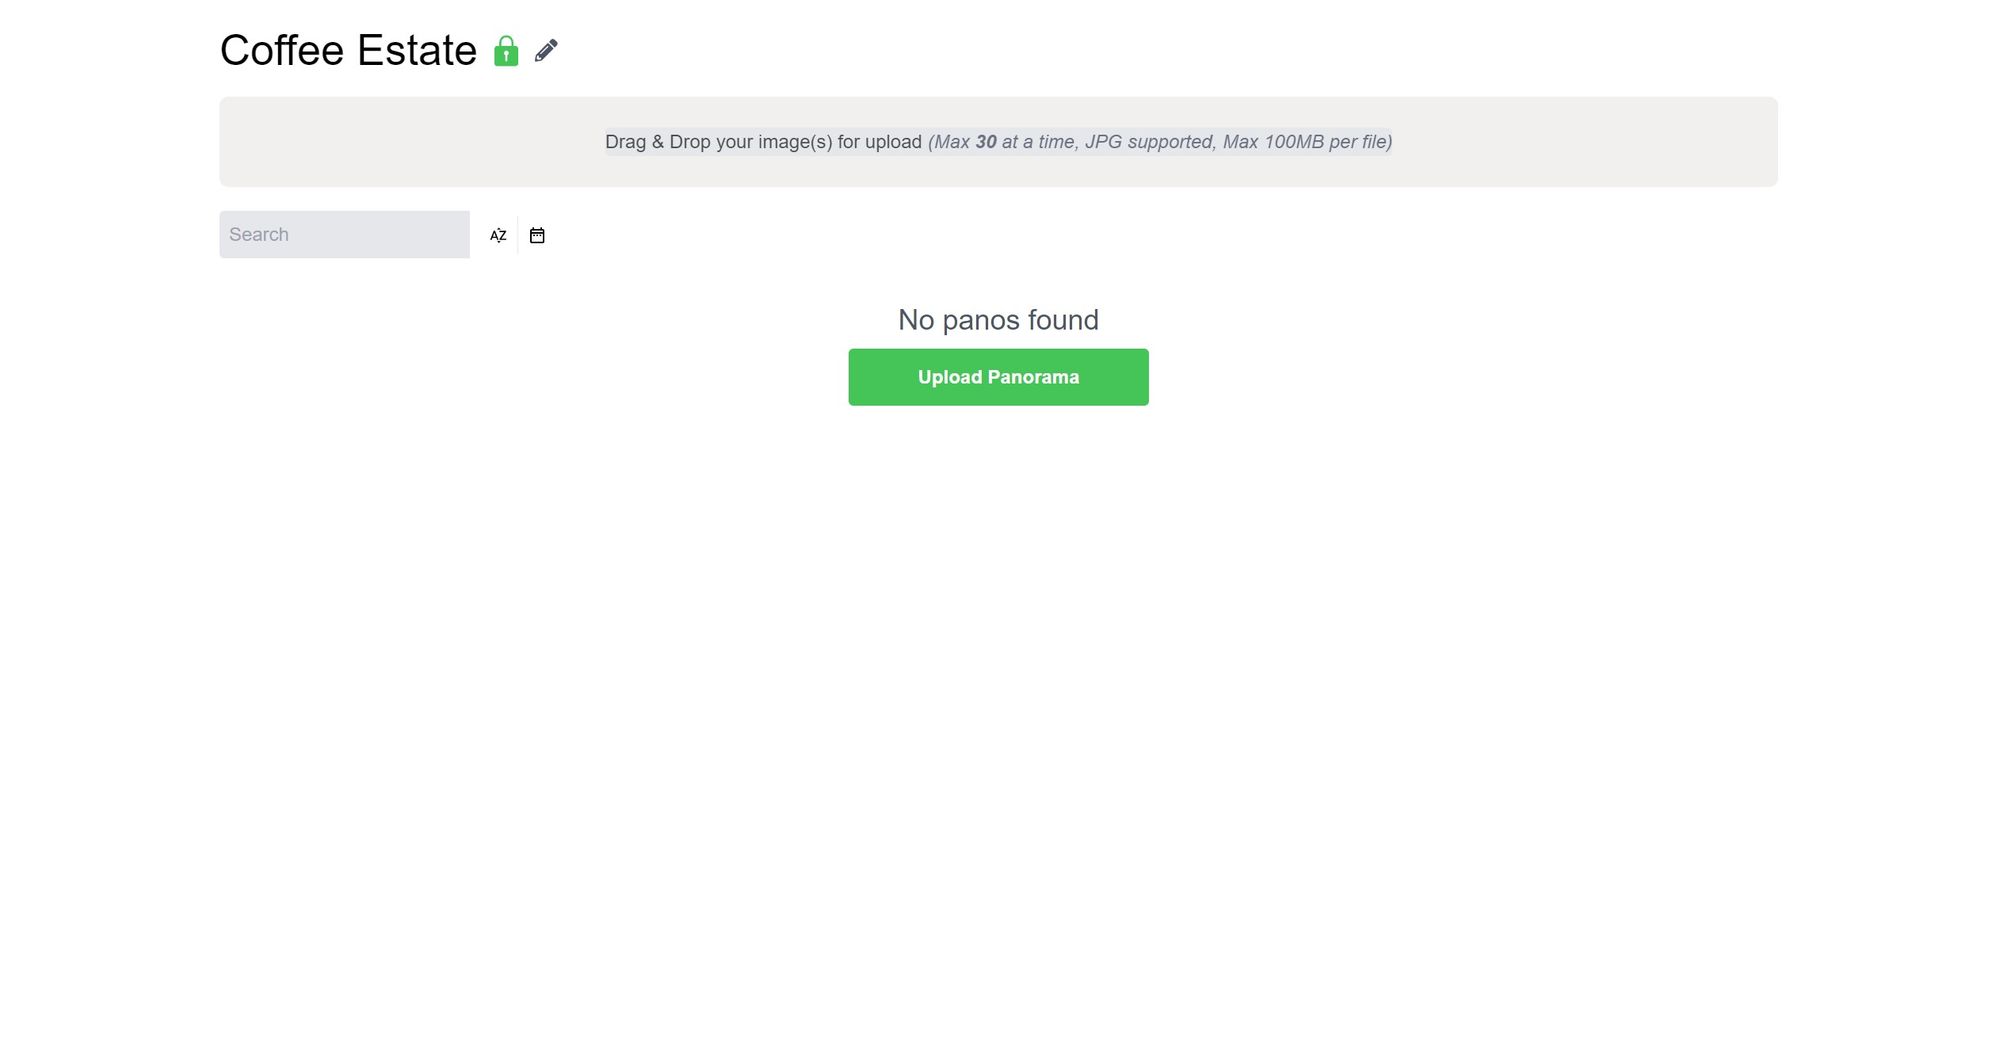
Click "Upload Panorama" to select your image from your computer, or drag and drop your image(s).
Step 5: Add Hotspots and Interactive Elements
A virtual tour truly comes to life when it's interactive.
While navigation hotspots—those clickable points allowing users to move between different areas—are the most commonly used in virtual tours, TeliportMe sets itself apart by offering an array of features not commonly found with other software providers.
Let's take a look at just a few of the features that TeliportMe offers:
- 3D Dollhouse: The 3D dollhouse feature presents the property in a way that resembles a dollhouse—with the walls removed—allowing users to see the entire structure.
- Polygon Content Hubs: Polygon content hubs allow to click around an object of interest to quickly create an informational hub where users can access more information. For example, you might want to highlight a special amenity like a sauna, providing extra information about its features the materials used.
- Magic Embed: The magic embed feature is a powerful tool that enables you to seamlessly incorporate videos directly into your virtual tour. Some of our customers have utilized this feature to make televisions depicted in the panoramas play videos, effectively simulating real-life scenarios within the virtual environment. Others have employed it to conceal personal portraits or sensitive information from public view, maintaining privacy while still showcasing the space.
- HD Green Screen Videos: With this capability, you can incorporate a virtual host who guides users through the space, providing informative commentary or interactive engagement. This feature adds an extra layer of immersion and personalization to the virtual tour experience, allowing users to feel as though they are being personally guided through the space by a knowledgeable host.
By integrating these interactive elements into your virtual tour, you can create a dynamic and engaging experience for potential buyers. Not only will this showcase the property in the best light, but it will also enable viewers to fully explore and interact with the space, ultimately increasing their interest and likelihood of making a purchase.
Step 6: Share
Once you have created your virtual tour, it's time to share it online. Whether you want to embed it on your website, post it on Facebook, or even add your virtual your to MLS, TeliportMe can help you make it happen.
For detailed instructions on how to share your virtual tour, read this article.
If you're still unsure of how to share your virtual tour, we recommend referring to this video tutorial:
Interested in learning more?
We recommend exploring these articles: