Automatic Navigation Mode.
We are introducing the navigation mode which will allow you to automatically align all the panoramas so when you connect them the movement feels natural.

%20(COPY)%20(COPY)%20(COPY)%20Facebook%20Post%20940x788%20px%20-%20Facebook%20Event%20Cover.png)
As you are creating your virtual tours , one of the most important part is connecting the panoramas. To make this easy we are introducing the navigation mode which will allow you to automatically align all the panoramas so when you connect them the movement feels natural.
We demonstrate this in the video below, but before that its important to understand a few terms
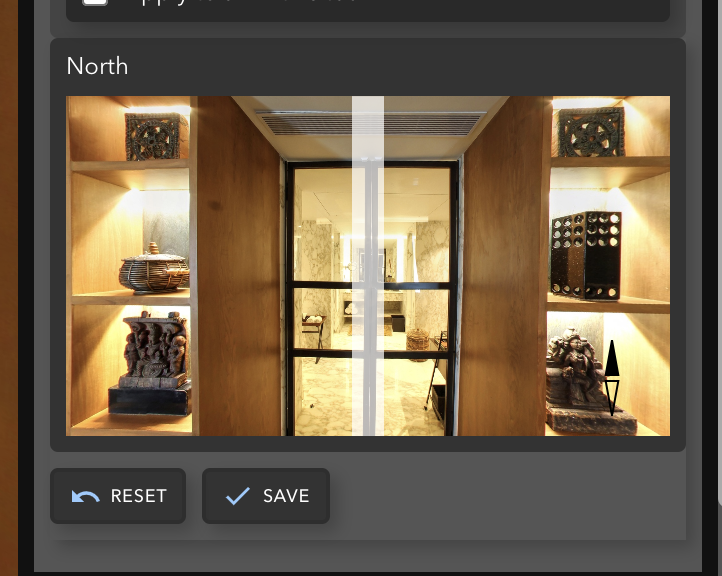
Setting North for your panoramas:
Setting up your tour for automatic navigation mode involves orienting all the panoramas in a specific direction, this is super simple - in the panorama tab you will see this option ( screenshot ) below. The idea behind setting north is aligning all the panoramas to a COMMON direction, this does not have to be the real north. Depending on the number of panoramas this step should not take more than 5mins but will save you a lot of headache as you build your tour.
To set the north align the white strip in the middle towards the direction you think is your best guess.
IF all your panorama are already geotagged from the 360 camera or you have added the right heading (direction) while you were editing the panorama then this step is NOT necessary.
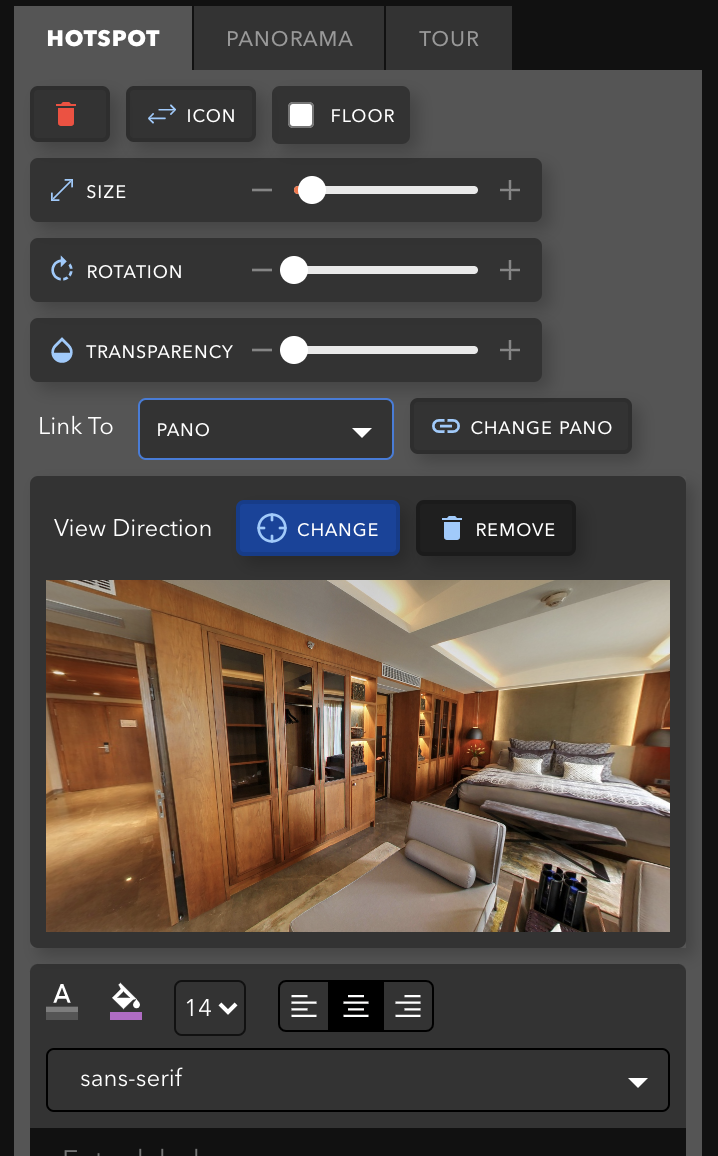
Hotspot View Direction :
This is the view setting you would need to setup IF you want to force the hotspot to open a view that is more favorable than the view that is created by the automatic navigation mode. This overwrites the automatic navigation mode specifically for that hotspot.
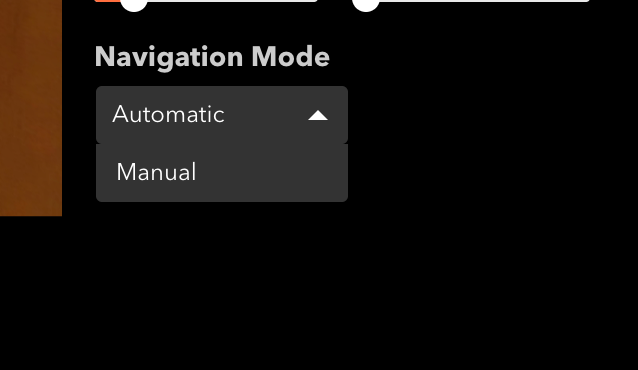
Navigation mode:
Once you setup your north you need to select the navigation mode to automatic. The default is Manual. You can find that setting right now in the Share tour page.
Now that I have explained all these terms , below watch the slightly long but fully detailed tutorial to really understand how to set this up.